
Assess the dent before you start
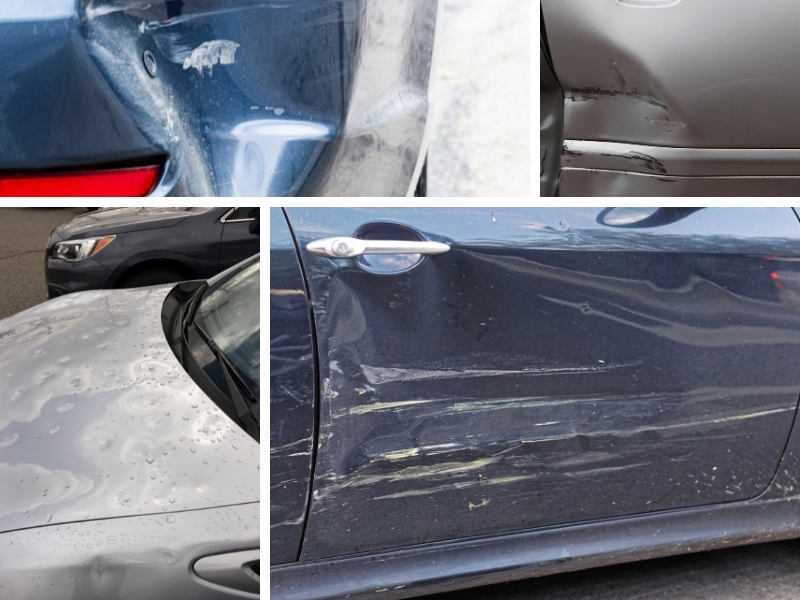
Before buying tools, determine if fixing car dents at home is viable. Not every ding responds to DIY methods. Attempting a repair on complex damage often wastes money and worsens the finish.
Check paint integrity first. Run your fingernail across the dent. If it catches, the paint is cracked. Paintless dent repair (PDR) is impossible here because reshaping metal exposes bare steel to rust. You will need to sand, fill, and repaint. If the paint is intact, DIY success is likely.
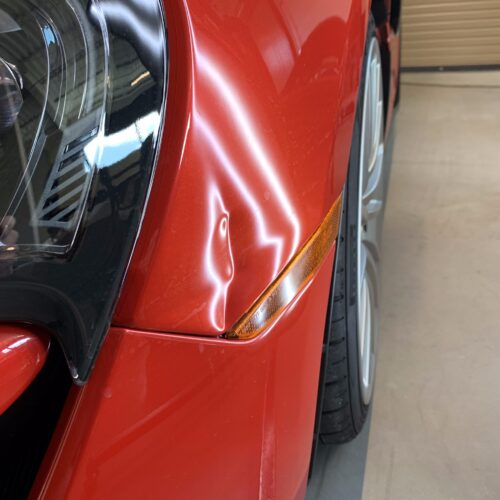
Evaluate depth and location. Shallow dents on flat panels like doors or hoods are ideal. The metal has enough "give" to be massaged back. Avoid double-walled sections, sharp ridges, or deep creases; these areas are too rigid for home remedies.
If the paint is cracked or the metal is stretched, stop. Professional paintless dent repair (PDR) or body shop work is required to avoid rust and poor aesthetics.
A quick rule of thumb: if the dent is larger than a dinner plate or involves deep creases, call a professional. Botched DIY jobs often cost more to fix than the $300–$1,500 price of professional repair, plus you lose resale value.
Gather your dent removal tools
You don’t need a professional budget to start fixing car dents. Most minor dings respond to simple tools found in hardware stores. The goal is to push, pull, or heat the metal back into shape without damaging the paint.
Start with the basics: a plunger for shallow suction dents, a hair dryer or heat gun to expand metal, and a glue puller kit for deeper imperfections. For backing support, use a rubber mallet and a wooden block. If paint is cracked, gather fine-grit sandpaper, automotive body filler, primer, and touch-up paint.
Always wear safety glasses and gloves. Metal edges are sharp, and sanding creates dust. Keep isopropyl alcohol and microfiber cloths handy for cleaning.
Check off these essentials before you start:
- Plunger (standard sink size)
- Hair dryer or heat gun
- Glue puller kit with tabs
- Rubber mallet
- Wooden block or sanding block
- Fine-grit sandpaper (400–800 grit)
- Automotive body filler and spreader
- Primer and touch-up paint
- Safety glasses and gloves
- Microfiber cloths and isopropyl alcohol
Use heat to shrink and pop the dent
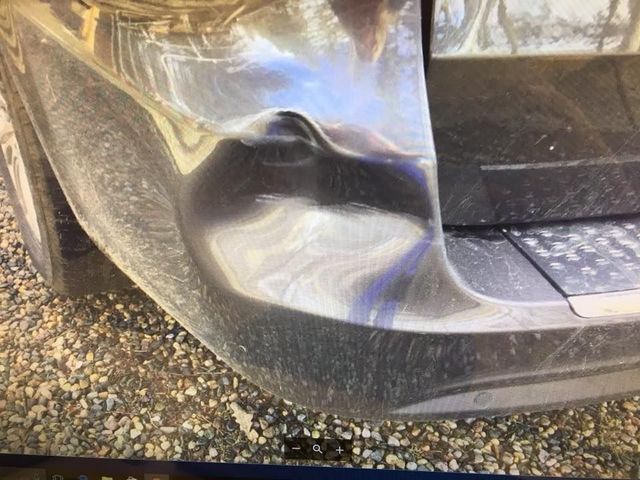
Heat is effective for fixing car dents on thin metal panels and plastic bumpers. Thermal expansion causes metal to expand when heated and contract when cooled, often pulling the dent out. For plastic, heat softens the material, allowing you to push the dent out from behind or pull it from the front.
This works best for minor dents with intact paint. Avoid deep creases or cracked paint, as heat can worsen damage. Start with low heat and increase gradually to prevent melting plastic or blistering paint.
Step 1: Clean and prepare the area
Clean the dented area with soap and water to remove dirt, wax, or debris. Dry it completely. For plastic bumpers, removal is optional but provides better access.
Use a heat gun or heat lamp to warm the dented area. Keep the source moving to avoid concentrating heat. Aim for a temperature warm to the touch but not burning. Plastic should become pliable; metal should feel hot but not glowing.
Once heated, apply suction immediately. Wet a plunger’s rim and press it firmly over the dent. Pull back steadily. Alternatively, access the back of the panel to push the dent out with your hands or a wooden tool. Heat increases flexibility, making reshaping easier.
Cool the area rapidly to set the shape. Use compressed air held upside down to spray freezing gas, or run cold water over the area if the paint can withstand it. This rapid cooling locks the metal or plastic in its corrected position.
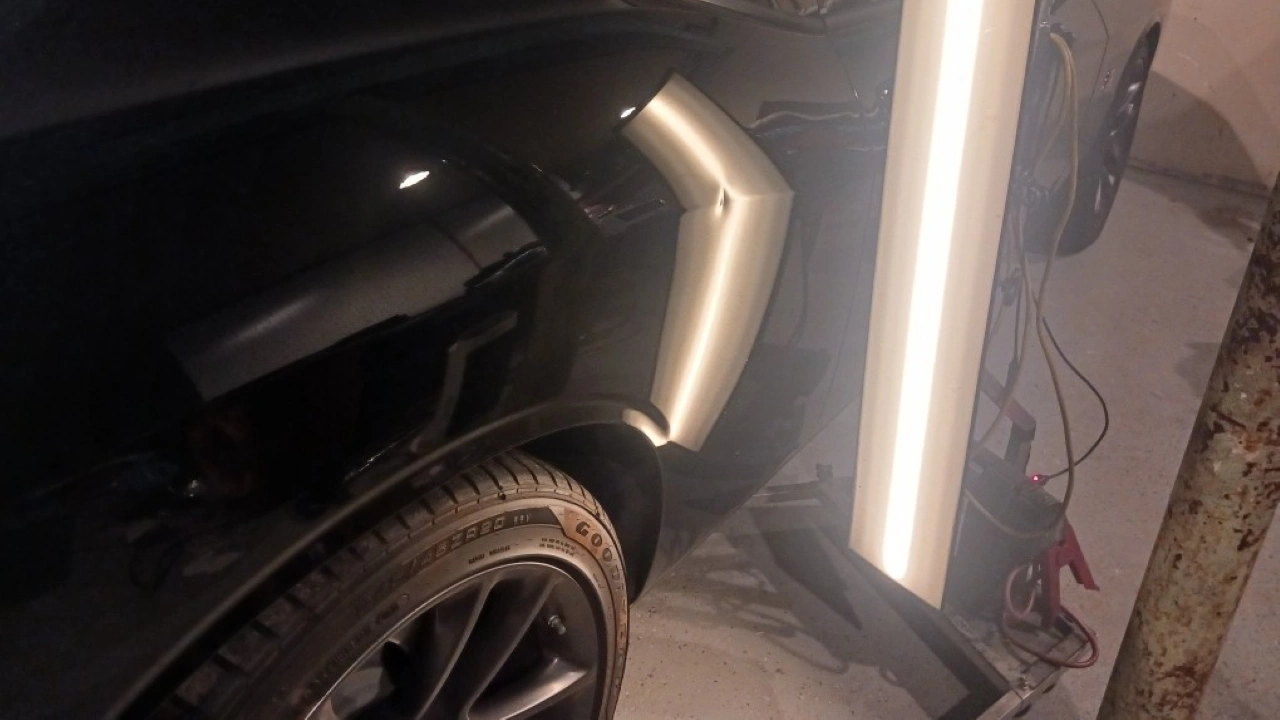
Check the repair by feeling the surface and viewing it from different angles. If the dent remains, repeat the heating and pulling process. Be patient and avoid overheating in a single attempt.
For visual learners, this video demonstrates the heat gun and plunger technique in action:
Safety and limitations
Wear safety glasses when using a heat gun. Work in a well-ventilated area, especially with plastic, as heating can release fumes. Never leave a heat gun unattended.
This method suits shallow, smooth dents on plastic bumpers or thin metal panels like doors and hoods. Deep dents, dents on sharp body lines, or those with cracked paint require professional paintless dent repair (PDR) or traditional bodywork.
Pull out dents with glue tabs
When heat and plunger tools fail on deep creases or stiff metal, the glue tab method offers mechanical advantage. High-temperature adhesive bonds a plastic tab to the dent’s surface, allowing you to pull the metal back into shape without sanding or repainting. It is one of the most effective ways to handle fixing car dents on smooth panels like doors, hoods, and quarter panels.
Prepare the surface and apply the tab
Clean the dented area with isopropyl alcohol to remove wax, grease, and dirt. Residue prevents proper bonding, causing the tab to pop off. Let the surface dry completely.
Cut a glue tab to size (1–2 inches in diameter) and apply high-temperature glue to the back. Press it firmly onto the dent’s center. Hold for 30–60 seconds while the glue cures. Do not rush; a weak bond ruins the pull.
Clean the panel with alcohol, then press a glue tab onto the dent center. Hold for 60 seconds to ensure a strong bond before applying any force.
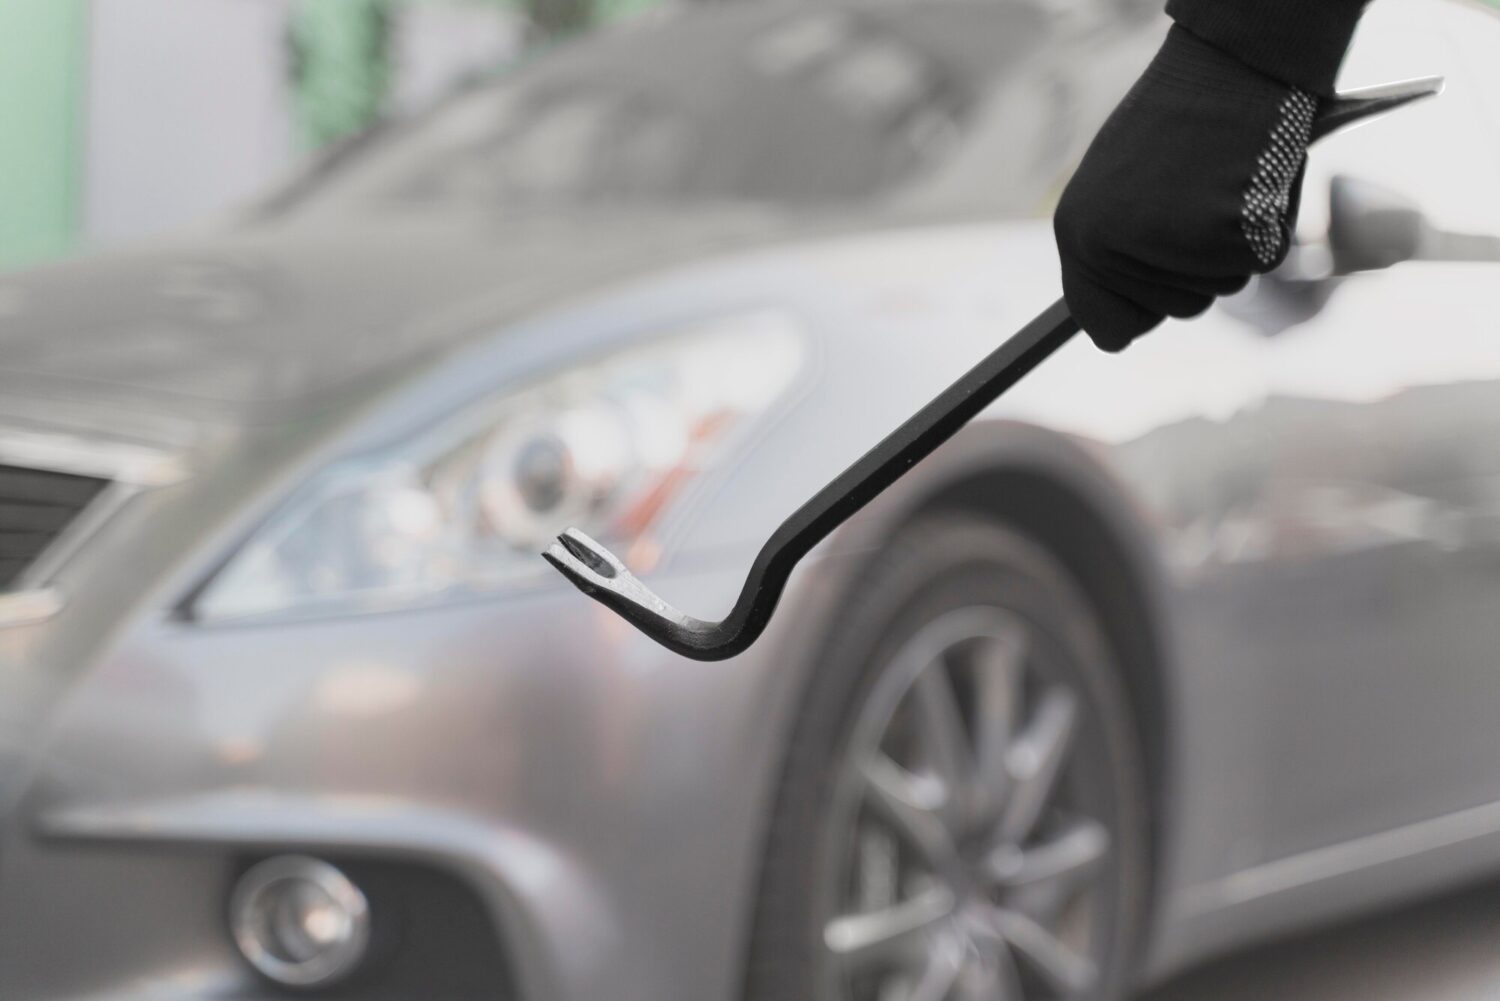
Attach a slide hammer or dent puller to the tab. Pull steadily and firmly. You should see the dent rise as you apply tension. Avoid jerky movements that could tear the paint.
Once the dent is mostly level, heat the tab with a heat gun or hair dryer to soften the glue. Peel it off slowly. Use adhesive remover or rubbing alcohol to clean any leftover glue from the clear coat.
Check the finish and remove residue
Inspect the area under bright light after pulling. The dent should be nearly invisible, though a slight ripple may remain. If the metal is still low, apply a second tab next to the first and pull again. Avoid pulling the same spot repeatedly to prevent stretching the metal.
Remove the glue tab by heating it gently until the adhesive softens. Peel it off at a low angle to avoid lifting the paint. Dissolve remaining glue with adhesive remover or isopropyl alcohol. Wipe clean and apply wax to protect the finish.
Finish and Polish the Repaired Area
The final stage of fixing car dents transforms a rough repair into a professional restoration. Once filler is sanded smooth and primer is cured, remove the orange-peel texture left by sanding and blend the new paint with the surrounding factory finish. This requires patience and the right abrasives to avoid cutting through the new clear coat.
Start by wet-sanding the repaired spot with 1500-grit sandpaper. Keep the surface wet to reduce heat and prevent deep scratches. Sand in a circular motion until the surface feels smooth with no visible ridges. Rinse frequently to check progress. This prepares the surface for polishing, ensuring it removes sanding marks without digging into the clear coat.
Next, apply a fine polishing compound using a foam pad on a dual-action polisher or by hand. Work the compound into the paint in small sections with moderate pressure. This removes the fine haze left by 1500-grit sandpaper and restores gloss. Wipe away residue with a clean microfiber towel. If the repair is still visible, repeat polishing until the surface reflects light evenly with the rest of the panel.
Finally, apply wax or sealant to protect the new paint and help it blend. This adds a barrier against UV rays and road debris. Inspect the repair from multiple angles under natural light to ensure no imperfections remain. A well-finished repair should be invisible to the naked eye.
Use 1500-grit sandpaper with plenty of water. Sand in circular motions until the surface is smooth. Rinse often to check for ridges. This removes the high spots from the primer and filler.
Apply a fine polishing compound with a foam pad. Work in small sections using moderate pressure. Wipe away residue to check for shine. Repeat if necessary to remove sanding haze.
Apply wax or sealant to protect the new paint. Inspect the repair under natural light from multiple angles. The finish should blend seamlessly with the surrounding factory paint.
Common mistakes when fixing car dents
Most DIY dent repairs fail due to haste or wrong tools. Rushing creates new problems harder to fix than the original damage. Sticking to careful, measured steps is the only reliable way to restore your car's finish.
Overheating plastic panels
Plastic bumpers and trim are forgiving but have a breaking point. Applying a heat gun too close or holding it in one spot can melt the surface, warp the shape, or burn your hands. Use a heat lamp or keep the heat gun moving constantly at a safe distance. If the plastic feels too hot to touch with your bare hand, it is too hot to work on.
Using excessive force
Whether using a plunger, glue puller, or hammer and dolly, excessive pressure stretches metal or cracks paint. Metal has limits. Push gently and repeatedly. If the dent does not pop out after a few careful attempts, you are likely applying force in the wrong direction or using the wrong tool.
Ignoring the backside
Trying to push a dent out from the front without supporting the backside spreads the metal thinner. If using a hammer, you need a dolly behind the panel to absorb impact. Without support, you risk creating high spots or stretching the steel, ruining the panel's integrity.
Skipping the cleanup
Glue pullers leave sticky residue, and heat bakes on dirt. If you don't clean the area with isopropyl alcohol before and after the repair, you might trap contaminants under new paint or adhesive. A clean surface ensures you can see the dent's reflection clearly, guiding you when the panel is truly flat.
No comments yet. Be the first to share your thoughts!