
Prep your tools and workspace
Before tackling a dent or a tear in your leather seats, you need to gather the right materials and clear a safe area. AutoBodyRX repairs rely on precision; working in a cluttered or poorly lit space increases the risk of mistakes. Start by clearing a flat, stable surface where you can lay out your tools and access your vehicle comfortably.
Essential Tools for AutoBodyRX
You don’t need a professional shop to get professional results. For dent removal, you’ll need a heat gun or hair dryer, a plunger, and a rubber mallet. If you’re repairing leather, keep a leather cleaner, conditioner, and a patch kit nearby. Having these items within arm’s reach prevents you from leaving the workspace mid-task, which can cause adhesives to dry out or tools to get lost.
Safety First
Heat guns can reach temperatures high enough to damage paint or cause burns if mishandled. Eye protection is critical when popping dents, as debris or plastic fragments can fly. Work in a well-ventilated area, especially if you’re using adhesives or leather dyes, as fumes can be irritating. Keep a fire extinguisher nearby when using heat sources.
Workspace Setup
Ensure your workspace is clean and dry. Dust and moisture can interfere with adhesive bonding on leather and make it harder to see fine cracks or dents. If you’re working in a garage, close the doors to minimize drafts that might cool heat guns unevenly. Good lighting is non-negotiable; use a bright work light to illuminate shadows in dents and texture in leather.
Push out minor door dings
Small door dings are common, but they don’t have to stay that way. If the paint is intact and the metal is accessible from behind, you can often pop the dent back into shape without professional help. The goal is to use leverage and patience, not brute force.
1. Prepare the area
Clean the exterior of the dent thoroughly. Remove any wax or debris so your tools grip properly. If you’re working from behind, remove any interior trim panels to access the metal. Keep the area clear so you can see your progress.
2. Assess the dent
Not all dents are equal. Look at the size and depth. A small, shallow ding in a flat panel is the easiest to fix. If the dent is on a double-walled section or near a reinforcement bar, it will be much harder to push out. For these, a suction cup or glue puller might be necessary.
3. Push from behind
If you have access to the back of the panel, use a wooden block or a specialized dent removal tool. Place it against the back of the dent and push gently but firmly. Work from the outside of the dent toward the center. Use slow, steady pressure. If the metal resists, stop and reassess. Forcing it can stretch the metal or crack the paint.
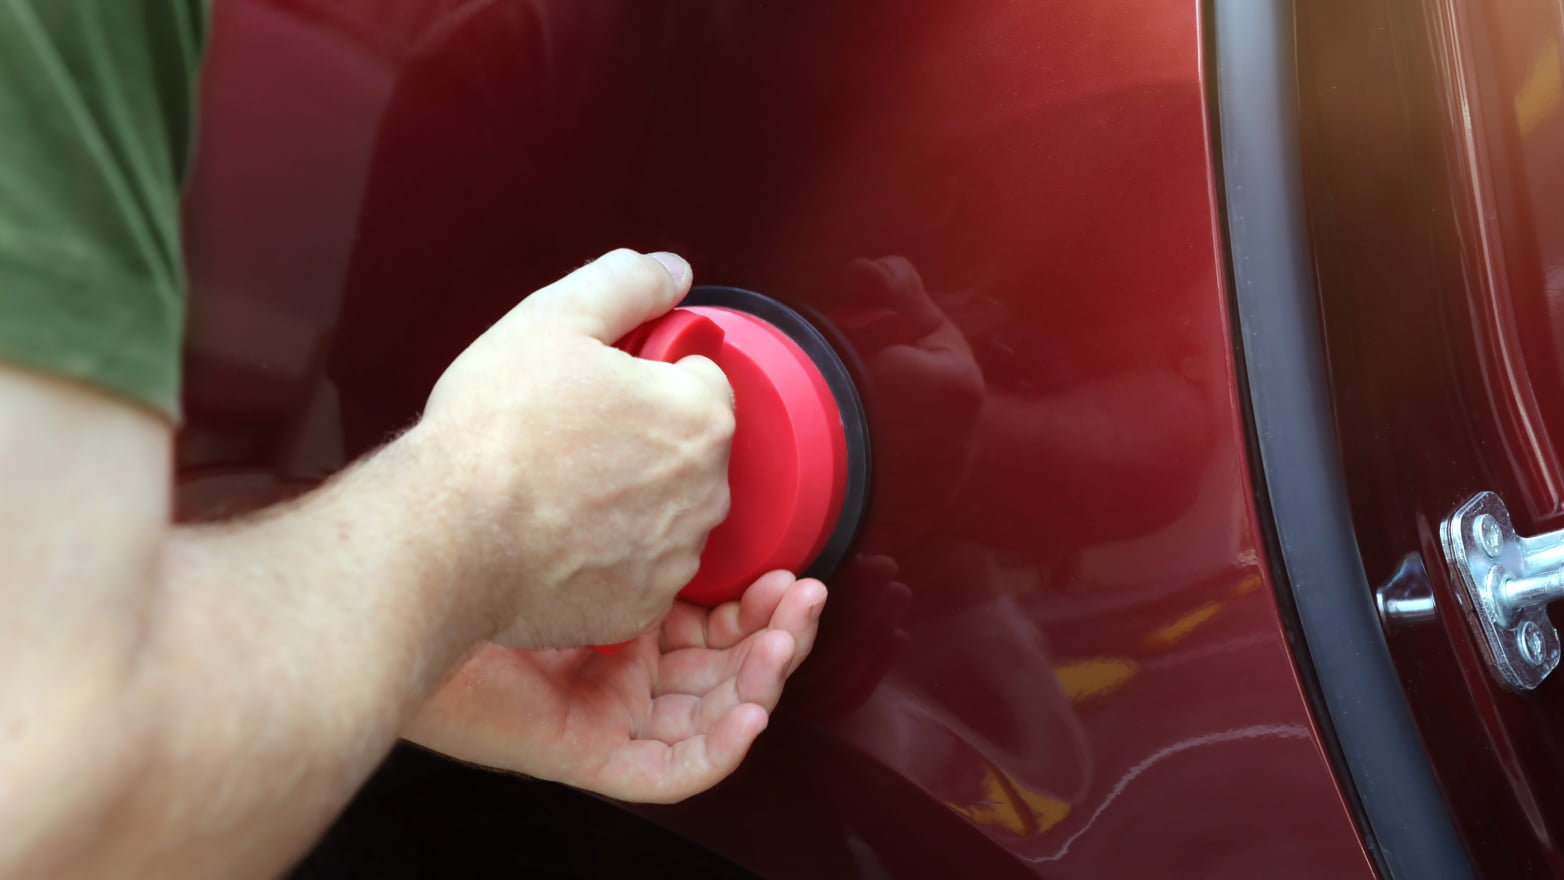
4. Pull from the outside
If you can’t reach the back, use a suction cup. Press it firmly onto the center of the dent. Pull steadily and evenly. If the suction cup doesn’t work, consider a glue pull kit. These kits use hot glue to attach a tab to the dent, which you then pull with a slide hammer. This method is effective for slightly larger dings.
5. Check your work
Once the dent is gone, run your hand over the area. It should feel smooth and flush with the rest of the panel. If you see a slight ripple, you may need to tap it down gently with a rubber mallet and a block. Wipe the area clean and inspect the paint for any chips or cracks.
Clean and condition the leather
Before you apply any adhesive or filler, the leather surface must be completely free of oils, dirt, and old conditioners. These contaminants create a barrier that prevents AutoBodyRX repair materials from bonding correctly. Skipping this step is the most common reason for repair failure, leading to peeling or cracking within weeks.
Start by vacuuming the seat to remove loose debris from the grain. Then, apply a dedicated leather cleaner to a clean microfiber cloth. Gently wipe the entire seat surface, focusing on high-touch areas like bolsters and seams. Avoid using household cleaners, which can strip natural oils or leave residue that interferes with adhesion.
Once cleaned, let the leather dry completely. If the leather feels stiff or dry after cleaning, apply a light conditioner. Allow it to absorb fully and buff off any excess. The surface should be clean, dry, and slightly tacky—not slick or oily—before you proceed to the next repair stage.
Patch and blend leather tears
Once the tear is stabilized, the next phase is rebuilding the surface. You are not just covering a hole; you are recreating the leather’s structure. Start by applying the filler compound into the gap. Use a flexible spatula to press the material deep into the tear, ensuring there are no air pockets. Build the patch slightly higher than the surrounding seat surface to account for shrinkage as it dries.
After the filler cures, sand the area smooth. Use fine-grit sandpaper to blend the patch edges into the original leather. The goal is a surface that feels uniform to the touch. If the leather has a grain pattern, you can use a grain wheel or a textured tool to imprint a matching pattern onto the filler before it fully hardens. This step is critical for hiding the repair under normal lighting.
Color matching is the final hurdle. AutoBodyRX kits include tintable dyes. Mix your colorant to match the seat’s exact shade, testing on a hidden area first. Apply the dye in thin, even layers, allowing each coat to dry before adding the next. Finish with a clear topcoat to restore the seat’s natural sheen and protect the repair from future wear.
Check your repair quality
Before you drive off, run a final inspection to ensure your AutoBodyRX repairs hold up. A quick check now prevents peeling paint or cracked leather later.
Inspect the Dent
Run your hand over the repaired area. It should feel completely smooth, with no bumps or dips. Shine a light across the surface at a low angle; ripples in the reflection mean the metal isn't perfectly straight. If you feel imperfections, use a fine-grit sandpaper and blend the edges again.
Verify the Leather
For leather seats, check the color match under natural light. The repair should blend seamlessly with the surrounding material. Gently press the area; the leather should feel flexible, not stiff or sticky. If the patch feels hard, it needs more conditioning to restore its natural texture.
Final Quality Control
Use this checklist to confirm everything is perfect:
-
Surface is smooth to the touch
-
No ripples visible under angled light
-
Leather color matches surrounding area
-
Repaired leather feels flexible
-
No adhesive residue on surrounding surfaces
Common AutoBodyRX repair mistakes to avoid
Even with the right AutoBodyRX tools, small errors can turn a quick fix into a costly professional repair. Most DIY dent and leather mistakes stem from rushing the prep work or ignoring material limits.
Ignoring surface prep
Paintless dent repair (PDR) and leather patching both fail when the surface isn't clean. Oil, wax, or old adhesive prevents glue from bonding and masks the dent's true depth. Wipe the area with isopropyl alcohol before starting. For leather, ensure the tear is free of loose fibers so the patch adheres evenly.
Using too much heat
Heat guns are tempting for shrinking plastic or softening adhesives, but they are dangerous for car interiors. Excessive heat warps dashboards, melts surrounding leather, and ruins factory paint finishes. If you must use heat, keep the gun moving constantly and test on an inconspicuous spot first. Most AutoBodyRX kits work best at room temperature.
Skipping the test fit
Leather patches and dent pullers need to sit perfectly before you commit. Applying glue to a misaligned patch creates wrinkles that are impossible to fix. Pulling a dent too aggressively can crack the paint or thin the metal beyond repair. Always dry-fit your materials and check the dent's progress frequently before applying permanent pressure or adhesive.
No comments yet. Be the first to share your thoughts!