
Assess dent depth and leather damage
Before buying any tools, you need to know if your car’s bodywork is actually fixable at home. The AutoBodyRX approach focuses on surface-level cosmetic fixes, but deep structural damage requires professional equipment. Misjudging the severity of the damage is the most common reason DIY projects fail, leaving you with worse-looking results than when you started.
Check the dent
Press your thumb gently against the center of the dent. If the metal pops back out easily, it’s likely a shallow ding suitable for paintless dent repair (PDR). If the metal feels stiff or the paint is cracked, the damage is too deep for simple home tools. Deep creases or paint damage usually require professional bodywork. AutoBodyRX focuses on surface-level cosmetic fixes where the metal structure remains intact.
Inspect the leather
Run your fingers over the leather seats to find tears, punctures, or deep cracks. Small surface scratches can often be filled and color-matched with a repair kit. However, if the leather is torn completely through or the foam backing is exposed, the damage is extensive. Attempting to glue large tears without proper reinforcement will result in the patch peeling off within weeks.
Decide on the scope
If your damage is limited to small dents and minor leather scuffs, you can proceed with the AutoBodyRX guide. If you notice rust forming under the paint or large structural bends, stop here and consult a professional. Knowing the limits of your repair saves time and prevents costly mistakes.
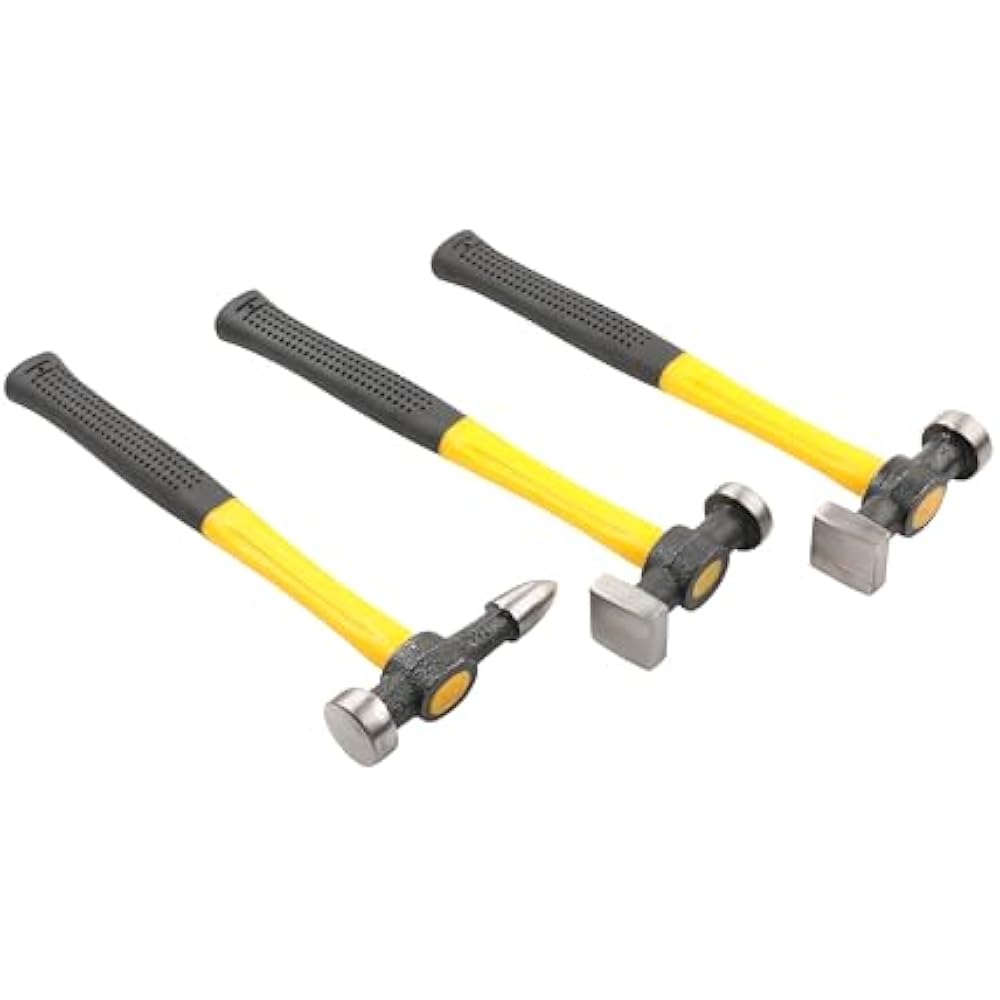
Gather tools for dent removal
Before you begin the dent repair process, assemble your equipment. Having the right car repair tools on hand prevents interruptions and ensures you can address the damage effectively. This section focuses on the specific items needed for dent removal, as part of the broader AutoBodyRX guide covering both dents and leather seats.
You will need a combination of pulling, heating, and finishing tools. Start with a dent removal kit that includes suction cups or glue-pull tabs. These allow you to extract minor dents without damaging the surrounding paint. For deeper imperfections, a slide hammer with a dent puller attachment provides the leverage necessary to pop out larger deformations.
Heat is essential for relaxing the metal and preparing the surface. A heat gun helps warm the panel, making it more pliable for pulling. Pair this with a rubber mallet and a metal dolly; the mallet strikes the metal while the dolly supports the backside, allowing you to smooth out high spots. Finish with a body filler and sandpaper if the dent left a shallow divot that pulling alone couldn't resolve.
Check your work against this list to ensure you are fully prepared:
-
Dent removal kit (suction cups or glue tabs)
-
Slide hammer with dent puller attachment
-
Heat gun
-
Rubber mallet
-
Metal dolly
-
Body filler and sandpaper
Pop out minor dents step by step
Removing small dents yourself is less about brute force and more about controlled pressure. The AutoBodyRX method focuses on pushing the metal back into place from behind, or using suction and heat for surface-level imperfections. This approach works best on shallow dings where the paint hasn't cracked. We will walk through the most reliable technique for accessible dents, which involves pushing the panel from the inside.
Clean and patch leather seats
Before addressing any damage, you must remove surface dirt and oils. Leather conditioners and sprays often trap grime in the pores, which can prevent adhesives from bonding correctly during the repair process. Start by vacuuming the seat to remove loose debris from the crevices and stitching.
Next, apply a dedicated leather cleaner to a microfiber cloth. Wipe the entire seat surface in circular motions, paying extra attention to the damaged area. Allow the leather to dry completely. This step ensures that the patching adhesive adheres directly to the material rather than sitting on top of dirt or old polish.
Check your work and finish up
Before you drive away, inspect your repairs under bright, direct light. Look for uneven paint texture, visible filler lines, or mismatched leather grain. If you used a heat gun or hair dryer on leather, gently flex the material to ensure the repair hasn’t become brittle. For dents, roll your hand over the panel to feel for any remaining ripples or height differences.
Clean the repaired areas with a mild automotive cleaner to remove dust, polishing compound, or adhesive residue. Apply a fresh coat of wax or leather conditioner to protect the work and blend the finish with the rest of the vehicle. This step not only improves appearance but also helps seal the repair against moisture and UV damage.
If you notice any issues, address them now while the materials are still fresh. Minor paint imperfections can often be corrected with a light buffing using a fine polishing compound. For leather, a small amount of matching dye or conditioner can smooth out slight color or texture mismatches.
Once satisfied, store your tools properly and dispose of any hazardous materials according to local regulations. Keep the repair area clean and avoid exposing it to extreme weather or heavy use for at least 24 hours to allow full curing. Your DIY car dent and leather seat fixes are now complete and ready for daily use.
Common questions about AutoBodyRX repairs
Before starting a DIY project, it helps to understand the scope of the work. Bodywork refers to repairs on the vehicle's exterior panels, frame, and structural components. This includes collision restoration, dent removal, paint touch-ups, and alignment fixes that keep the body strong.
AutoBodyRX simplifies these tasks by providing specialized kits for common issues like leather seat tears and minor dents. Below are frequent questions about using these tools effectively.
No comments yet. Be the first to share your thoughts!