

Assess the dent before you start
Not every dent is a candidate for DIY repair. Before gathering tools, determine if the damage is suitable for home methods or if it requires a professional body shop. Attempting to fix complex damage with household items often leads to stretched metal, cracked paint, or a finish that looks worse than the original.
The most reliable rule of thumb involves the dent's location and the condition of the paint. Paintless dent removal (PDR) and simple suction techniques work best on shallow dents where the metal has not been stretched beyond its edge. If the dent is located 1 to 2 inches from the edge of a door, fender, or hood, the underlying structural support usually prevents effective DIY pulling. Similarly, if the paint is cracked, fractured, or missing at the core of the damage, standard dent-pulling methods will fail because the surface layer is already compromised.
Warning: If the paint is cracked or the metal is stretched beyond the edge of a panel, DIY methods will likely fail. Stop here and consult a pro.
When to DIY
- Size: The dent is smaller than a golf ball.
- Depth: The metal is indented but not creased sharply.
- Location: The dent is on a flat, accessible panel like a door or hood.
- Paint: The clear coat and paint are intact with no chips or cracks.
When to Call a Pro
- Creases: Sharp lines in the metal indicate stretched paint and metal.
- Edges: The damage is near the edge of a panel where metal is reinforced.
- Paint Damage: Any crack, chip, or flaking paint requires sanding, filling, and repainting.
- Complex Shapes: Dents on curved body lines or double-walled panels are difficult to access from behind.
If your dent falls into the "Call a Pro" category, attempting to fix it yourself could result in costly mistakes. Professional repair ensures the structural integrity and aesthetic finish of your vehicle are preserved.
Gather your dent repair tools
Before you start pushing or pulling, lay out the right equipment. The tools you need depend on whether you are using a plunger for a shallow, smooth dent or body filler for a deeper crease with cracked paint. Having everything ready keeps the process smooth and prevents you from stopping mid-project to find a missing item.
Essential tools for suction and plunger methods
For minor dents on flat panels like doors or hoods, a simple plunger is often enough. You will also need a clean microfiber cloth to wipe the area and a hairdryer or heat gun to warm the metal slightly, making it more pliable. A rubber mallet can help gently tap the dent out from behind if you have access to the inner panel.
Essential tools for body filler repair
If the paint is cracked or the dent is deep, you will need body filler (often called Bondo), a mixing board, a spreader, and sandpaper. Start with coarse grit (80-120) to shape the filler, then move to finer grit (320-400) to smooth it out. A primer and matching touch-up paint are also necessary to finish the repair and protect the metal from rust.

Quick checklist
- Plunger (plumbing or suction cup style)
- Hairdryer or heat gun
- Microfiber cloths
- Body filler and hardener
- Mixing board and plastic spreader
- Sandpaper (80, 120, 320 grit)
- Primer and touch-up paint
- Rubber mallet
Remove minor dents with heat and suction
Heat and suction is a reliable method for fixing small, shallow dents where the paint is intact. The process relies on thermal expansion to soften the metal, followed by a vacuum pull to pop the indentation back into place. This technique works best on plastic bumpers or thin sheet metal panels like doors and hoods.
1. Clean the dent and surrounding area
Start by washing the dented area with soap and water, then dry it thoroughly. Any dirt or debris trapped between the suction cup and the paint can cause scratches or prevent a strong seal. Wipe the surface with isopropyl alcohol to remove wax or grease, ensuring the area is completely clean and dry before proceeding.
Wash the area with soap and water, then dry it completely. Wipe with isopropyl alcohol to remove wax or grease for a strong suction seal.
2. Apply heat to the dent
Use a hair dryer or heat gun to warm the center of the dent. If working on a plastic bumper, hold the heat source about 6 inches away and move it in a circular motion for 30 to 60 seconds. The metal or plastic should feel hot to the touch but not melting. Heating expands the material, making it more pliable and easier to reshape.

Use a hair dryer or heat gun to warm the dent for 30–60 seconds. Keep the heat source moving to avoid damaging the paint. The panel should feel hot but not melting.
3. Attach the suction cup
Press a large, strong suction cup firmly over the center of the heated dent. Apply steady pressure to create an airtight seal. If using a plunger, ensure the rim is clean and flat against the paint. For best results, choose a suction device with a locking mechanism or a handle that allows you to pull straight back without slipping.
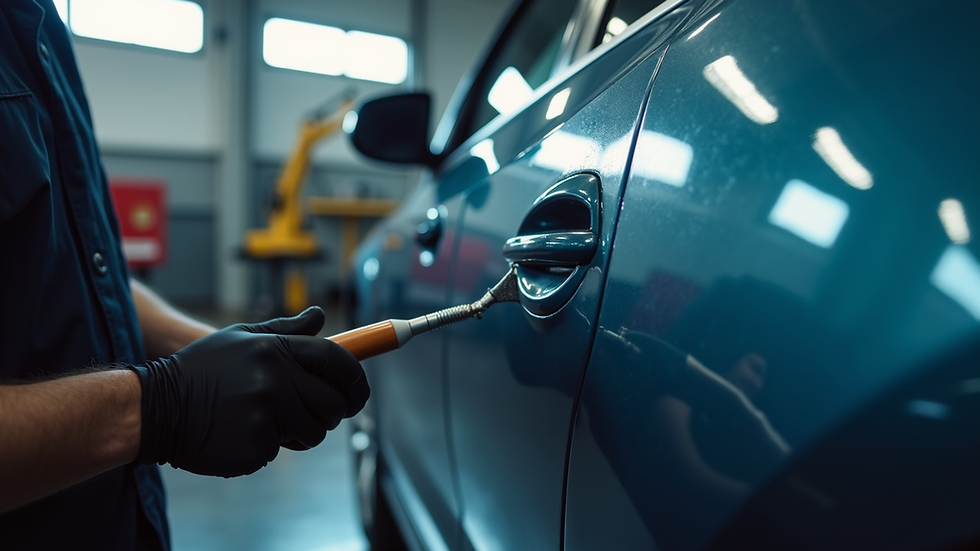
Press a large suction cup or plunger firmly over the center of the dent. Apply steady pressure to create an airtight seal before pulling.
4. Pull the dent out
Grip the handle of the suction device and pull straight back with steady, even force. Avoid jerking motions, which can damage the paint or detach the suction cup. Hold the pull for a few seconds, then release slowly. If the dent does not pop out immediately, reheat the area and try again. Some dents may require multiple attempts.

Pull straight back on the suction cup with steady force. Hold for a few seconds, then release slowly. Reheat if the dent doesn't pop out on the first try.
5. Inspect and cool the area
Once the dent is removed, let the panel cool naturally. As the metal contracts, it may settle slightly, so check the surface for any remaining imperfections. If a small bump remains, you can gently tap it down with a rubber mallet or use a dent removal kit to fine-tune the finish. Avoid hammering directly on the paint.

Let the panel cool naturally. Check for remaining imperfections and gently tap down any small bumps with a rubber mallet if needed.
Fill deeper dents with body compound
When a dent is too deep or creased for a puller, body filler (often known by the brand name Bondo) becomes the necessary solution. This two-part mixture of resin and hardener creates a durable layer that restores the panel's original shape. It is a more invasive process than paintless repair, requiring careful sanding and preparation to ensure the finish looks factory-smooth.
Mix and apply the filler
Start by cleaning the exposed metal and sanding away any loose paint or rust. Apply a thin layer of self-etching primer to the bare metal to help the filler bond properly. Once the primer cures, mix a small batch of body filler with the hardener strip according to the manufacturer's instructions. Use a flexible spreader to press the mixture firmly into the dent, overfilling it slightly to account for shrinkage as it cures. Remove excess material around the edges to create a smooth transition to the surrounding panel.
Sand the filler to shape
Once the filler has hardened, use a sanding block with coarse grit sandpaper (80-120 grit) to level the surface. Sand in a cross-hatch pattern to remove high spots and bring the filler flush with the metal. Periodically step back and feel the area with your hand to detect any dips or ridges that need attention. This stage requires patience; rushing the sanding process often leads to visible imperfections under the paint.
Feather the edges and refine
Switch to finer grit sandpaper (180-320 grit) to smooth out the scratches left by the coarse sanding. Focus on "feathering" the edges of the filler, blending it seamlessly into the surrounding painted surface. The goal is to create a gradual transition that is invisible to the touch. Wipe away all dust with a tack cloth to ensure a clean surface for the next layer of primer or paint.
Sand the dented area to bare metal and apply a thin coat of self-etching primer. This creates a chemical bond for the filler, preventing it from popping off later.
Mix the filler with hardener and spread it evenly over the primed area. Overfill slightly to allow for sanding down to the perfect level.
Use a sanding block with 80-grit paper to level the filler. Switch to finer grits to feather the edges into the surrounding paint.
Finish with primer and touch-up paint
Applying primer and paint seals the repair, preventing rust and restoring the car's original finish. This final stage blends the body filler with the surrounding metal, ensuring a smooth, durable surface that matches the factory paint job.
Spray a thin, even coat of self-etching primer over the sanded filler and any exposed bare metal. This primer chemically bonds to the surface, creating a stable base for the paint. Let it dry completely according to the manufacturer's instructions, usually for 15–30 minutes.
Once the primer is dry, sand it with 600-grit wet sandpaper. Keep the surface wet to avoid clogging the paper and to create a uniform, matte finish. Wipe away the slurry with a tack cloth to remove all dust before painting.

Apply your matched touch-up paint in several thin layers. Thick coats will run or drip, ruining the finish. Allow each layer to flash off (become tacky) before applying the next. Build up the paint until it is slightly level with the surrounding clear coat.
Spray a layer of clear coat over the painted area to protect the color and add gloss. This layer also helps blend the repair with the original factory finish. Let it cure for at least 24 hours before wet sanding or polishing to avoid pulling the paint.
After the clear coat has fully cured, wet sand the area with 1500-grit and then 3000-grit sandpaper to remove any orange peel or overspray. Follow this with a rubbing compound and then a fine polish to restore the showroom shine. This process ensures the repair is invisible to the naked eye.
Common questions about dent repair
Before you start, it helps to know what’s realistic. While many small dents are easy to fix at home, some damage requires professional tools or parts replacement. Here are answers to the most frequent questions about cost, feasibility, and limits.
No comments yet. Be the first to share your thoughts!