
Why Model Y handles fail
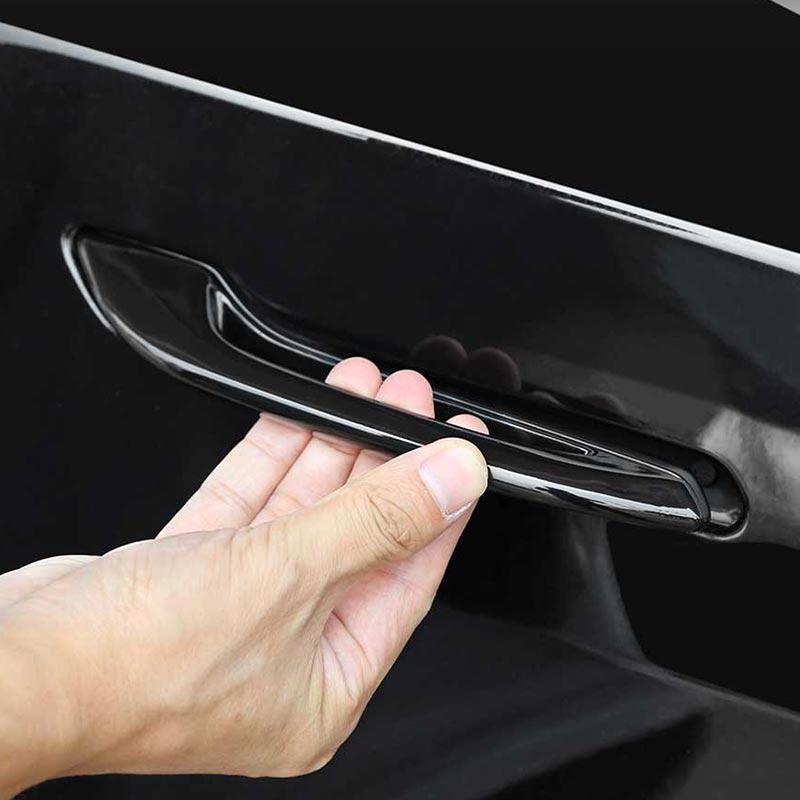
There’s nothing more frustrating than when a key feature of your car just…stops working. For many Tesla Model Y owners, that frustration comes in the form of a malfunctioning door handle. It’s a common complaint, and one that can quickly turn a convenient daily driver into a source of annoyance. The sleek, futuristic design of the Model Y’s handles is cool, but it also introduces potential points of failure not typically found in traditional car doors.
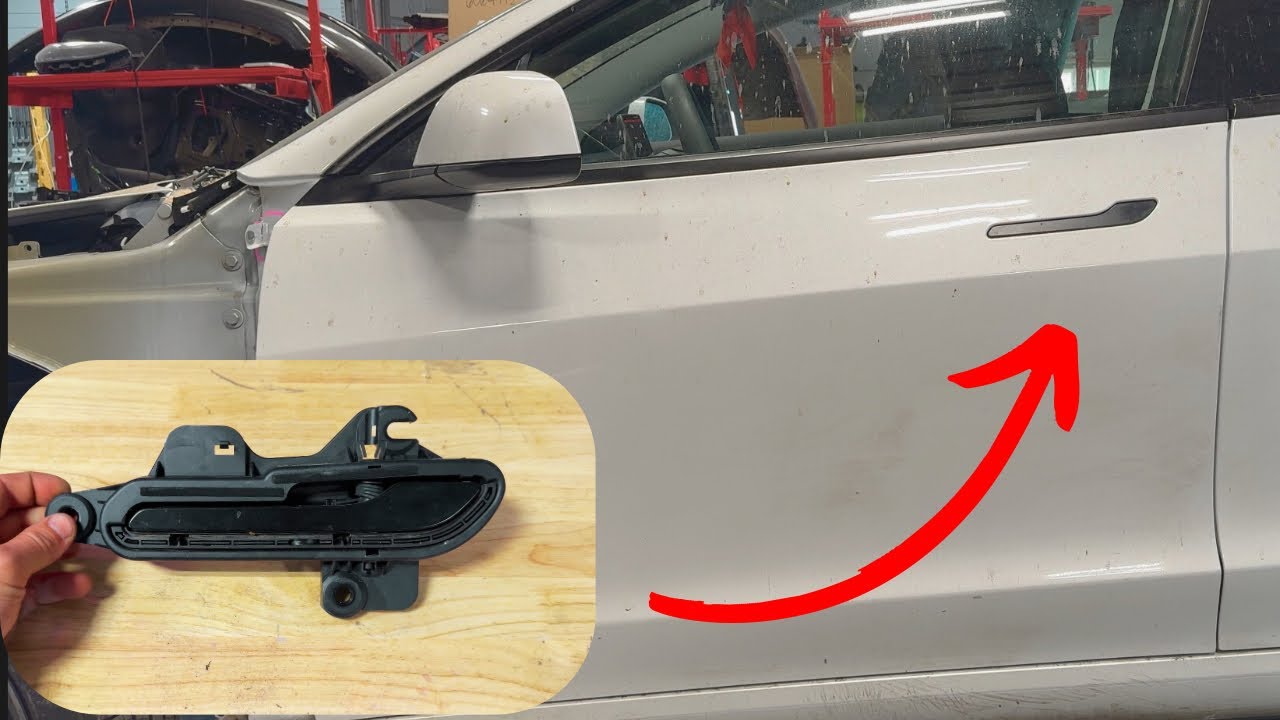
Unlike conventional handles, the Model Y uses an intricate system of actuators, cables, and a latch mechanism all working together. The most common failure points are the actuator itself – the small motor that extends and retracts the handle – and the cable that connects the actuator to the latch. The latch mechanism can also become problematic, though less frequently. These components are subject to wear and tear, especially with repeated use.
Tesla service centers usually quote between $750 and $1,200 for a full handle replacement. It is a steep price for a mechanical fix you can do in your driveway. The 2026 Model Y uses the same hardware as previous years, so the repair process hasn't changed.
Required tools and parts
Before you start, gathering the right tools and parts is essential. You’ll need a set of Torx bit drivers, specifically T20 and T30 sizes – these are used for most of the screws holding the door panel in place. A plastic trim removal tool is absolutely necessary; metal screwdrivers will likely scratch or damage the interior panels. A small flathead screwdriver will be useful for gently prying connectors, and a socket wrench set might be needed for certain screws.
As for parts, you’ll definitely need a replacement door handle actuator. These can be found on Amazon for around $150-$250, or through Tesla parts websites like Tesla Parts Direct. Depending on the diagnosis, you may also need a new cable; these typically cost between $50 and $100. It’s always a good idea to have a small container or organizer to keep track of all the screws and clips you remove – trust me, you’ll thank yourself later.
Using the correct tools is critical. Forcing screws or using the wrong type of tool can easily strip the heads or damage the plastic trim. A little patience and the right equipment will go a long way in preventing further complications. Always double-check part numbers to ensure compatibility with your specific Model Y build date.
- Torx bit set (T20, T30)
- Plastic trim removal tools
- Small flathead screwdriver
- Socket wrench set
- Door handle actuator (OEM or aftermarket)
- Replacement door handle cable (if needed)
- Small container for screws and clips
Tools & Parts Checklist
- Torx Screwdriver Set - For removing interior door panel screws and handle mechanisms.
- Plastic Pry Tool Set - To safely remove door panel clips without damage.
- Tesla Model Y Door Handle Assembly (Replacement) - If the handle itself is faulty. Verify correct side!
- Door Panel Clips (Retainers) - New clips are often needed as the originals can break during removal.
- Microfiber Cloths - For cleaning surfaces and preventing fingerprints.
- Dielectric Grease - To lubricate electrical connectors and prevent corrosion.
- Socket Set - Including various sizes for potential bolt removal during handle access.
- Multimeter - To test electrical connections and ensure proper voltage to the handle mechanism.
Removing the door panel
Start by prying up the window switch panel with a plastic trim tool. There are clips underneath, so don't force it. Once it's loose, press the release tabs on the electrical connectors to unplug the windows and locks.
Next, locate and remove the screws hidden behind the door handle trim and the armrest. These screws are often covered by small plastic covers that you can pop off with a flathead screwdriver. Once all the screws are removed, start carefully prying the door panel away from the door frame. Work your way around the edges, gently releasing the clips. This is where the trim removal tool is your best friend. Don’t yank on the panel – you could break the clips.
Note the order of the clips as they pop out to make reassembly easier. Disconnect the interior door handle cable and any remaining wiring. Label the connectors if you're worried about mixing them up.
Remember to be patient and methodical. Rushing this step can lead to broken clips or damaged trim. Take your time and double-check that you’ve removed all the screws and clips before attempting to remove the panel completely.
- Remove window switch panel.
- Disconnect electrical connectors for power windows and door locks.
- Remove screws hidden behind door handle trim and armrest.
- Gently pry the door panel away from the door frame.
- Disconnect cables and remaining electrical connectors.
Accessing the handle mechanism
With the door panel removed, you’ll need to access the door handle mechanism. This usually involves peeling back the plastic vapor barrier – be careful not to tear it, as you’ll need to reattach it later. Underneath the vapor barrier, you’ll find the internal components of the door, including the actuator and the cable connecting it to the door latch.
Locate the door handle actuator. It’s a small electric motor attached to the door latch mechanism. The cable runs from the actuator to the exterior door handle. You may need to remove some additional plastic brackets or insulation to get a clear view of the actuator and cable. Sometimes these brackets are held in place by more Torx screws.
Pay attention to how the cable is routed. You’ll need to replicate this routing when you install the new actuator or cable. Take a picture or make a sketch for reference. The actuator is usually held in place by a few screws or clips. Identify these before attempting to remove the actuator.
Replacing the actuator
Now for the core of the repair: replacing the actuator. First, disconnect the cable from the actuator. This usually involves releasing a small clip or lever. Be gentle – you don’t want to break the clip. Then, remove the screws or clips holding the actuator in place. Once the actuator is free, carefully remove it from the door. Note its orientation for reinstallation.
Install the new actuator, ensuring it’s properly aligned with the cable and the latch mechanism. Secure it with the screws or clips you removed earlier. Reconnect the cable to the actuator, making sure it’s securely fastened. Before reassembling everything, it’s crucial to test the actuator. Connect the electrical connector to the actuator and use the interior door handle to activate it. The handle should extend and retract smoothly.
If the actuator doesn’t respond, double-check the electrical connection and ensure the cable is properly connected. A common issue is a loose electrical connector. Also, make sure the actuator isn’t obstructed by anything. If it still doesn’t work, the new actuator might be defective, and you’ll need to replace it. It’s much easier to diagnose this issue before you’ve put the door panel back on.
Troubleshooting at this stage saves a lot of headaches later. If the actuator is working, proceed to the next step. If not, don't force anything and re-examine your connections.
Cable Inspection and Replacement (If Needed)
While you have access to the door handle mechanism, it’s a good idea to inspect the cable for any signs of damage. Look for fraying, kinks, or cracks. If the cable is damaged, it needs to be replaced. Replacing the cable can be tricky, as it involves routing it through tight spaces within the door.
To replace the cable, disconnect it from both the actuator and the door latch. Then, carefully remove the old cable, noting its routing. Install the new cable, following the same route as the old one. Ensure the cable is properly connected to both the actuator and the latch. This often involves maneuvering the cable through small openings and around other components.
If you find the cable replacement particularly difficult, don’t hesitate to seek professional help. It’s better to have a professional handle it than to risk damaging other components. It’s important to only replace the cable if it’s demonstrably damaged; preventative replacement isn't usually necessary and adds complexity to the repair.
Reassembly and Testing
With the actuator (and cable, if replaced) installed, it’s time to reassemble the door panel. Carefully reattach the plastic vapor barrier, ensuring it’s properly sealed. Reconnect all the electrical connectors you disconnected earlier – power windows, door locks, interior door handle, etc. Double-check that everything is securely connected.
Then, carefully align the door panel with the door frame and press it into place, ensuring all the clips snap back into position. Reinstall the screws you removed earlier, including those hidden behind the door handle trim and armrest. Finally, reinstall the window switch panel.
Once the door panel is fully reassembled, test the door handle functionality. Try opening and closing the door from both the inside and outside. Ensure the handle operates smoothly and securely. If the handle still doesn’t work, double-check all your connections and ensure the actuator is properly aligned. If the repair fails, the issue might be with the door latch mechanism itself, requiring further diagnosis and potential professional assistance.


No comments yet. Be the first to share your thoughts!