

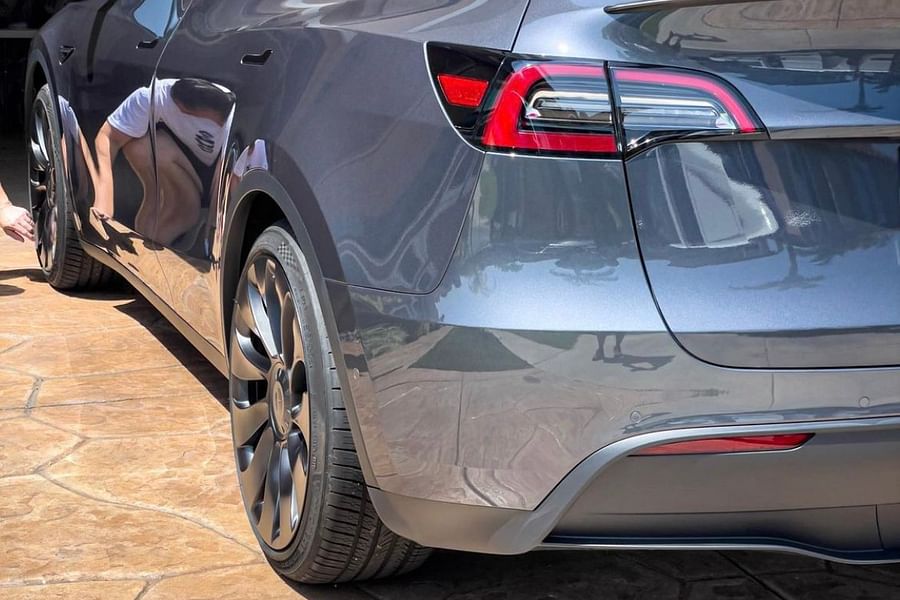
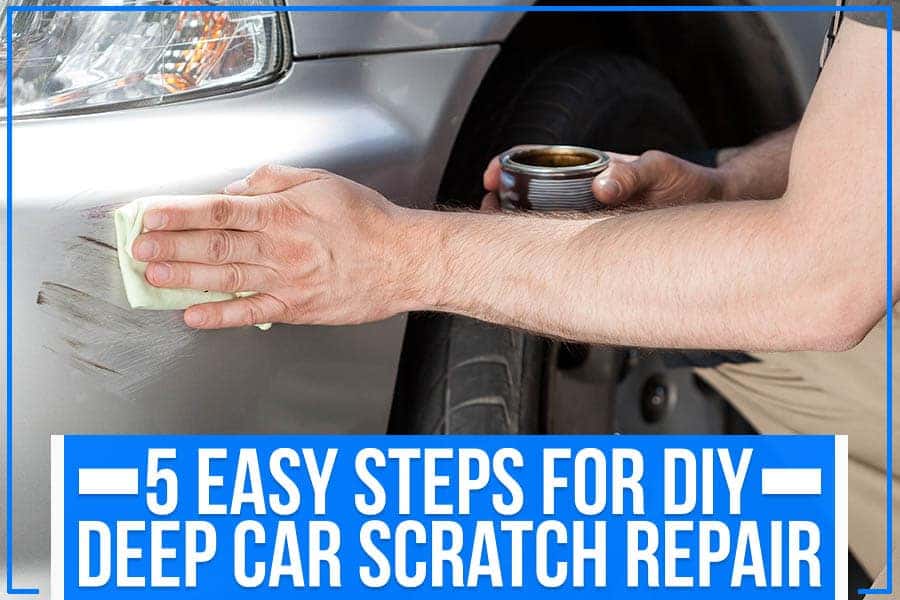
It's a beautiful day until you see it—a blemish on your car's otherwise pristine paint job. A minor scratch might not seem like a big deal, but it can have a major impact on your vehicle's appearance and value. Fear not, as fixing a scratch on your car is not only possible; it's also something you can often do yourself with the right knowledge and tools.
Understanding Car Scratches: More Than Just Surface Deep
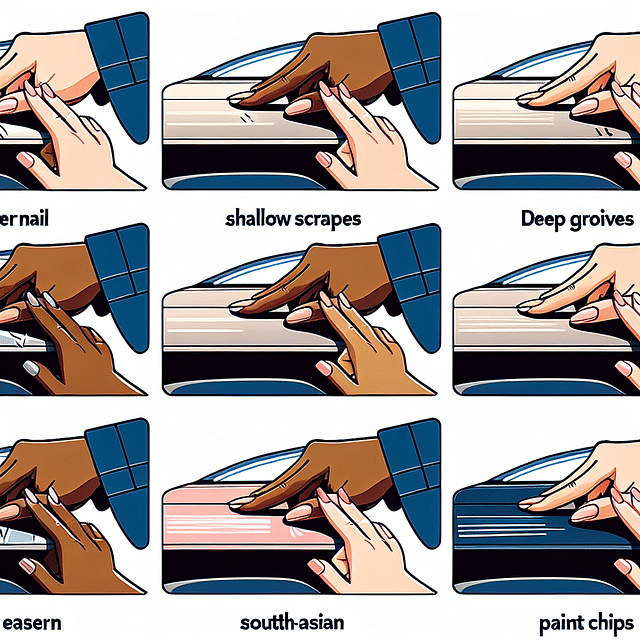
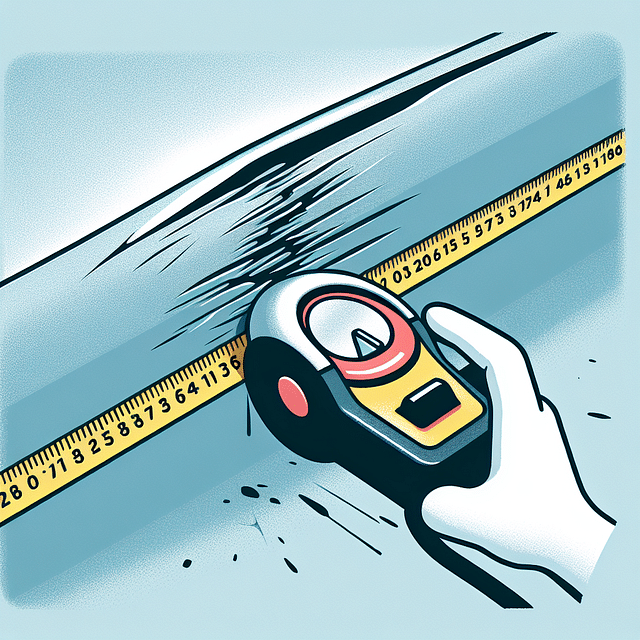
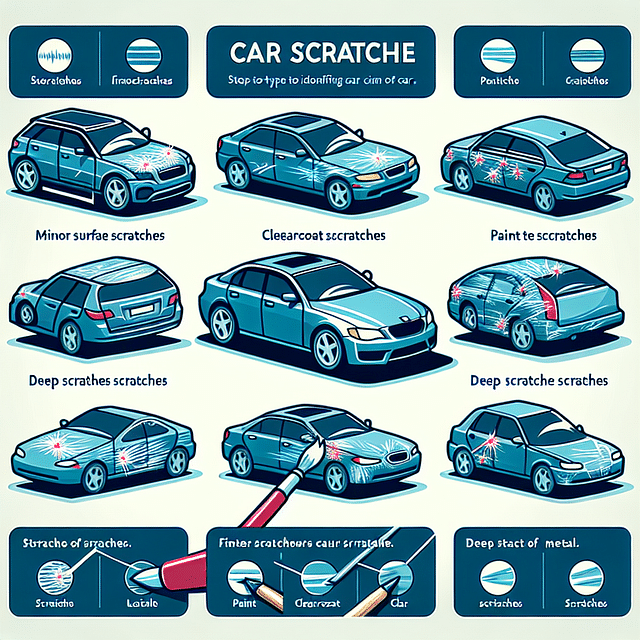
Before diving into the repair process, it's essential to understand the different types of scratches your car might endure. Scratches can range from clear coat damage, which is relatively minor, to deep scratches that reach the base coat or metal. The depth and severity of the scratch will determine the appropriate repair method. To help you identify the type of scratch you're dealing with, we've prepared an interactive guide that illustrates common scratch scenarios.
Identifying Car Scratch Types: A Step-by-Step Guide

Once you've identified the type of scratch, it's time to gather your materials. For clear coat scratches, a simple polish might do the trick. However, deeper scratches may require more extensive repair kits or even professional attention. Our comprehensive list includes all necessary items for different levels of DIY scratch repair.
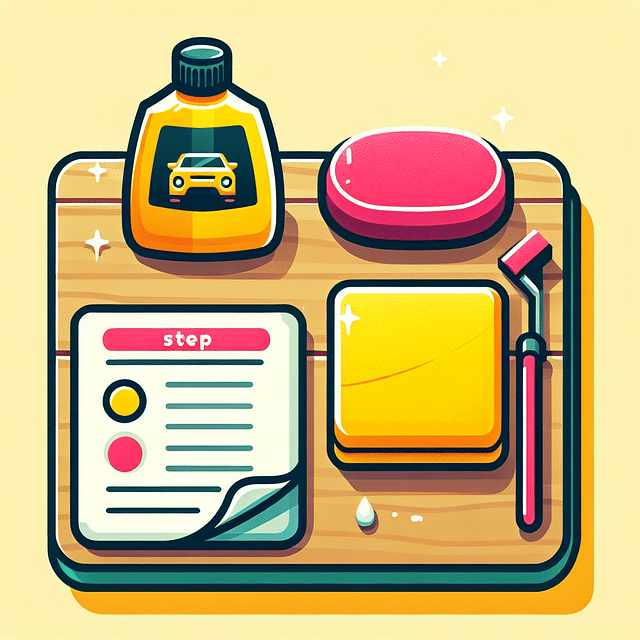
DIY Scratch Repair Kit
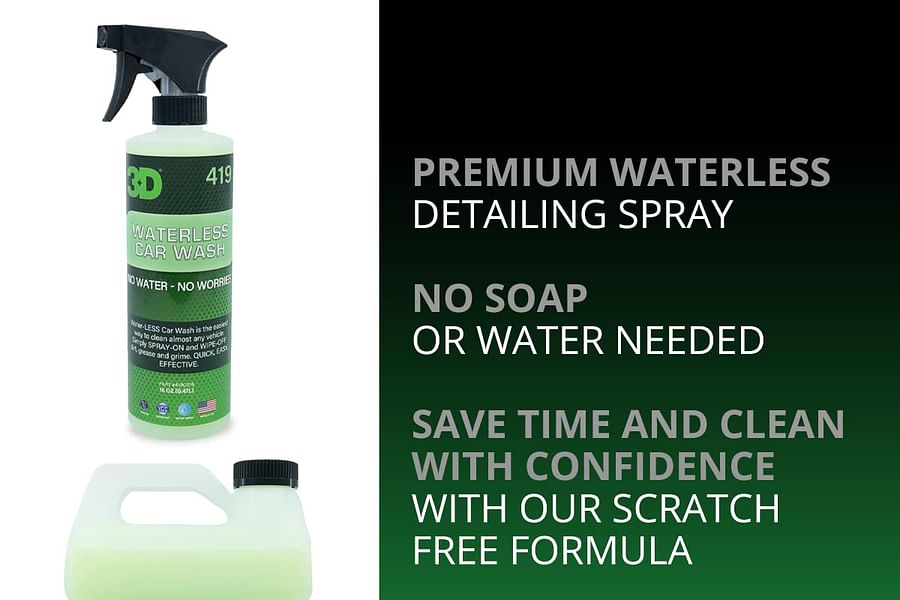
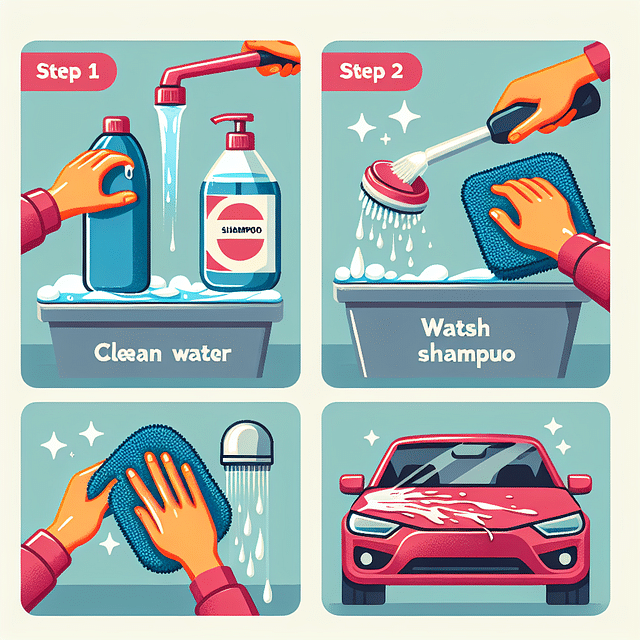
- Soap and Water - Begin with a clean surface by washing the affected area.
- Microfiber Cloth - Dry the surface without adding scratches.
- Sandpaper - For deeper scratches, start with 2000-grit and finish with 3000-grit.

- Clear Coat Pen - Minor scratches can be filled in with a clear coat pen.

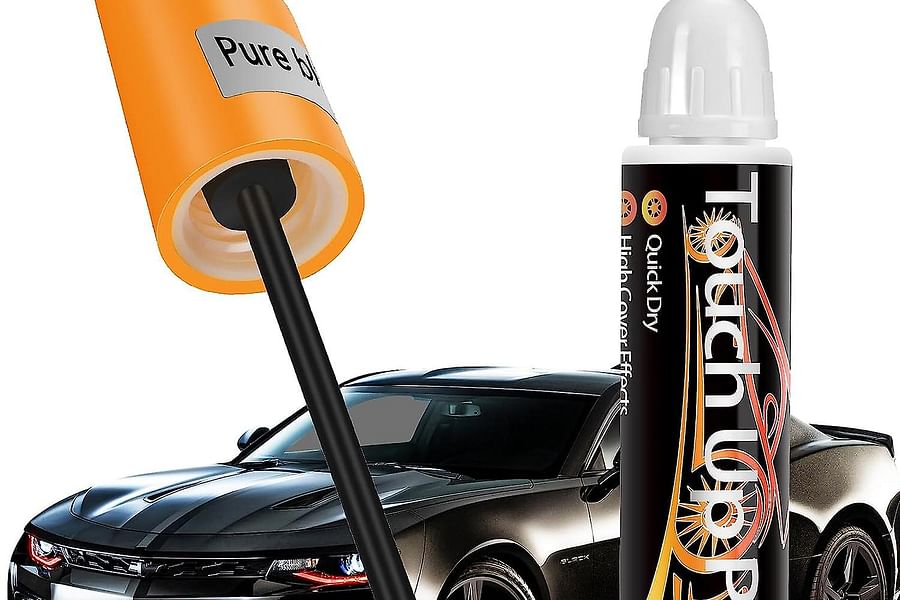
- Touch-up Paint - Match your car's color to cover the scratch effectively.
- Paint Leveler - Remove excess touch-up paint for a smooth finish.
- Polishing Compound - Restore shine and blend the repair with the surrounding paint.
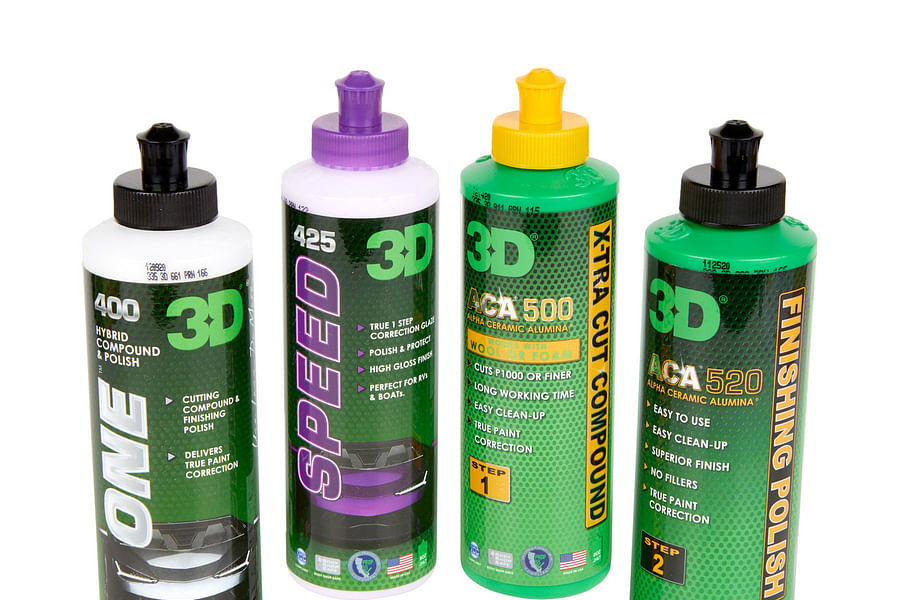
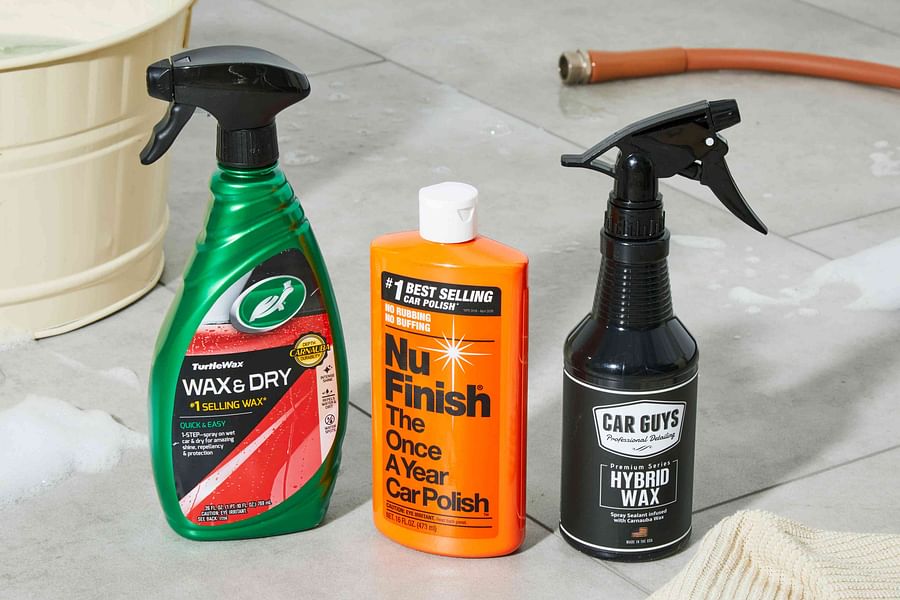
- Wax - Protect the area and improve the gloss after repair.
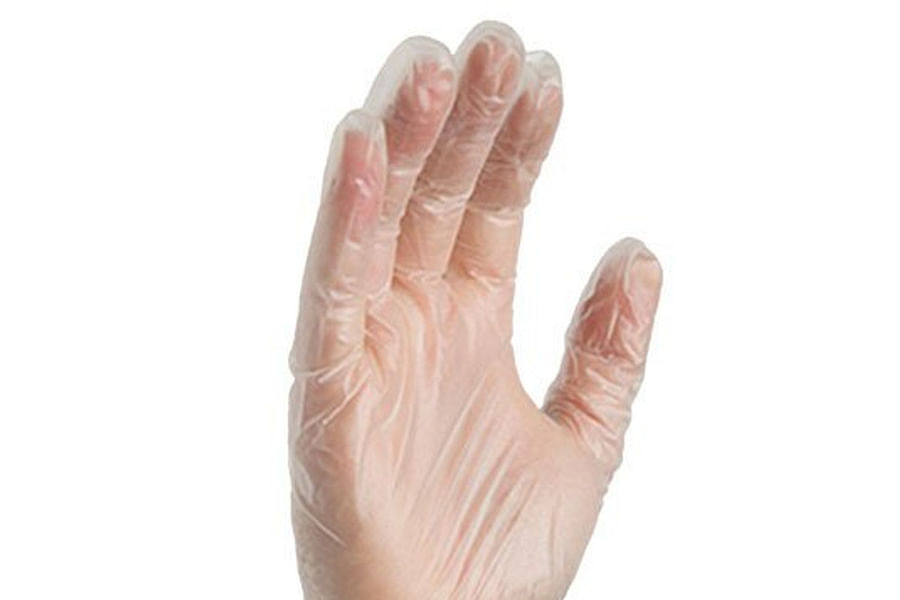
- Plastic Gloves - Keep your hands clean and avoid contaminating the repair site.
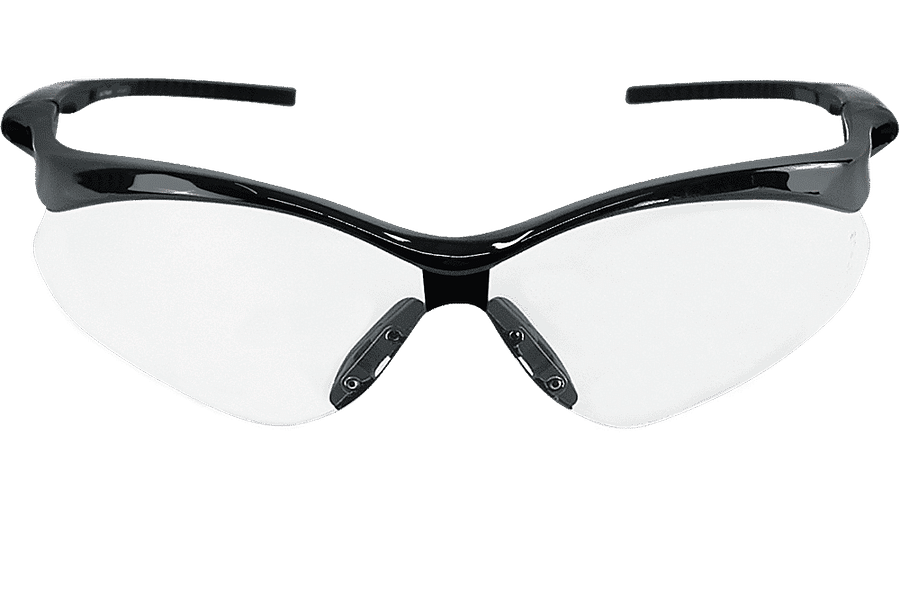
- Safety Glasses - Protect your eyes from debris when sanding or applying products.
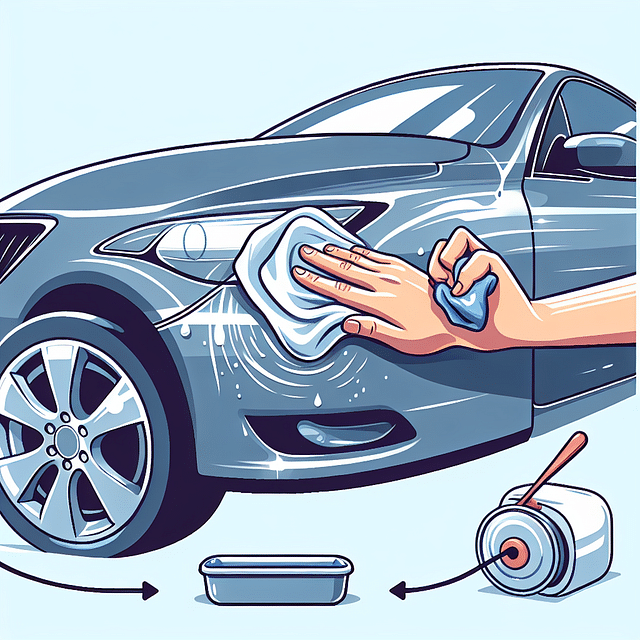
The DIY Approach: Fixing Minor Scratches at Home
If you've determined that your car has a light surface scratch, congratulations—you're likely able to fix it yourself! A minor scratch that hasn't penetrated past the clear coat is often remediable with some elbow grease and a few key products. To walk you through this process step by step, we've created an easy-to-follow video tutorial that shows how to effectively remove minor scratches and restore your car’s shine.
For those who are more text-oriented or prefer to read at their own pace, our detailed article on fixing minor paint scratches provides additional tips and tricks for tackling this common issue.
DIY Magic: Repairing Minor Paint Scratches & ChipsWhen Scratches Go Deep: Navigating More Serious Damage
Deeper scratches that reach beyond the clear coat present a more challenging situation but are still manageable with patience and precision. These types of damages often require color matching and applying layers of touch-up paint. To ensure you get an exact match for your vehicle’s paint color, use our interactive color code finder tool embedded in our in-depth guide on how to fix deep scratches.
Discover Your Car's Paint Color Code
Got a scratch on your car? No worries! Take our quick quiz to find out how to locate your car's exact paint color code and get that scratch fixed seamlessly!
Once you have your color code and touch-up paint ready, it's time for action. We've put together a comprehensive checklist that will keep you organized through each step of repairing deeper scratches—from cleaning the area to applying clear coat for protection.
Maintaining your vehicle's appearance isn't just about aesthetics; it also impacts its resale value significantly. Even if selling isn't in your immediate plans, preserving your car’s value is always wise. Learn why addressing these imperfections sooner rather than later can benefit you financially in our insightful article:
Should We Fix Scratches And Dents On Our New Car Before Selling It?Once you've prepared the scratch for repair, it's time to move on to the actual painting process. This is where precision and patience come into play. You'll want to work in a well-ventilated area and ensure that no dust or debris can settle into the fresh paint. Begin by applying a base coat of paint that matches your car's color. It's essential to find the exact color match; your vehicle's paint code is usually located on a sticker inside the driver's door jamb or under the hood.
Applying Touch-Up Paint Like a Pro
When applying touch-up paint, use a fine brush or applicator for small scratches. If you're dealing with larger areas, a spray can may be more appropriate. Apply thin layers, allowing each layer to dry before applying the next. This gradual build-up will help blend the repair with the surrounding paintwork.
After applying several thin coats of touch-up paint and allowing sufficient drying time, you might notice that the repaired area looks slightly raised compared to the rest of the surface. This is where sanding comes in. Using ultra-fine sandpaper (2000-grit or higher), gently wet sand the area until it is flush with the surrounding paintwork.
The Art of Polishing and Buffing
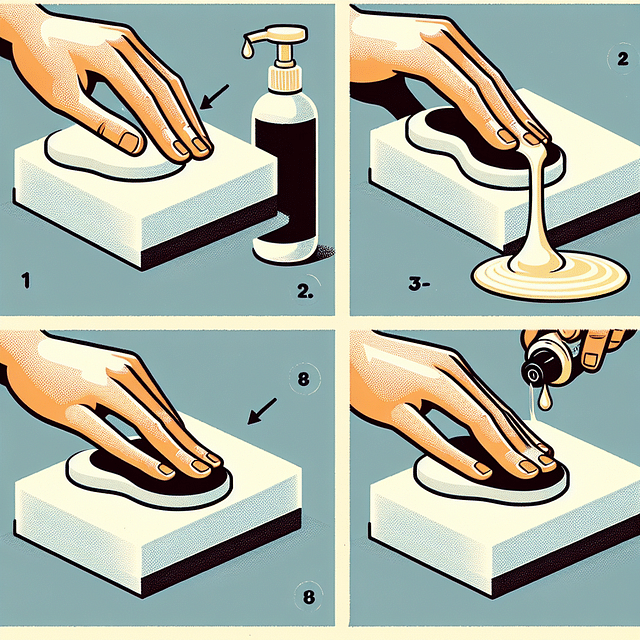
Polishing is an art that requires a gentle touch and attention to detail. After sanding, you'll want to restore that showroom shine by using a quality polishing compound. Apply it with a soft cloth or buffing pad, using circular motions until you see a glossy finish.
Polishing Perfection: A Step-by-Step Guide to a Flawless Finish


Remember, during these steps, protection is key—not just for your car's surface but also for yourself. Always wear safety goggles and gloves when handling paints and chemicals.
Maintaining Your Car’s Finish Post-Repair
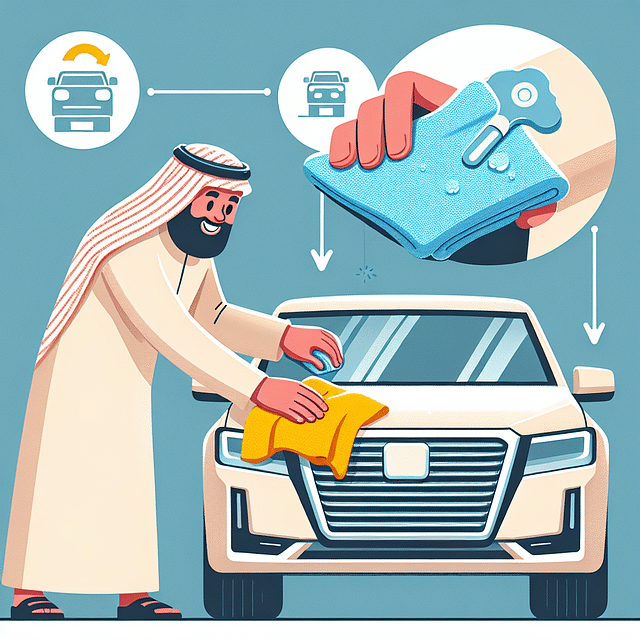
The scratch may be gone, but maintenance is what helps preserve your car's value in the long run. Regularly washing and waxing your vehicle will protect the new paint job and keep it looking fresh. Consider using products with UV protection to prevent fading caused by sunlight exposure.
If you’re unsure about tackling scratch repair yourself or if you have a particularly deep or complex scratch, don't hesitate to seek professional help. While DIY can save money, sometimes investing in expert service can ensure top-notch results and maintain your car’s resale value.
Determining whether to fix scratches before selling is also crucial; even minor blemishes can impact buyer perception and thus affect your car's marketability.
Remember: The goal isn't just about making your car look better; it’s about preserving its value over time.
To test your knowledge on DIY car scratch repair or just learn more fun facts, take our interactive quizzes:
[quiz: Test your knowledge on DIY car scratch repair] [quiz: Car Scratch Repair Quiz]Maintaining your vehicle doesn't end with fixing a scratch; it’s an ongoing commitment that pays off when it comes time to sell or trade-in. For more information on how to handle different types of scratches from minor scuffs to deeper grooves, visit our comprehensive guides:
- DIY Magic: Repairing Minor Paint Scratches & Chips
- Revive Your Ride: Fixing Deep Scratches With A Touch-Up Paint Kit
- DIY Guide To Fixing Deep Scratches On Your Car
- Tackling Car Paint Imperfections: How To Fix Deep Scratches & Paint Chips
- The Cure For Common Scratches: An In-Depth Guide On How To Fix Deep Scratches On Your Car
- Shine On: How To Fix Deep Scratches On Your Car’s Paint And Keep It Gleaming
- Say Goodbye To Scratches: A Comprehensive Guide On How To Fix Car Scratches And Paint Chips
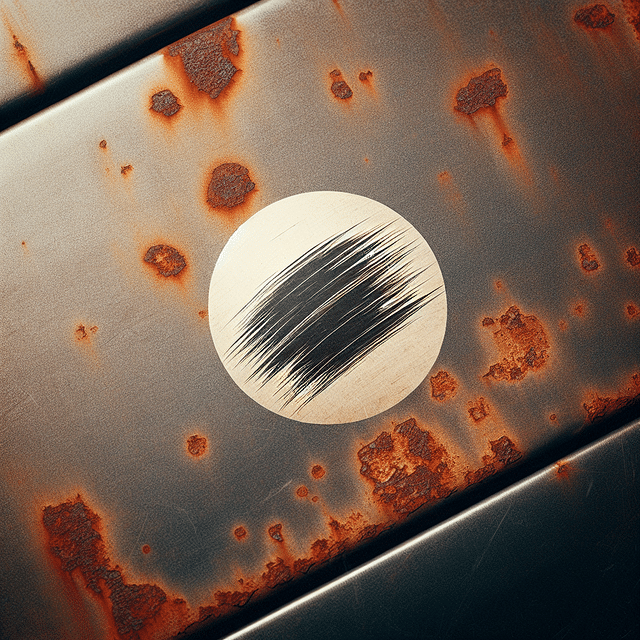
Treating car scratches promptly not only keeps your vehicle looking pristine but also guards against rust and long-term damage that could significantly reduce its value. With these practical tips, tools, and techniques at your disposal, preserving both aesthetics and resale worth becomes an achievable task for any dedicated car owner.

No comments yet. Be the first to share your thoughts!