
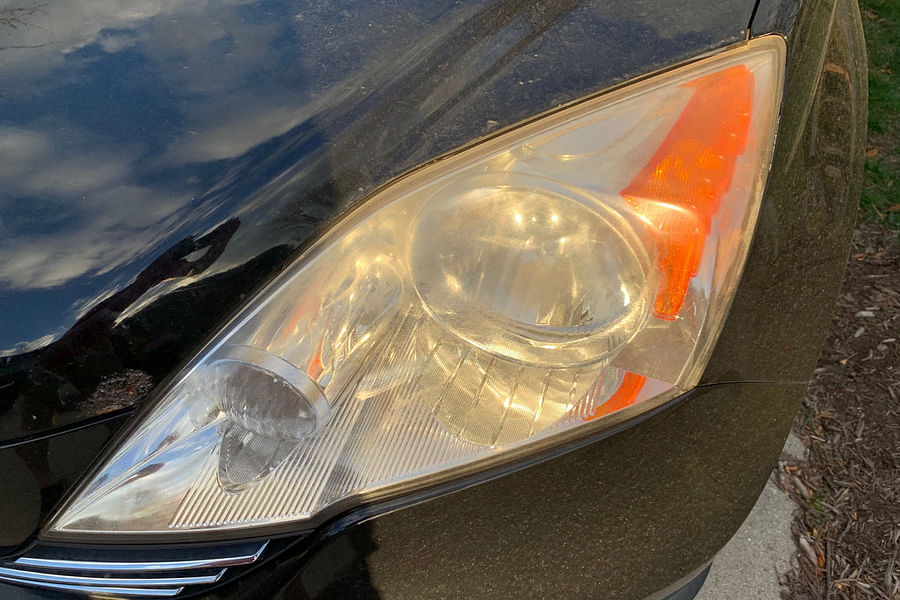
Understanding Headlight Oxidation
Before diving into the repair process, it's important to understand what causes headlight fading. Plastic headlight lenses are coated with a clear coat to protect them from UV rays. However, this coating wears off over time, leading to oxidation which presents as a dull, yellowish haze on your headlights. This is not just an eyesore; it impairs the headlight's ability to project light properly.
The DIY Headlight Restoration Process
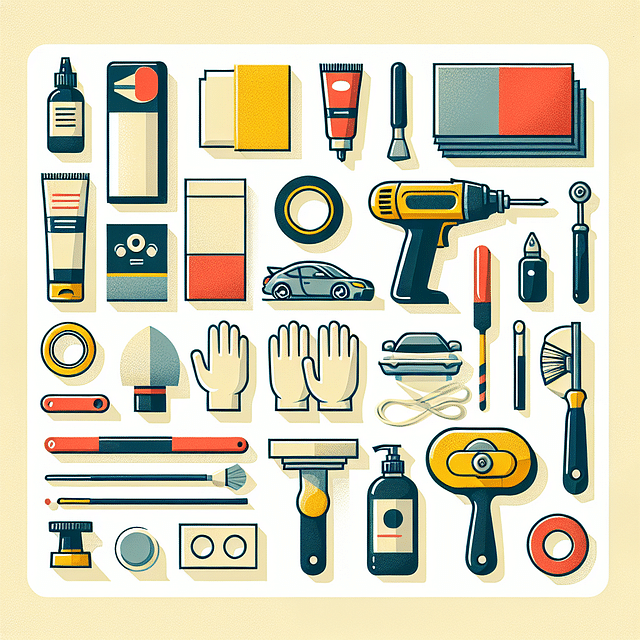
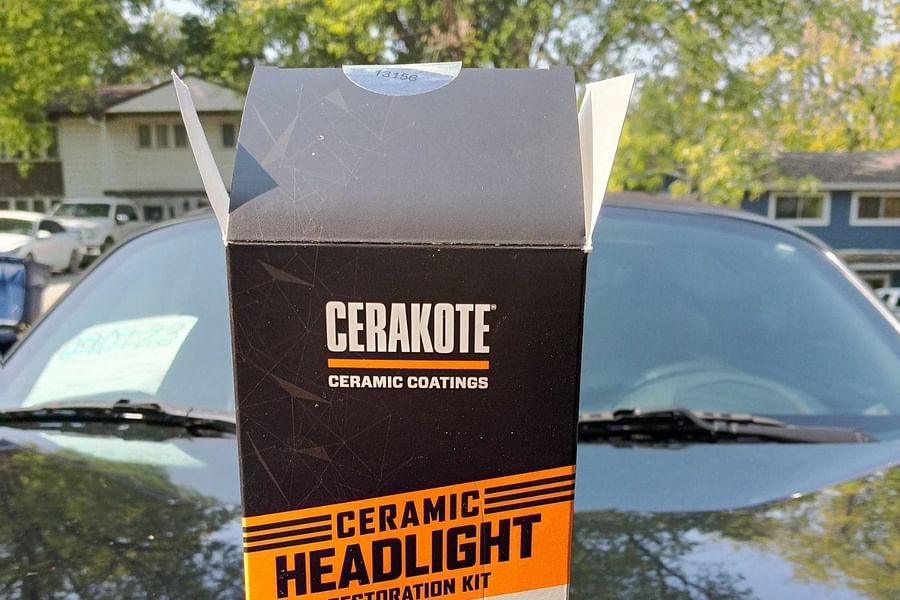
Restoring your headlights can be accomplished with a few tools and some elbow grease. You'll need items like sandpaper, polishing compound, and UV sealant—commonly found in headlight restoration kits—or you might opt for toothpaste for a quick temporary fix. The process involves sanding down the oxidized layer, polishing the lens for clarity, and sealing it for protection against future damage.
While many drivers consider professional restoration or replacement services for severely damaged lenses, understanding how to maintain and restore them yourself is not only cost-effective but also empowering.
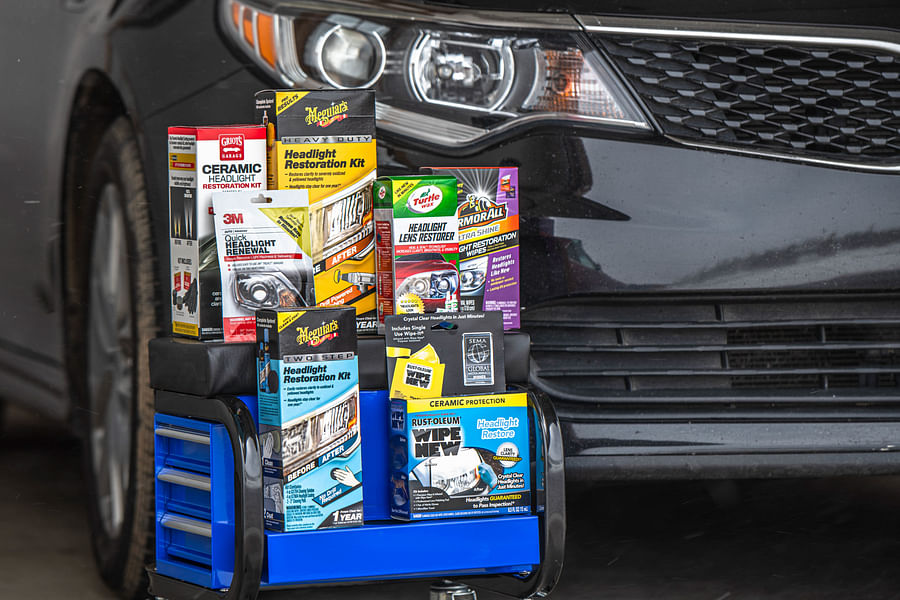
Selecting the Right Products for Your Headlights
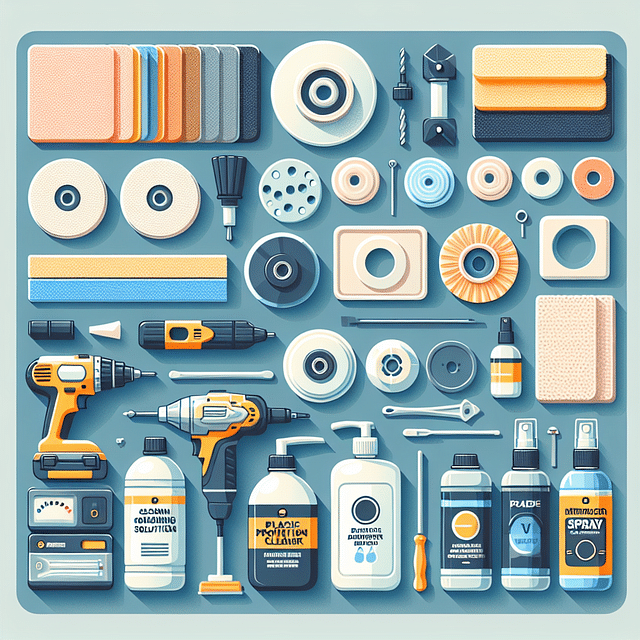
Choosing the right products is crucial in achieving clear headlights and preventing further damage. Look for high-quality sandpaper that ranges from coarse to fine grits for gradual sanding. A reliable polishing compound is essential for buffing out scratches and achieving that new-lens shine. Lastly, don't forget a good quality UV-resistant sealant; this will safeguard your hard work from being undone by the sun's harsh rays.
Top Headlight Fixes
- 3M Headlight Lens Restoration System - A complete kit that includes sanding discs and polishing pad.
- Sylvania Headlight Restoration Kit - Utilizes a unique UV Block Clear Coat for long-lasting protection.
- Meguiar's Heavy Duty Headlight Restoration Kit - Comes with a professional drill-powered polishing tool.
- Turtle Wax Headlight Lens Restorer Kit - Offers multiple stages of restoration for severely damaged headlights.
- Mother's NuLens Headlight Renewal Kit - Features a PowerBall tool that attaches to a drill for easy buffing.
Remember that while some household items can serve as temporary fixes—like using toothpaste as an abrasive—the results may not last long or provide adequate protection against UV radiation.
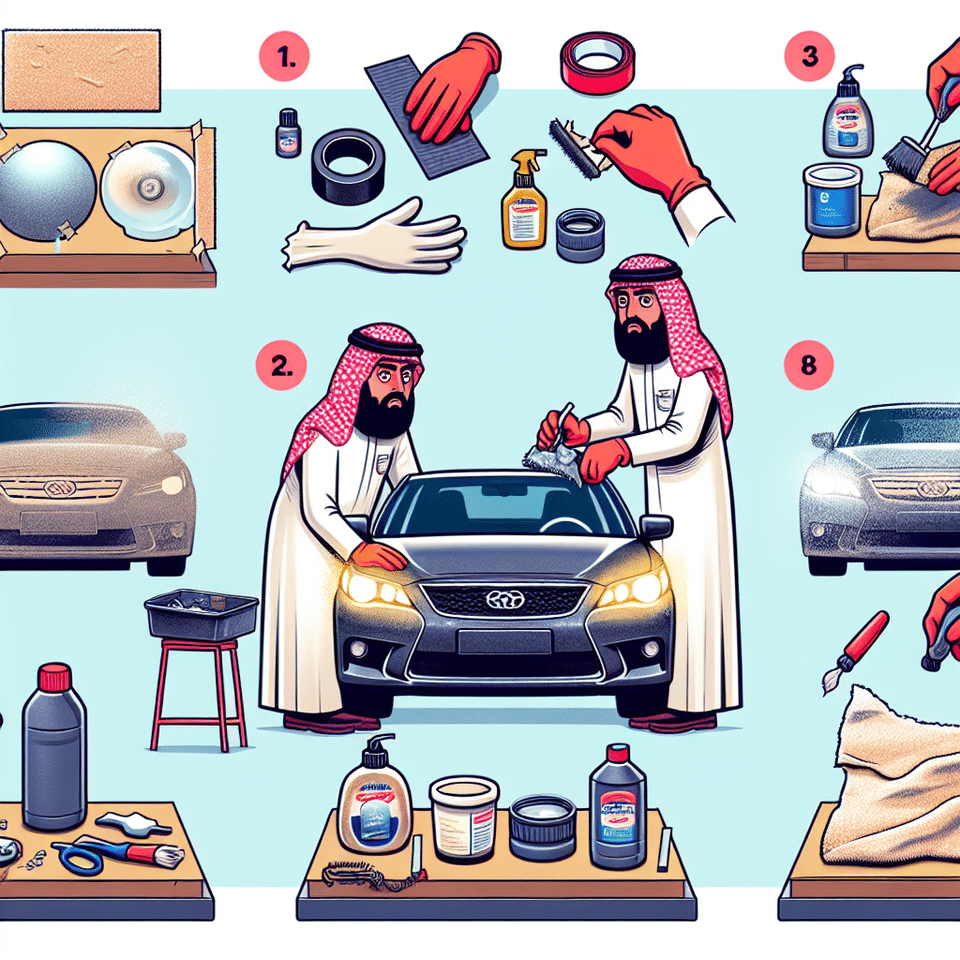
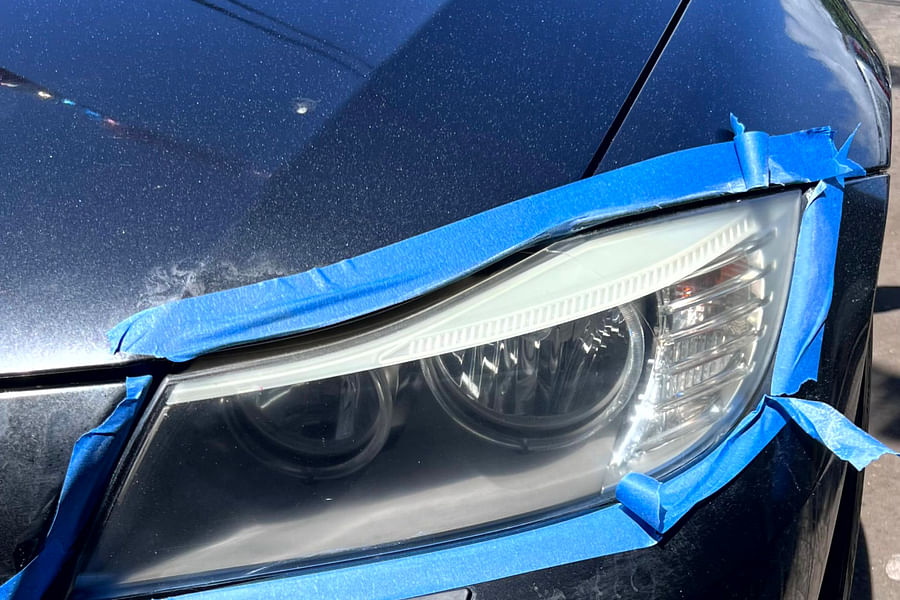
Prepping Your Car for Headlight Restoration
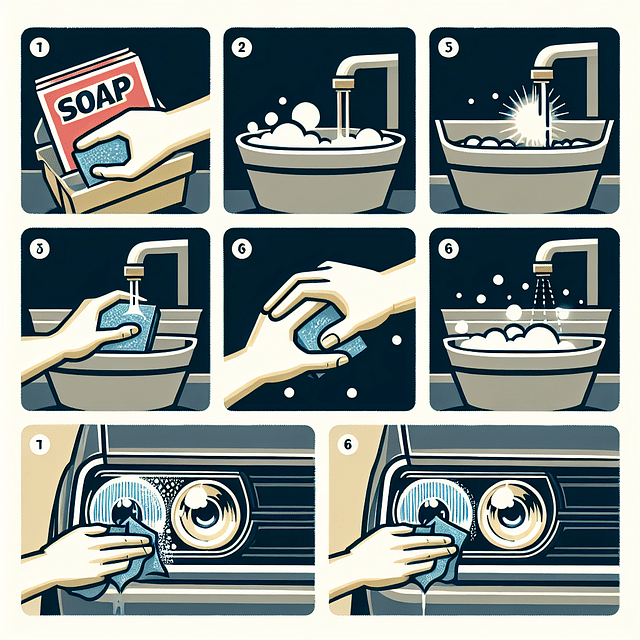
Preparation is key when it comes to any form of car maintenance. Before you start restoring your headlights, ensure that you clean them thoroughly with soap and water to remove any surface dirt or grime that could interfere with the sanding process. It’s also wise to tape off around the headlights with automotive masking tape to protect your car’s paint job during restoration.
Preparation Steps for Headlight Restoration


Careful preparation not only leads to better results but also prevents potential damage during the restoration process.
In conclusion of this first part of our guide on repairing faded headlights – remember that maintaining clear vision at night isn't just about adjusting how you deal with bright lights from other cars, or troubleshooting your blind spot monitors. It’s about taking proactive steps like restoring your own vehicle’s lights for optimal safety and performance on the road. Stay tuned for more detailed instructions on each step of the headlight restoration process in our upcoming articles!
Restoring Clarity with DIY Solutions
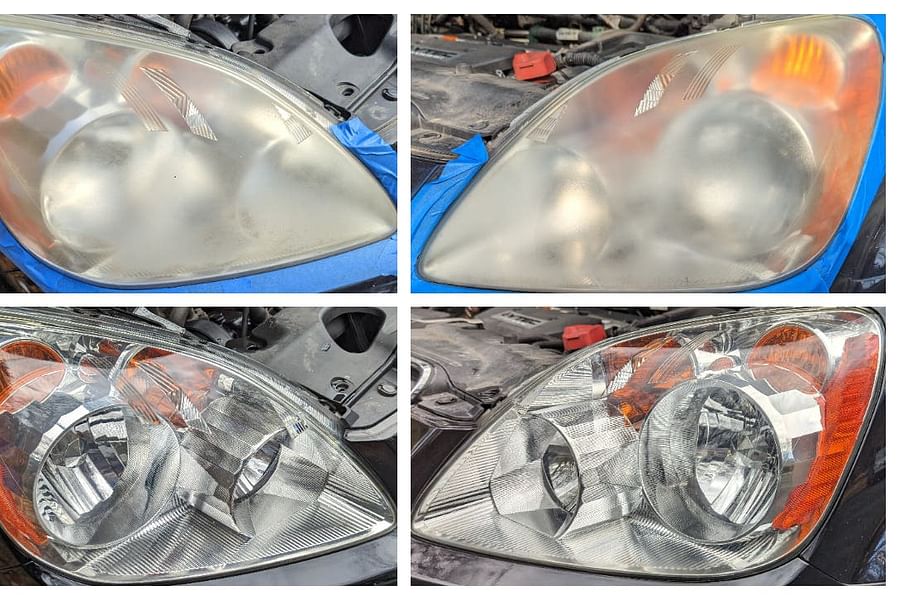
For those who prefer the hands-on approach, DIY headlight restoration is a cost-effective and satisfying project. The process begins with sanding the headlight's surface to remove the yellowed layer. Starting with a coarser grit and progressively moving to finer grits, this method delicately removes the damaged plastic. It's important to keep the surface wet during sanding to avoid scratching.
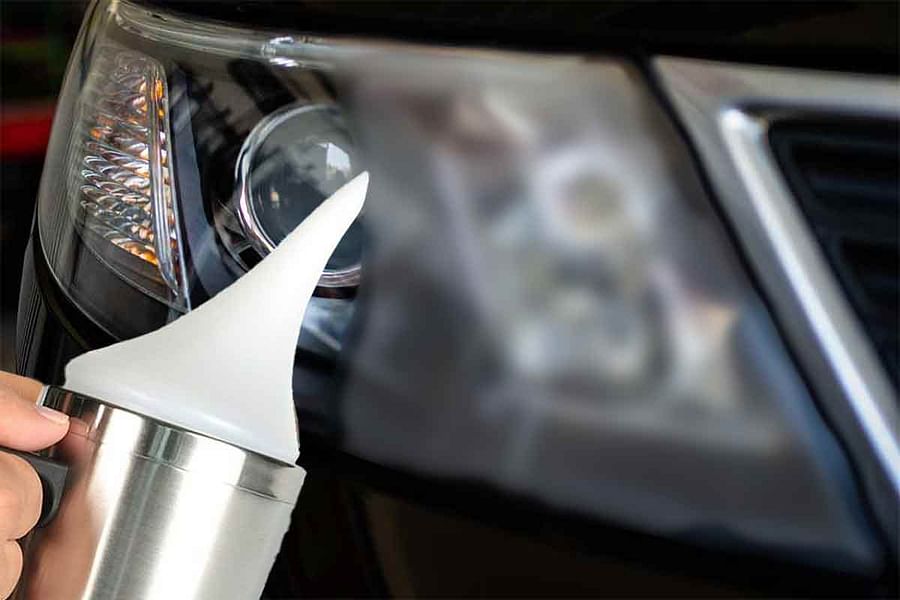
Once you've achieved a smooth surface, it's time to apply a polishing compound. This helps in smoothing out any fine scratches and brings back the shine to your headlights. A drill with a buffing pad can be used for an even application and professional results.
Polish Like a Pro: A Step-by-Step Guide to Crystal Clear Headlights

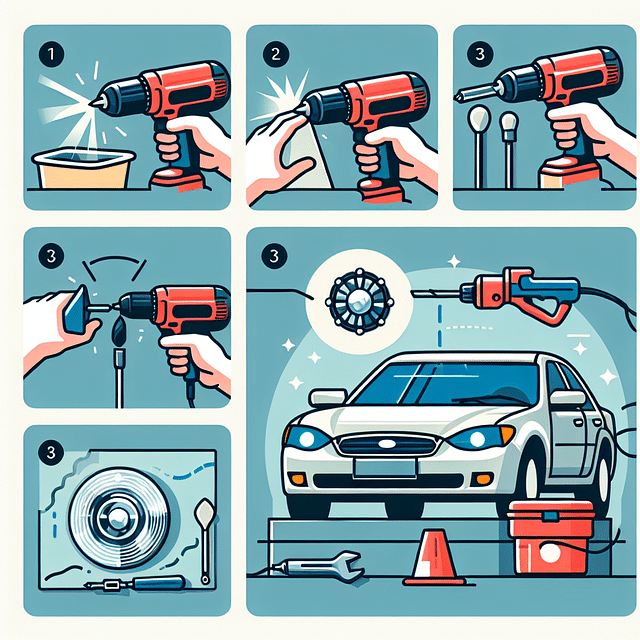


To ensure longevity of your hard work, you must seal the headlights with a UV-resistant clear coat. This layer protects against harmful UV rays and prevents future hazing. Remember, multiple light coats are more effective than one heavy coat.
Maintaining Your Newly Restored Headlights
After restoring your headlights to their former glory, maintenance is key to keeping them in top condition. Regular cleaning with soap and water prevents dirt buildup that can cause cloudiness. Additionally, applying a protective wax can help in repelling dirt and reducing oxidation.
- Clean your headlights regularly as part of your car wash routine.
- Apply automotive wax every few months for added protection.
- Avoid using abrasive cleaners that can scratch the protective coating.
If you're keen on enhancing night-time visibility further, consider installing a night vision driving assistance system. These advanced systems complement clear headlights by providing an extra layer of safety during low-light conditions.
The Role of Professional Headlight Restoration Services
Sometimes, DIY may not be enough for severely damaged headlights or when you're looking for convenience. Professional restoration services use high-grade materials and specialized tools that guarantee results far superior than most at-home kits can offer. They also provide warranties on their workmanship, giving you peace of mind about the durability of the restoration.
Why Go Pro for Headlights
- Expertise - Professionals have the right skills and tools to restore headlights effectively.
- Time-saving - A professional service can complete the restoration quickly, saving you time.
- Lasting Results - Pro treatments often include high-quality sealants for longer-lasting clarity.
- Safety First - Clear headlights improve night vision, enhancing driving safety.

- Value Preservation - Maintaining clear headlights helps retain your vehicle's resale value.
- Guaranteed Quality - Many services come with a warranty, ensuring quality and peace of mind.
- Comprehensive Service - Professionals may also identify and address other headlight issues.
- Eco-Friendly - Professional restoration is often more eco-friendly than DIY kits or replacements.
In addition to restoring clarity, professionals can also offer advice on how best to maintain your vehicle’s lighting system overall. For instance, they might suggest upgrading your bulbs or adjusting your headlight beams for optimal performance—an often overlooked aspect that can significantly improve nighttime visibility and safety.
If you're dealing with other car problems such as bright lights from behind affecting your vision or maintaining safety systems like blind spot monitors, there are resources available like dealing with bright headlights or maintaining blind spot monitors.
"Properly maintained headlights not only enhance safety but also add aesthetic appeal to your vehicle."
In summary, whether you choose a DIY approach or seek professional help, restoring faded headlights is an essential part of vehicle maintenance that should not be overlooked. With improved visibility comes safer driving experiences—especially critical during inclement weather conditions where clear vision is paramount. For more tips on mastering driving in various conditions such as rain or fog, check out guides like mastering rain driving or when to use hazard lights in fog. Remember that taking proactive steps towards maintaining your car’s features will always lead to better performance and longevity—and this holds true from leather seat care right down to those vital beams of light guiding you through the dark.

No comments yet. Be the first to share your thoughts!