
AutoBodyRX Scope
AutoBodyRX provides a centralized resource for automotive body and interior repairs, bridging the gap between professional service centers and DIY enthusiasts. The platform curates tools and techniques specifically for two high-impact areas: fixing car dents and restoring leather seats. This guide offers a practical roadmap for homeowners to tackle common cosmetic damage without visiting a mechanic.
The scope is rooted in accessibility. Rather than relying on industrial spray booths or specialized hydraulic lifts, the recommended methods prioritize hand tools and consumer-grade repair kits. Whether it’s a door ding from a shopping cart or a cracked steering wheel, the aim is to provide actionable steps that yield professional-looking results. By breaking down these complex repairs into manageable tasks, AutoBodyRX helps car owners maintain their vehicle’s value and appearance on a budget.
This section outlines the foundational concepts behind both dent removal and leather restoration. Understanding the material properties of auto body panels and automotive-grade leather is essential before applying any fix. The following sections dive into the specific tools required for each task.
Tools for Dent Removal
Moving from a professional shop to a garage bench changes the equipment list, but not the core principles. Paintless dent repair (PDR) relies on leverage and precise pressure rather than body filler or heat. For minor dents on accessible panels, you can achieve professional results with a focused set of tools. The goal is to massage the metal back into shape without damaging the factory paint.
You need a combination of glue-pulling kits for surface imperfections and tab-pulling tools for deeper creases. A slide hammer provides the necessary force for larger areas, while tap-down tools smooth out high spots. Without these specific implements, you risk stretching the metal or cracking the clear coat. The right hardware makes the difference between a repair that lasts and one that fails after a wash.
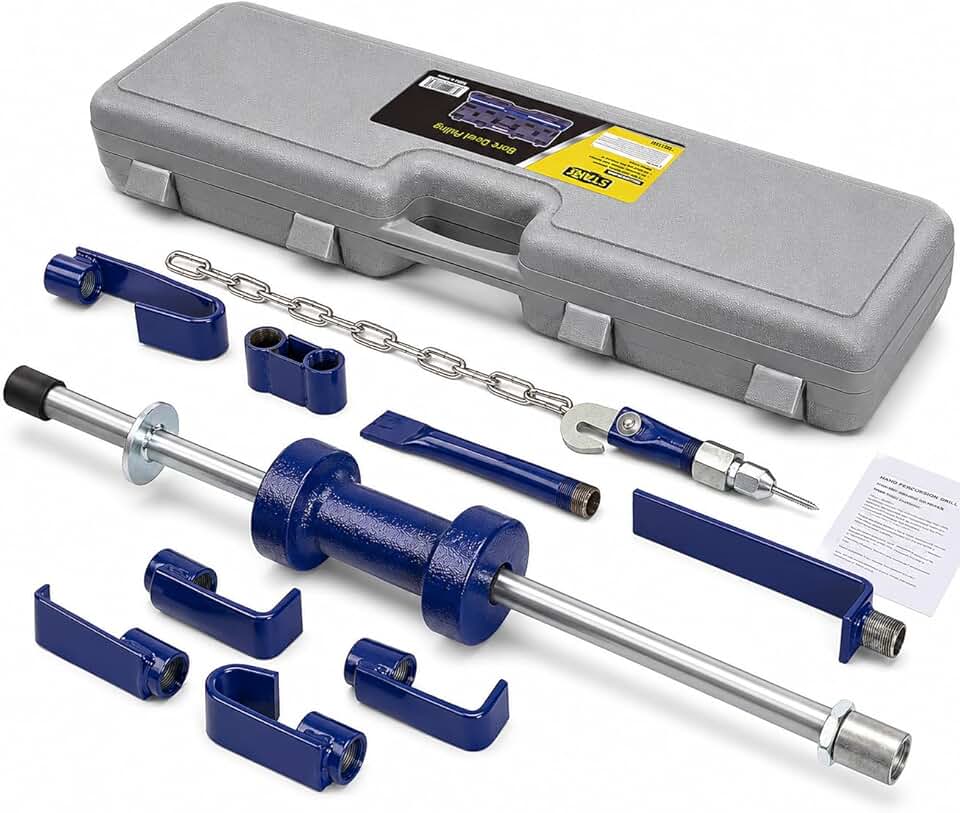
Essential PDR Equipment
A reliable glue-pulling kit allows you to attach tabs to the dent and pull them out from the outside. This method is non-invasive and ideal for hail damage or door dings where access from behind is limited. Look for kits that include various tab sizes and a high-quality glue gun that maintains consistent temperature.
For dents with accessible edges, a tab-pulling set works best. These small metal tabs are glued directly to the dent, then pulled with a bridge puller. This technique offers more control than a slide hammer and is preferred for precision work on hoods and quarter panels. The bridge puller distributes force evenly, preventing new stress points in the metal.
A slide hammer is your heavy lifter. It uses a weighted slide on a rod to deliver sharp, controlled impacts. This is useful for larger, flatter dents where glue might not hold or where you need to break the vacuum seal of the dent. Use it sparingly; too much force can over-stretch the panel.
Finishing and Support Tools
Tap-down hammers and dolly sets are essential for the final stages. After pulling the bulk of the dent, high spots remain. The hammer strikes these spots while the dolly supports the metal from behind, leveling the surface. This step requires a steady hand and practice to avoid creating new depressions.
Light boards and reflection boards help you see the dent clearly. A dent is often invisible until you look at its reflection. A light board projects lines onto the panel; any distortion in the lines reveals the exact shape and depth of the damage. This visual feedback is critical for knowing when the repair is complete.


As an Amazon Associate, we may earn from qualifying purchases.
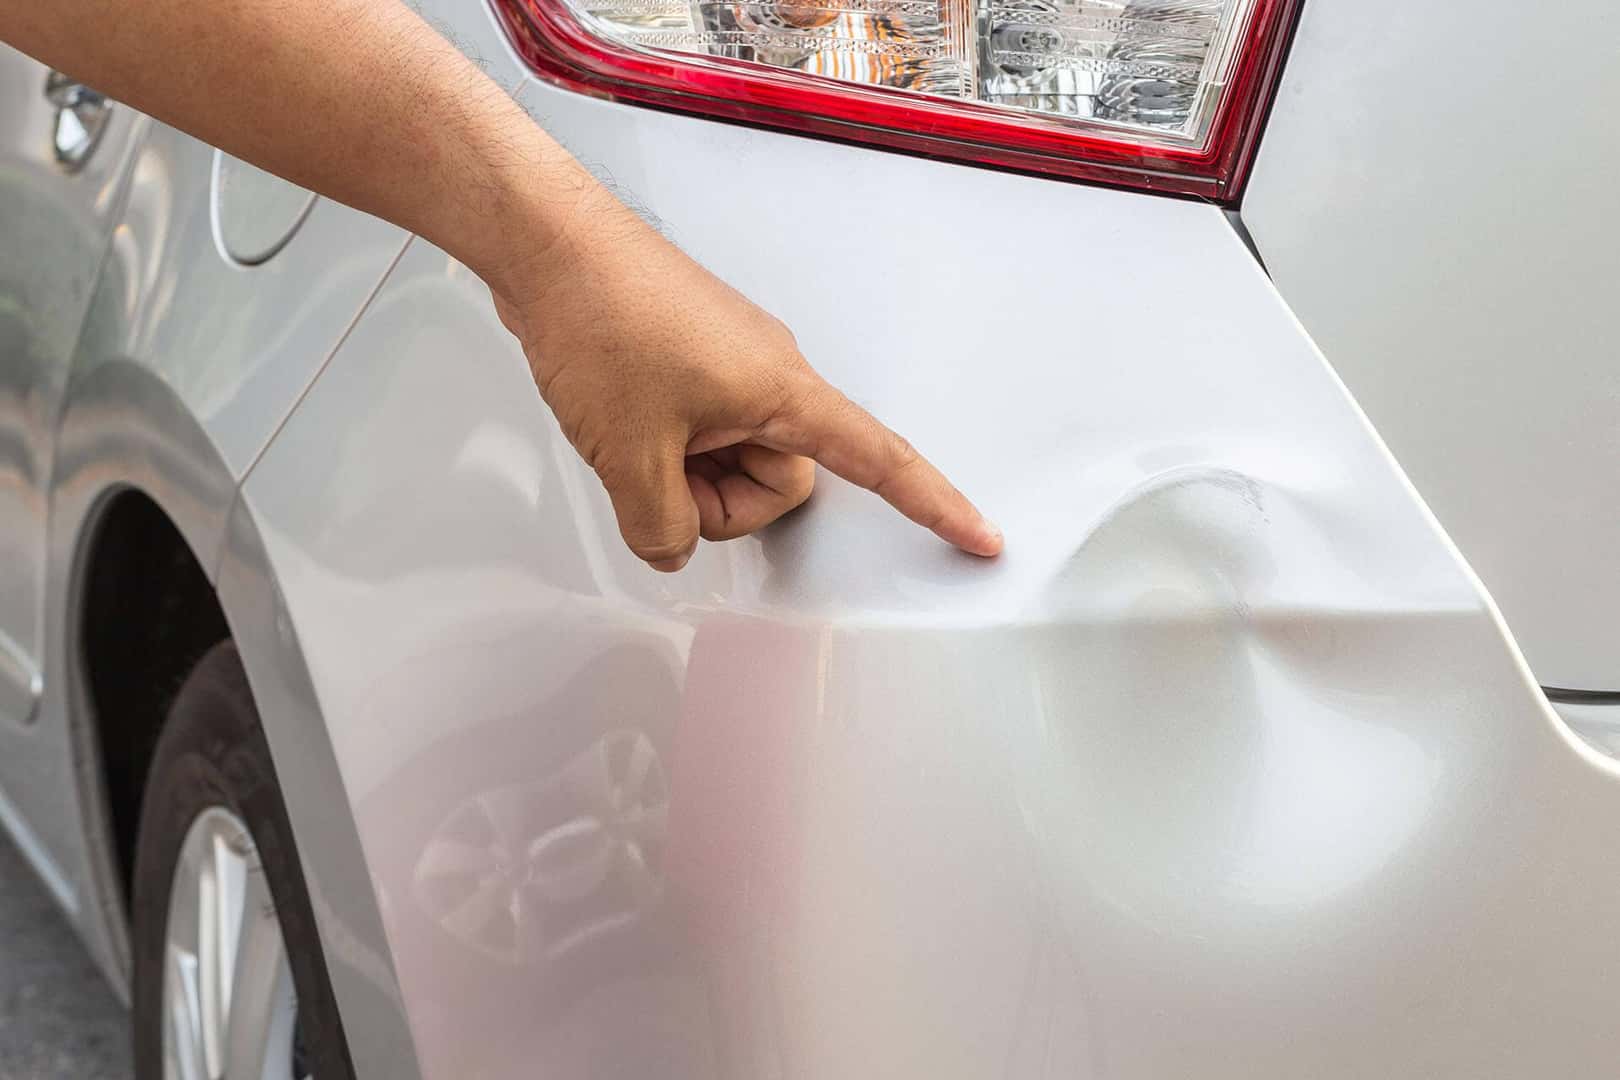
How to Remove a Small Dent Yourself
Fixing a small dent is less about brute force and more about patience and temperature control. Heating the metal makes it pliable, allowing it to return to its original shape. Trying to push it out cold risks stretching the steel or cracking the paint. This method works best for shallow dings where the paint is still intact.
Step 1: Prepare the Surface
Start by washing the dented area thoroughly with soap and water. You need a clean surface to ensure your tools grip properly and don't scratch the clear coat. Dry the area completely, then wipe it down with isopropyl alcohol to remove any wax, grease, or silicone. These contaminants are invisible to the eye but will prevent adhesives from bonding. If the dent is near an edge or a sharp body line, be extra careful, as these areas are harder to access and more prone to cracking.
Use a heat gun or a high-powered hair dryer on the highest setting. Move the heat source back and forth over the dent for about 30 to 60 seconds. You want the metal to become warm to the touch, not hot enough to burn your hand or damage the paint. The goal is to make the metal soft and elastic. Avoid using an open flame, as this will instantly ruin your car's finish.
Press a large suction cup firmly over the center of the dent. Push down hard to create a vacuum seal. If your kit includes a glue-pull tab, apply the hot glue to the tab, press it onto the center of the dent, and let it cool completely for about two minutes. The glue must be fully cured before you apply any tension.
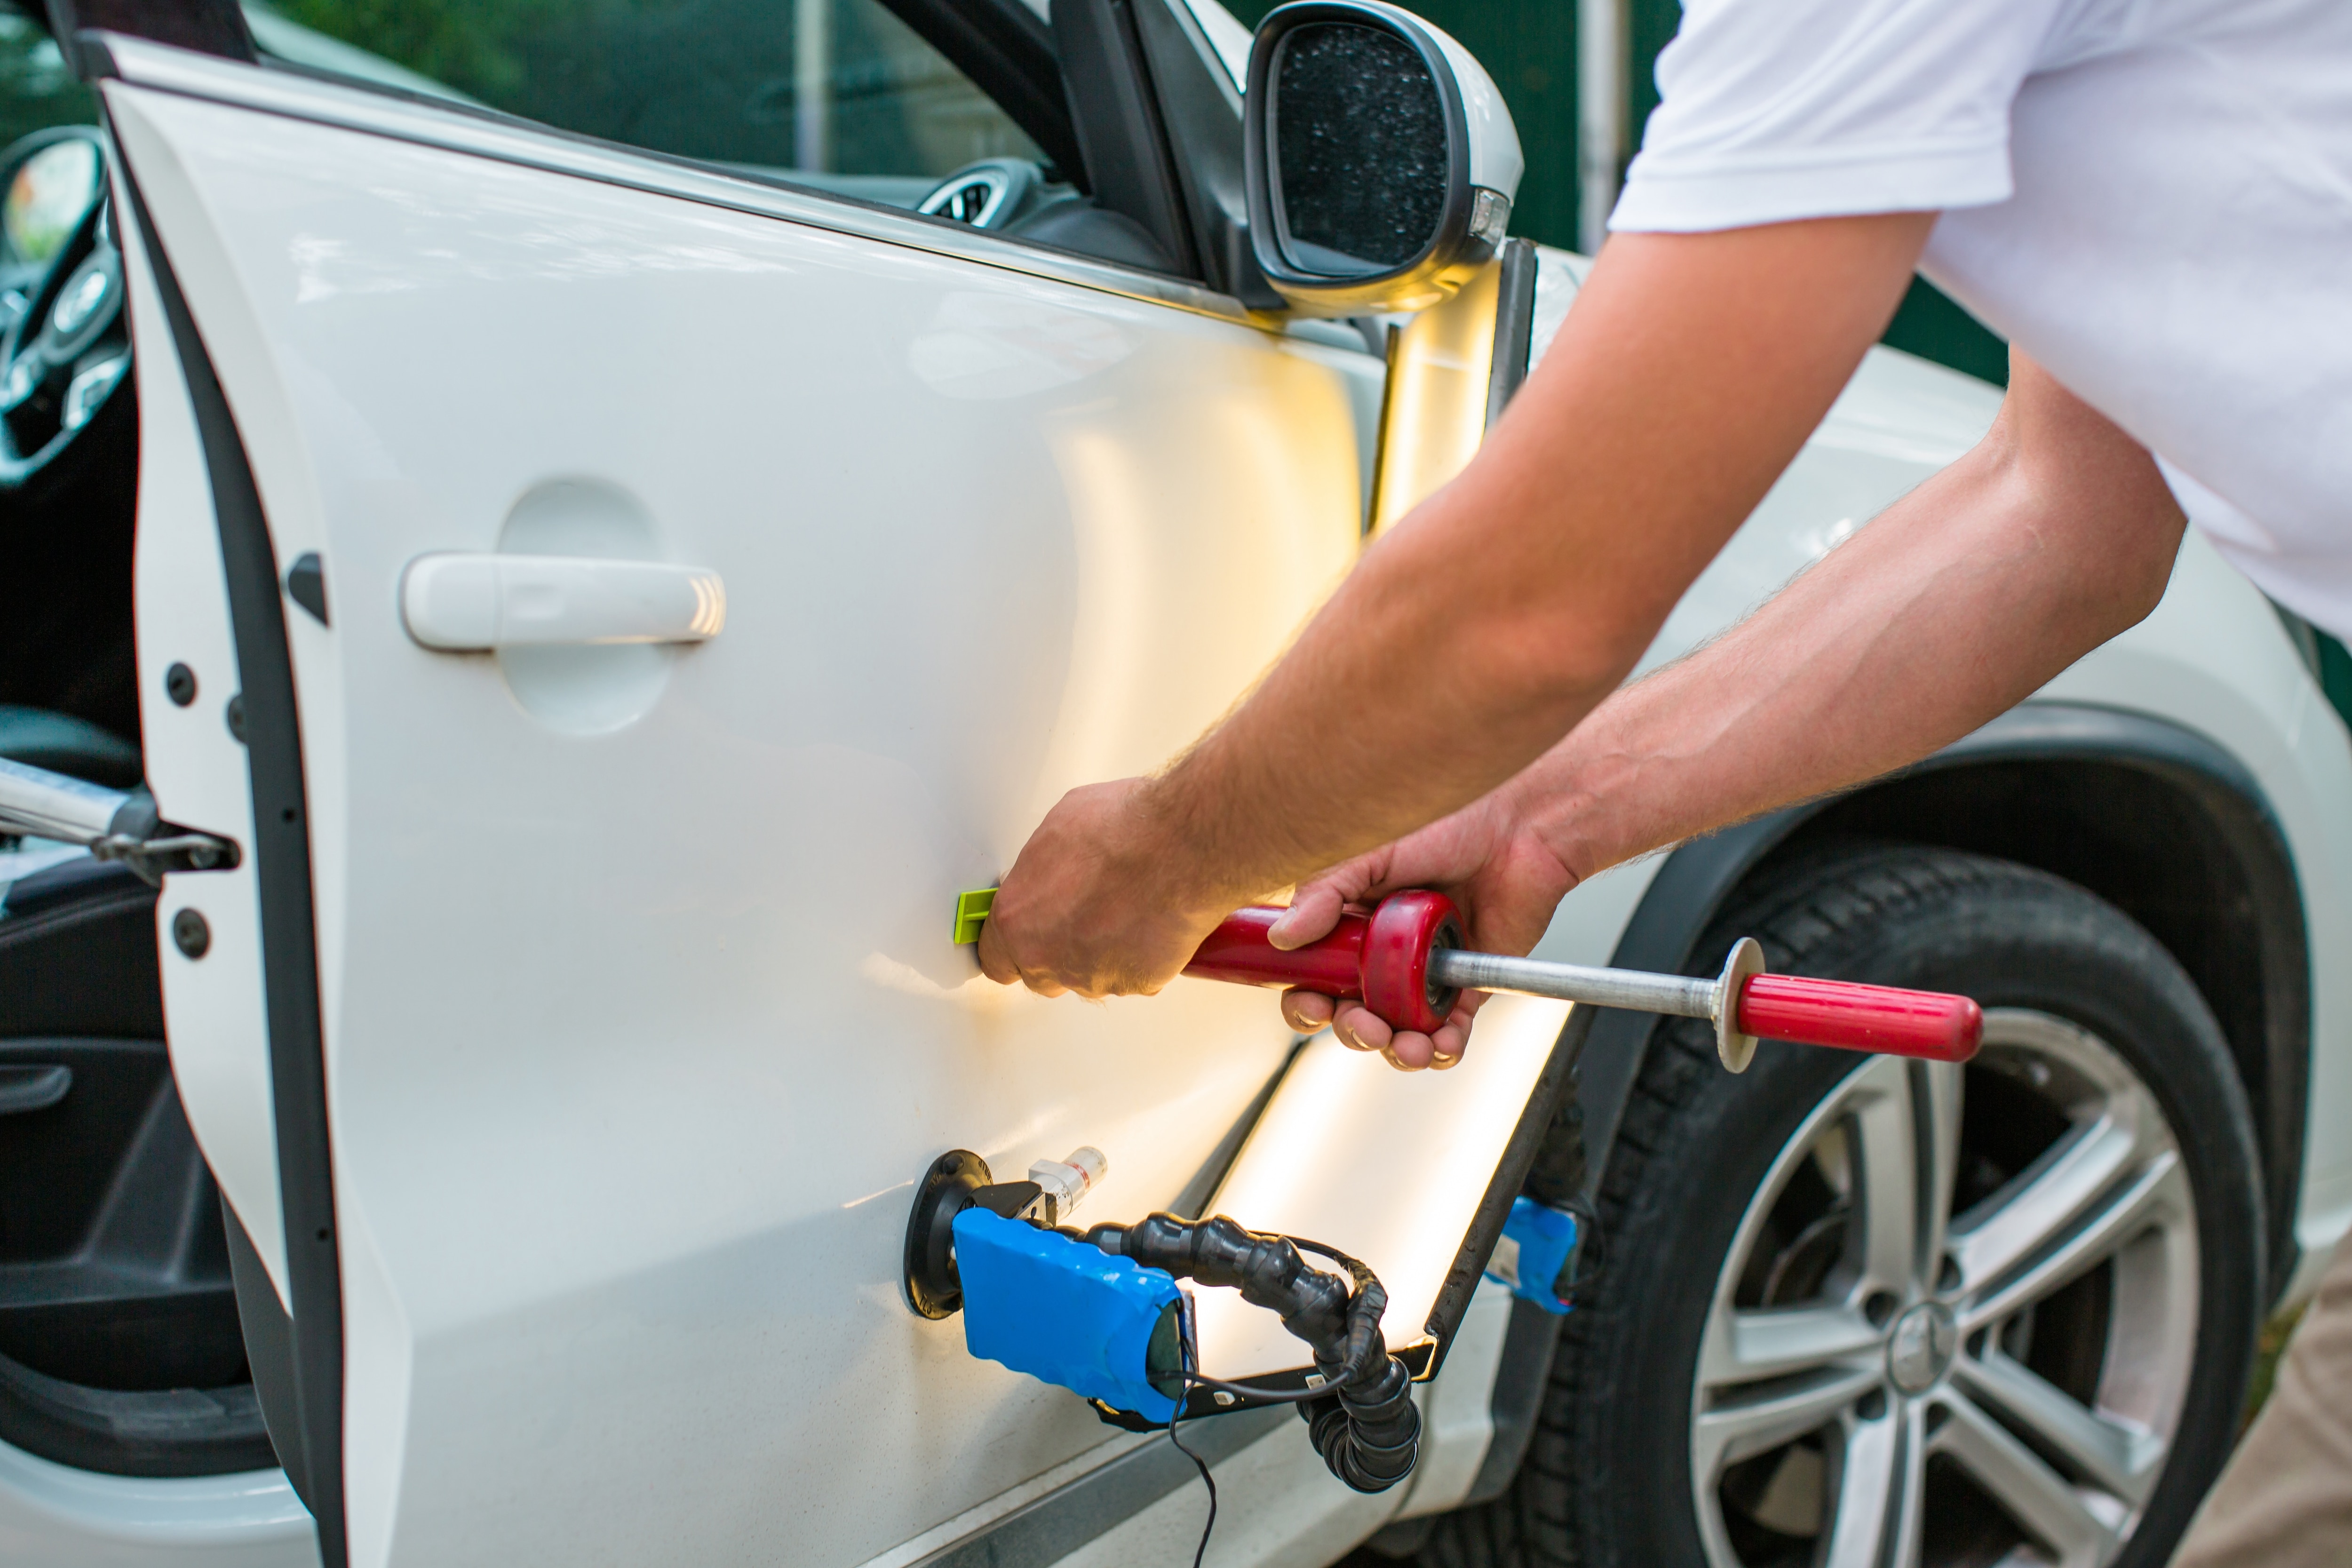
Pull the handle or tab straight out with steady, even pressure. Do not jerk or yank the tool, as this can crack the paint or stretch the metal further. Hold the tension for 10-15 seconds. You might hear a small "pop" sound as the metal snaps back into place. If the dent doesn't come out completely, reheat the area and repeat the process. It often takes two or three attempts to get a smooth finish.
Once the dent is removed, clean off any remaining glue residue with adhesive remover or rubbing alcohol. Inspect the area under bright light to check for high spots. If the surface isn't perfectly smooth, you can use a body hammer and dolly or a rubber mallet to gently tap down any remaining imperfections. Finish by applying a coat of wax to protect the exposed metal.
Choosing the Right Tools
Not all dent removal kits are created equal. The effectiveness of your repair depends heavily on the quality of the suction cups or glue tabs you use. Cheap plastic tabs often fail to hold tension, leading to frustration and potential paint damage when they slip. Look for kits that include multiple sizes of suction cups to match different dent diameters. For deeper dents, a glue-pull system offers more leverage than suction alone. Always check the adhesive strength of the glue tabs; they need to be strong enough to pull the metal but removable without stripping the clear coat.
| Tool Type | Best For | Difficulty |
|---|---|---|
| Suction Cup | Small, shallow dents on flat panels | Easy |
| Glue Pull Tab | Medium dents and curved surfaces | Medium |
| Slide Hammer | Deeper dents requiring significant force | Hard |
When to Stop
If the dent is on a sharp body line or involves cracked paint, DIY methods are unlikely to succeed and may make the damage worse. Paint cracks indicate that the metal has been stretched beyond its limit, and no amount of pulling will restore the original factory finish. In these cases, or if you are uncomfortable with the process, it is better to consult a professional auto body shop. Properly fixing a dent with paint damage requires sanding, priming, and repainting to prevent rust.
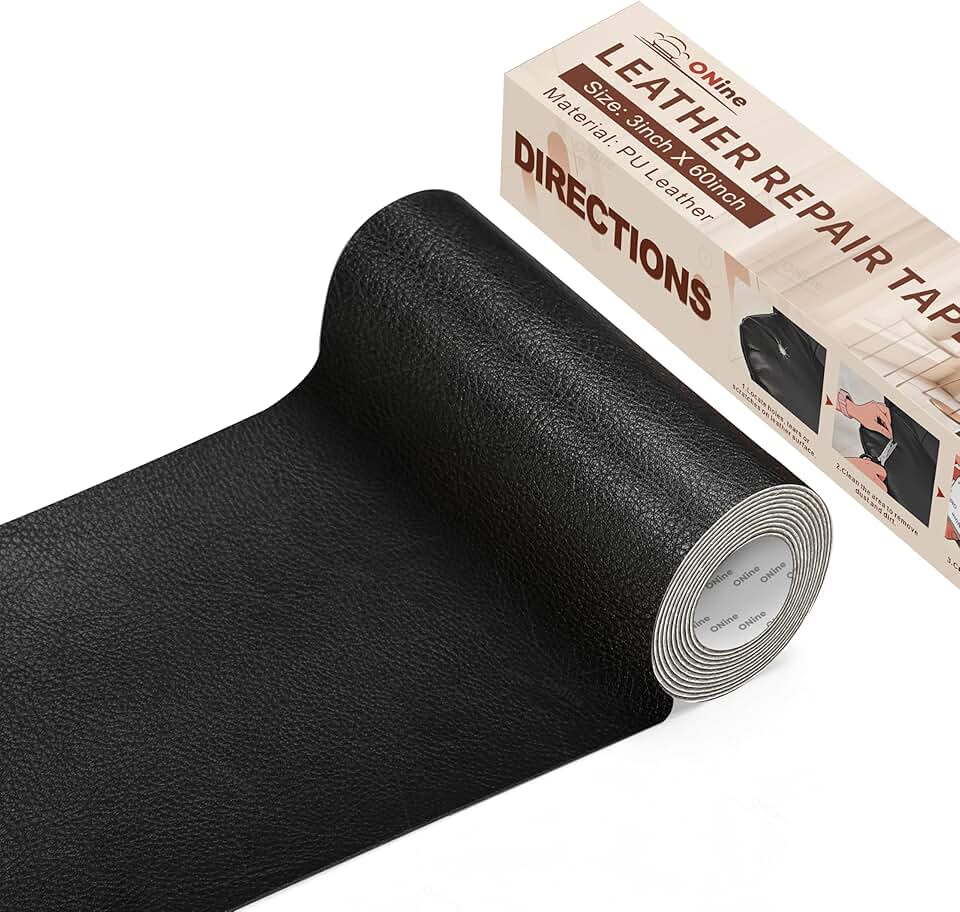
Leather Seat Repair Basics
Leather seats are a high-impact DIY project because they define the cabin's character. A single tear or deep crack can make a well-maintained interior look neglected. The good news is that most damage can be repaired with a dedicated kit and a steady hand, avoiding the steep costs of professional upholstery shops.
The process starts with identifying the material. Genuine leather requires different preparation than synthetic vinyl or bonded leather. For genuine leather, the goal is to fill the void created by the tear and blend the color with the surrounding surface. Synthetic materials often just need a flexible adhesive and a patch to hold the structure together.
Essential Tools and Materials
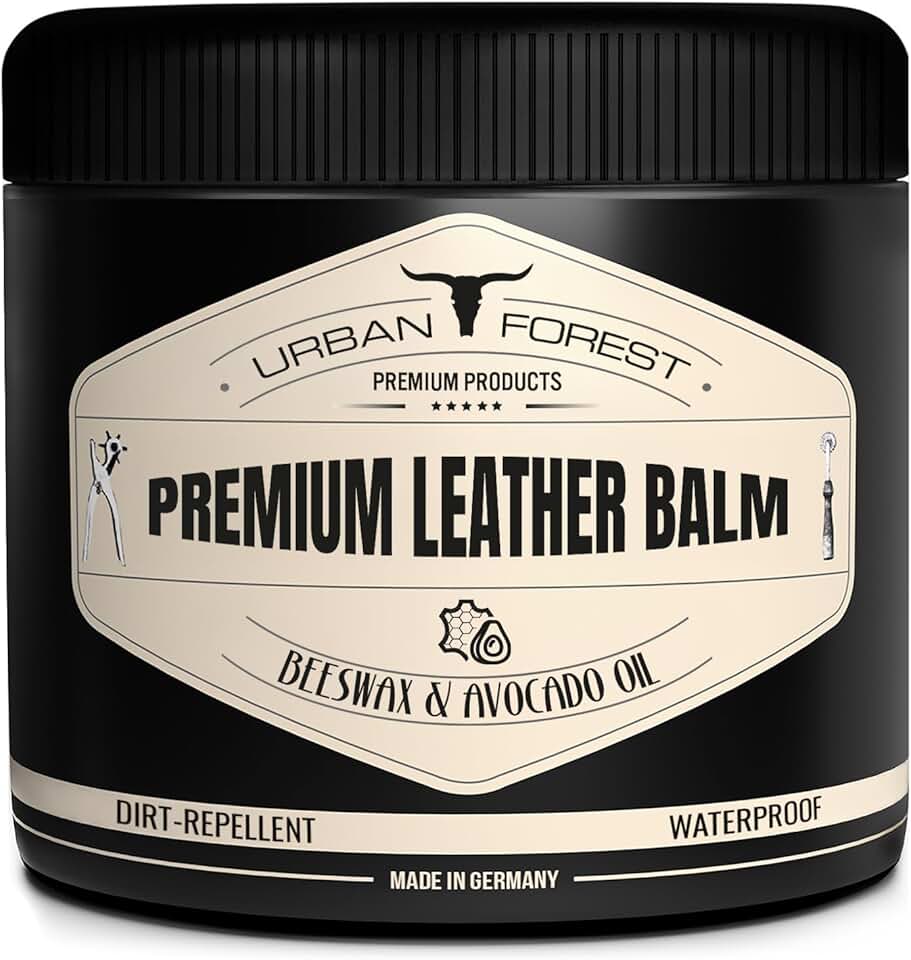
Success depends on having the right supplies. A standard leather repair kit typically includes a filler compound, a colorant dye, and a finisher to restore the sheen. You will also need a small spatula or putty knife to work the filler into the crack, and fine-grit sandpaper to smooth the edges. A soft-bristled brush helps clean the area of dust and oils before you begin.
Choosing the Right Repair Kit
Not all kits are created equal. Some are designed for small scratches, while others handle large rips. Look for kits that offer a range of colorants to match common interior shades like tan, black, and gray. The filler should remain flexible after drying to prevent cracking again as the seat flexes. Below are popular options that DIYers frequently use for these tasks.

As an Amazon Associate, we may earn from qualifying purchases.
Application Technique
Clean the area thoroughly before applying anything. Dirt trapped under the filler will cause the repair to fail. If the tear is wide, you may need to stitch the edges together or use a backing mesh to bridge the gap. Apply the filler in thin layers, allowing each to dry completely before sanding it smooth. This step is critical; rushing it leads to visible bumps.
Once the surface is flush with the surrounding leather, apply the colorant. Use a sponge or airbrush for even coverage, building up the color slowly to match the original shade. Finish with a protective topcoat to seal the repair and ensure it withstands daily friction and sunlight.
When to Skip DIY and Call Pros
While AutoBodyRX kits cover most minor cosmetic issues, some damage requires professional intervention. Knowing the limit of home repair prevents further damage and ensures safety.
Deep Scratches and Paint Damage
If your scratch goes through the clear coat and base paint down to the primer or bare metal, DIY touch-up may not suffice. Deep scratches can lead to rust if not properly sealed and painted by a professional. For significant paint damage, a body shop can match the color and finish seamlessly.
Structural and Safety-Affected Damage
Dents near airbag sensors, crumple zones, or structural frame rails should be handled by certified technicians. Improper repair in these areas can compromise vehicle safety. If the dent is on a reinforced beam or affects the vehicle's structural integrity, call a professional.
Leather Seat Tears and Holes
Small scuffs can be fixed with AutoBodyRX leather repair kits, but large tears, holes, or damaged seat belts require professional upholstery service. Attempting to patch large tears with DIY kits often results in visible repairs that do not match the original texture or durability.
AutoBodyRX DIY Checklist
Before you start pulling dents or patching leather, set up a clean workspace and gather your tools. A cluttered area leads to mistakes, and missing supplies can interrupt your workflow. Treat this preparation phase like laying out a blueprint; it saves time and frustration later.
-
Clean the surface thoroughly. Use a dedicated automotive cleaner to remove wax, dirt, and grime. Paint and adhesive need a bare surface to bond correctly. If you skip this step, your repair will likely fail within weeks.
-
Gather your core tools. You will need a heat gun for leather shrinkage, a suction cup or glue-pull kit for dents, and a color-matched repair kit. Ensure you have masking tape and microfiber cloths ready for protection and cleanup.
-
Test fit in an inconspicuous area. Apply heat or adhesive to a small, hidden spot first. This confirms that the materials react as expected and that the color blend matches your interior or exterior finish.
-
Protect surrounding areas. Cover nearby seats, dashboards, or paintwork with masking tape and drop cloths. Heat guns and solvents can damage adjacent surfaces if they splash or overheat.
-
Verify your product compatibility. Check that your repair kit matches the material type (e.g., vinyl vs. genuine leather) and the dent depth. Using the wrong kit is the most common reason for DIY repair failure.
Common DIY Repair: What to Check Next
Home repair is often cheaper than a shop visit, but it requires the right tools and realistic expectations. Below are the most frequent questions about fixing car dents and leather seats yourself.
No comments yet. Be the first to share your thoughts!