


Assess the damage first
Before opening an AutoBodyRX kit, determine if the damage is suitable for DIY. Not every dent or tear can be fixed with household tools; misjudging severity is the most common cause of failure. The AutoBodyRX method works best on moderate, accessible damage rather than structural failures or complex creases.
Dent evaluation
Small to medium dents on flat or gently curved panels are ideal candidates. Avoid dents that cross sharp body lines or have cracked paint, as this indicates stretched metal. Press the area gently; if the metal feels soft or spongy, underlying rust or previous filler may prevent a clean repair.
Leather tear inspection
For leather seats, examine tears closely. Minor scuffs and small splits (under two inches) can be filled and blended using AutoBodyRX leather repair compounds. If the tear goes through to the foam backing or the leather is crumbling, a patch job will likely peel. These materials are too degraded for a surface-level fix.
The decision checklist
Use this sequence to confirm your project scope:
- Access: Can you reach the back of the dent or the underside of the tear? If not, internal support tools won't work.
- Paint condition: Is the paint intact? Cracked paint usually means the metal is stretched beyond simple reshaping.
- Size: Is the damage under 6 inches for dents or 2 inches for leather tears? Larger areas require more skill and time.
If you answer yes to most of these, you are ready to proceed with the AutoBodyRX assessment and preparation steps.
Gather your repair tools
Using the wrong tools can make a small dent worse or ruin leather grain. AutoBodyRX kits are designed to be all-in-one, but having a few extra items on hand makes the job smoother and safer.
Dent Removal Essentials
A paintless dent repair (PDR) kit is usually enough for small, shallow dents. Look for a glue-pull kit with tabs, a bridge puller, and a slide hammer. For tight spots, a long-reach puller helps. You’ll also need a portable LED work light or a dent light with a reflection board to see high and low spots. Without good lighting, you’re working blind.
Leather Repair Supplies
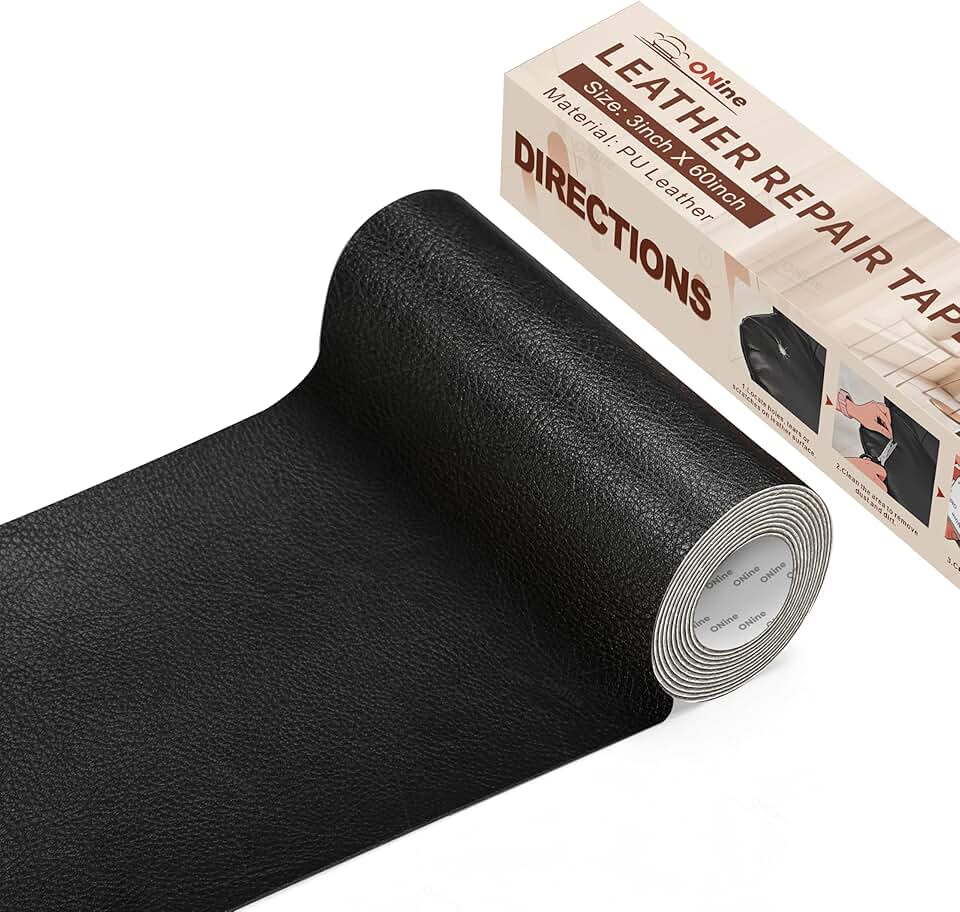
For leather seats, start with a leather cleaner and conditioner to prep the surface. Dirt and oils prevent adhesives from bonding. Next, grab a leather repair kit including backing fabric, filler paste, and color-matched dye. If fixing a tear, you may also need a needle and thread or a specialized leather sewing kit.
Safety and Prep
Always wear nitrile gloves. Leather dyes and adhesives can stain your skin and are hard to remove. Work in a well-ventilated area, especially when using glue or solvents.


As an Amazon Associate, we may earn from qualifying purchases.
Fix minor car dents
Minor dents are often just cosmetic annoyances, but they can be removed without a trip to the shop. AutoBodyRX recommends using heat and suction or glue pulling for shallow dings where the paint is intact. This method works best on smooth panels like doors, hoods, and fenders.
Start by cleaning the dented area thoroughly. Any dirt or wax can prevent suction cups or glue tabs from adhering properly. Wipe the surface with isopropyl alcohol and let it dry completely.
After the dent is removed, let the panel cool naturally. The metal will contract back into its original shape. If you used glue, remove any residue with adhesive remover. AutoBodyRX notes that this process works for most minor dents, but deep creases or sharp edges may require professional intervention.
Repair torn leather seats
Torn leather seats don’t have to be a reason to replace your entire interior. AutoBodyRX provides a systematic approach to restoring damaged upholstery. The goal is to fill the void, blend the texture, and match the color so the tear disappears from view.
Start by preparing the area. Vacuum the seat thoroughly to remove dust and debris. Clean the tear and surrounding leather with a dedicated leather cleaner and a soft brush. This step is critical; any grease or dirt trapped under the patch will prevent the filler from bonding correctly. Let the area dry completely before proceeding.
Avoid common repair mistakes
Even with the right tools, DIY dent and leather repairs often fail because of small oversights. Overheating metal during paintless dent repair can weaken the steel, while applying too much dye to leather seats creates a sticky, uneven finish.
Don’t rush the heat
When using heat guns to pop out dents, keep the tool moving constantly. Holding it in one spot for more than a few seconds can scorch the paint or warp the metal panel. Let the AutoBodyRX heat gun do the work; you don’t need to force the metal back into shape with excessive heat.
Test leather dye first
Leather dyes can look different on your seat than they do in the bottle. Always test your color match on a hidden area, like the underside of the seat or behind the cushion. This simple step prevents the nightmare of mismatched tones that require professional reupholstery to fix.
Skip the masking tape on dents
Many beginners try to mask off surrounding panels to protect them from dings. This often traps debris under the tape, which then scratches the paint when you pull the glue tabs. Clean the panel thoroughly with isopropyl alcohol instead; it removes oils and residue without leaving a barrier behind.
Check your repair quality
Before you consider the job done, run through this final verification checklist. This step ensures your AutoBodyRX repairs are durable and aesthetically pleasing, preventing future issues with the paint or leather.
The Verification Checklist
- Lighting Check: Inspect the dent repair under bright, direct light from multiple angles. Look for any remaining ripples or shadows that indicate uneven surface tension.
- Touch Test: Run your hand over the repaired area. It should feel completely smooth, with no bumps, ridges, or texture differences compared to the surrounding metal.
- Color Match: View the paint under natural daylight and artificial light. The color should blend seamlessly with the rest of the panel, with no visible lines or color shifts.
- Leather Inspection: For leather seat repairs, check for stiffness or cracking. The patch should be flexible and match the grain of the surrounding material.
- Adhesion Test: Gently press on the edges of any patches or fillers. They should be firmly bonded with no lifting or soft spots.
Final Polish
Once you pass the checklist, apply a final coat of wax or conditioner to protect your work. This helps the repair blend in and lasts longer.
No comments yet. Be the first to share your thoughts!