

Assess the dent before you start
Before buying tools or attempting any repair, determine if the damage is suitable for DIY methods. Not all dents are created equal, and trying to fix complex damage with home remedies often wastes time or makes the problem worse. The success of the repair depends entirely on the dent’s location, depth, and the condition of the paint.
When DIY Works Best
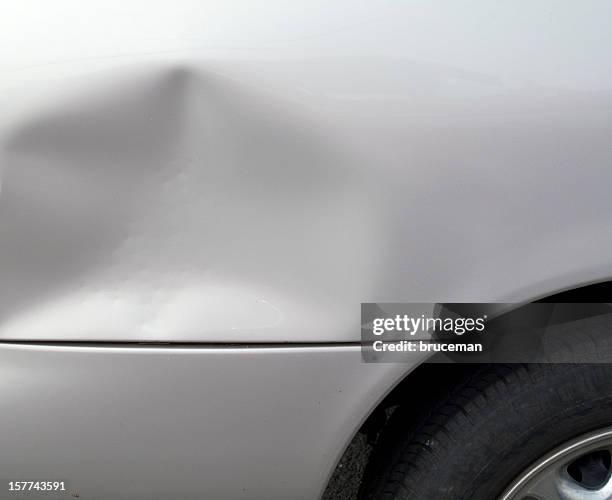
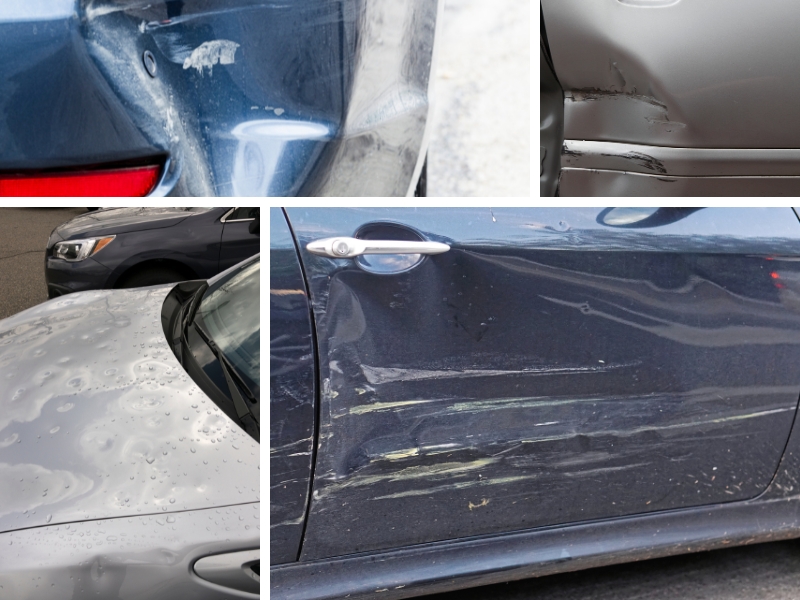
The best candidates for home repair are shallow dents with smooth, rounded edges. These are often called "paintless dent repair" (PDR) friendly dents. They typically occur from hail, small branches, or accidental bumps in parking lots. The key indicator is that the metal is stretched but not creased, and the paint is completely intact. If you can run your finger over the dent and it feels like a smooth depression rather than a sharp ridge, you likely have a good candidate for suction cups, glue pulling, or hot water methods.
When to Call a Professional
Some damage is beyond the scope of a garage toolkit. If the paint is cracked, chipped, or flaking, the metal has likely been compromised. Attempting to push or pull the metal without addressing the paint will result in rust and a poor finish. Similarly, sharp creases along body lines—where the metal folds sharply—are extremely difficult to smooth out without professional heat and rod tools.
The Shadow Board Test
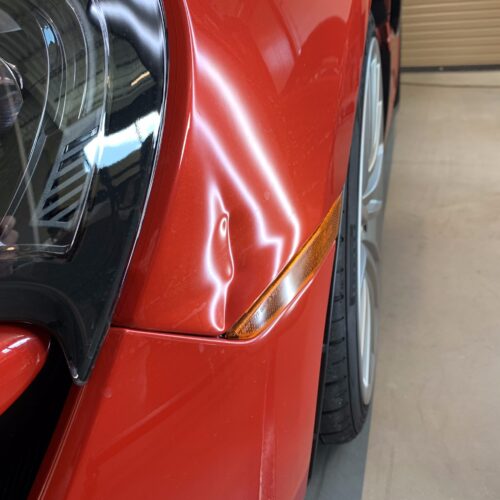
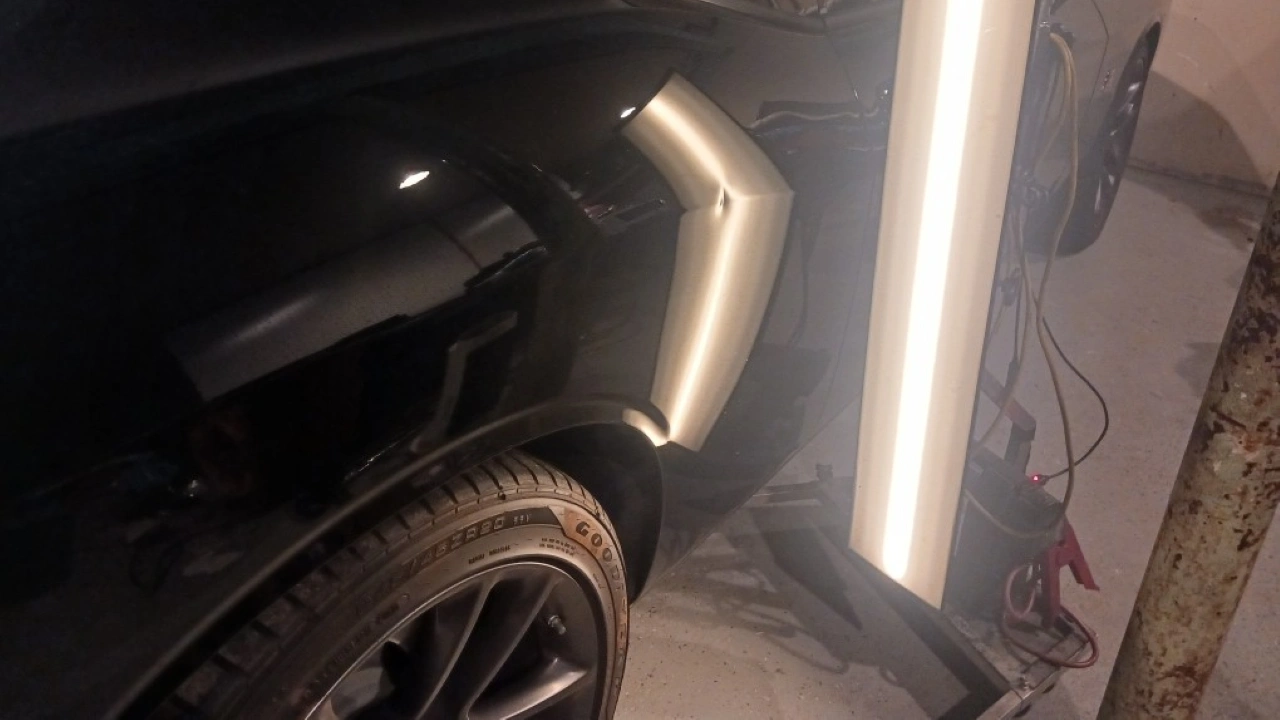
To accurately assess the dent, use a shadow board or a fluorescent light bar. Hold a bright light source at a low angle to the dented panel. The light will reflect off the surface, revealing the exact shape and depth of the deformation. Look for "high spots" where the metal has stretched too far. If the reflection shows a sharp, jagged line, the metal is creased. If the reflection shows a smooth, wide distortion, the metal is merely stretched. This visual test is the most reliable way to decide whether to proceed with a DIY repair or seek professional help.
Gather your dent removal tools
Assemble the supplies for the method you plan to use. Most DIY repairs rely on basic household items or inexpensive hardware store finds. Having everything within arm's reach keeps the process smooth and prevents the repair area from cooling down or losing suction mid-job.
Heat and Cold Method
This technique works best on plastic bumpers or thin metal panels. You will need a hair dryer to heat the dent until it is warm to the touch, followed by a can of compressed air held upside down to spray freezing propellant directly onto the spot. The rapid temperature change helps the material snap back into shape.
Suction and Pulling Tools
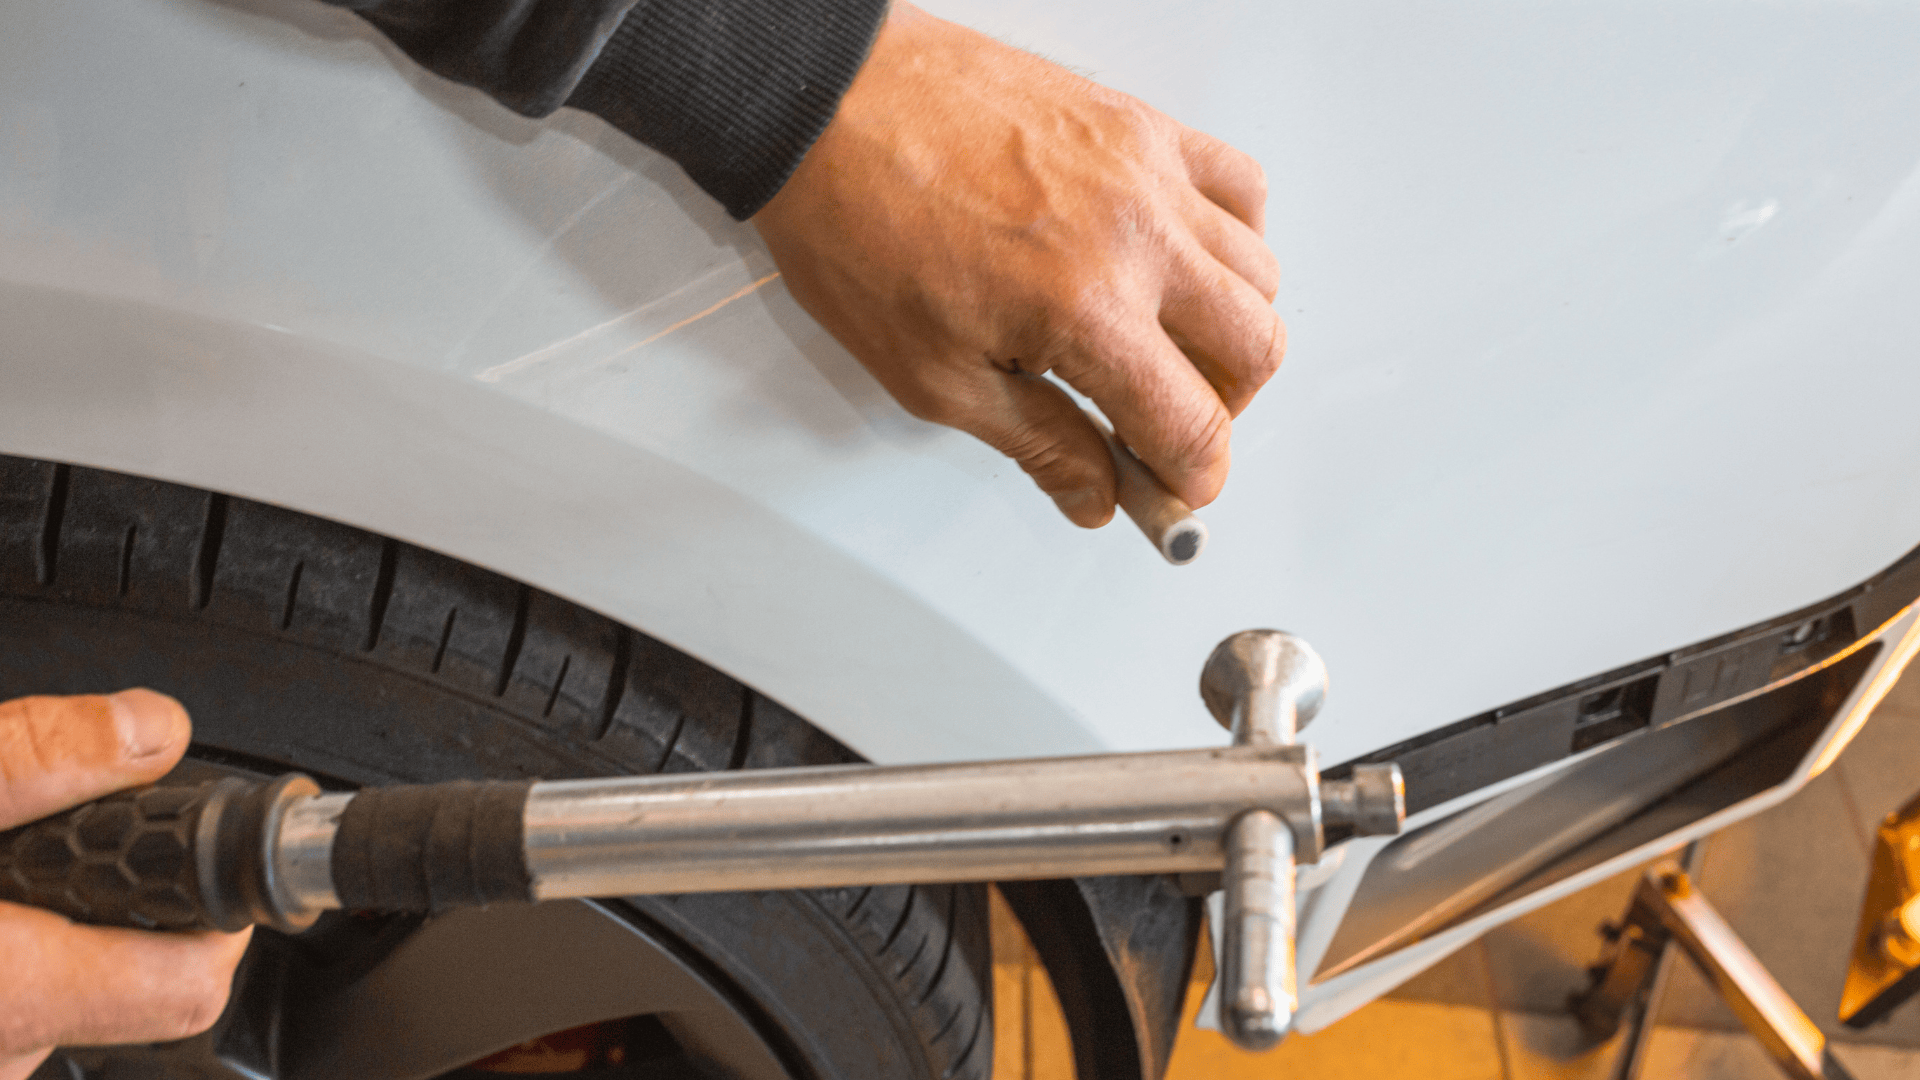
For deeper dents in metal, a plunger or a suction cup dent puller is essential. A standard toilet plunger works surprisingly well for large, shallow depressions if you keep the rim wet. For smaller, sharper dents, a glue-pulling kit with tabs and a bridge puller gives you more leverage to pop the metal out without damaging the paint.
Finishing Supplies
Once the dent is popped out, the surface may still feel uneven. Keep a rubber mallet and a block of wood handy to gently tap high spots back into alignment. You will also need isopropyl alcohol and microfiber cloths to clean the area before and after the repair, ensuring adhesives stick properly and the finish looks uniform.
-
Hair dryer
-
Compressed air can (upside down)
-
Plunger or suction cup puller
-
Glue-pulling kit with tabs
-
Rubber mallet and wood block
-
Isopropyl alcohol and microfiber cloths
Use heat and cold to pop small dents
The heat and cold method is one of the most accessible techniques for minor cosmetic imperfections on plastic bumpers and thin sheet metal. By rapidly changing the temperature of the panel, you create thermal shock that forces the metal or plastic to contract and expand quickly, often popping the dent back into place.
This approach works best for shallow, smooth dents where the paint has not cracked. It is particularly effective on rear bumpers and hood edges where the metal is thinner and more flexible.
Set a hair dryer to its highest heat setting and hold it about six inches from the dent. Move the dryer in a slow, circular motion to distribute heat evenly. Heat the area for two to three minutes until the plastic or metal is warm to the touch but not hot enough to burn your hand or damage the clear coat.
Turn an aerosol compressed air can upside down. This releases the liquid propellant, which is significantly colder than the gas version. Spray the heated dent for one to two seconds. The extreme cold causes the material to contract rapidly, often popping the dent out with a distinct snap.
Check the surface immediately after the spray. If the dent remains, wait a few minutes for the panel to return to room temperature, then repeat the heating and cooling cycle. Avoid overdoing it, as excessive thermal stress can weaken the metal or crack the paint.
This method relies on the physical properties of the materials rather than specialized pulling tools. It is a low-cost solution that requires minimal equipment, making it ideal for minor cosmetic imperfections. For deeper dents or those on high-tension body lines, professional paintless dent repair may be required.
Try suction for shallow depressions
When a dent is too large for heat or cold methods but lacks a sharp crease, suction is often the most effective first step. This technique works best on smooth, flat panels like hood lids, door skins, and rear quarter panels where the metal can flex back into place.
You can use a standard household plunger or a dedicated glue-pull suction tool. The goal is to create a tight seal and apply steady, vertical pressure to pop the metal back out. Avoid twisting or jerking motions, which can stretch the paint or damage the panel further.
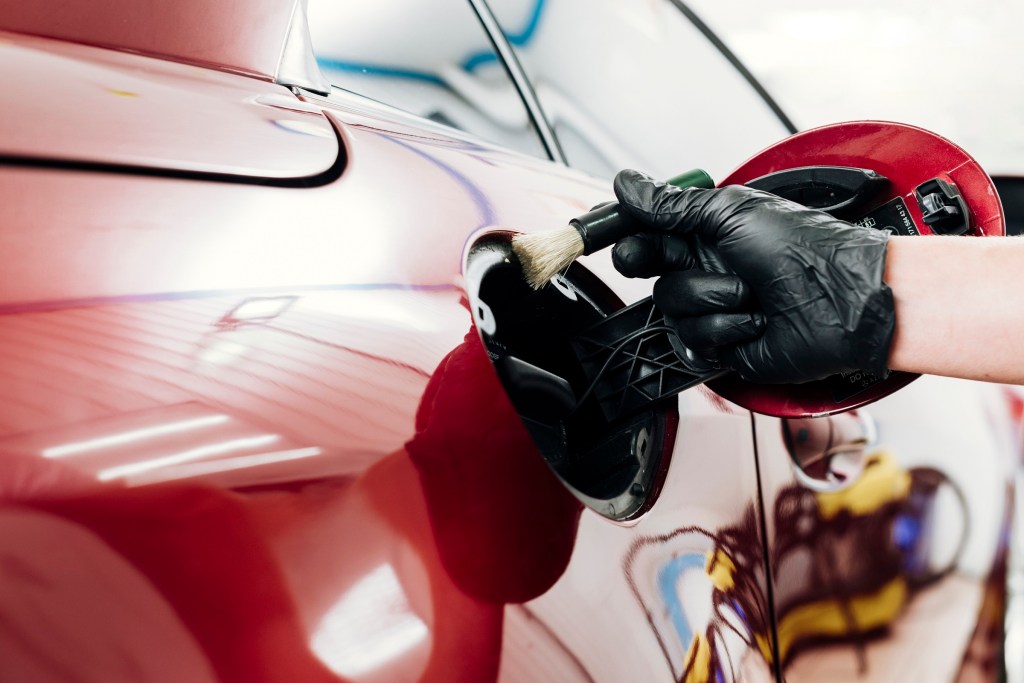
Wipe the dent and surrounding area with rubbing alcohol to remove wax, grease, and dirt. A clean surface is essential for creating an airtight seal with the suction cup.
Wet the rim of a plunger or attach the suction cup to the center of the dent. Press firmly until you hear or feel the air escape, ensuring a tight vacuum seal.
Pull straight out on the handle with steady, moderate force. Hold the tension for 10–15 seconds to let the metal memory work. Repeat this process several times, repositioning slightly if the dent is wide.
Release the suction and inspect the panel. If the dent is partially flattened, repeat the process. For minor remaining imperfections, you may need to combine this with heat or glue pulling for better results.
Watch a pro demonstrate the process
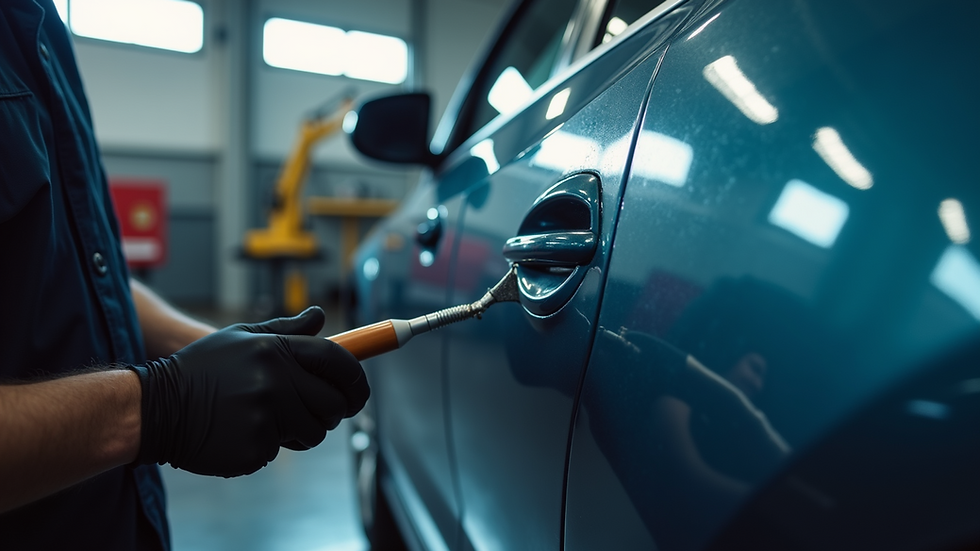
Visualizing the technique clarifies the pressure points and hand motions that text descriptions often miss. Watching an expert work helps you understand the rhythm of heating, pulling, and massaging the metal back into place.
This video breaks down the most common DIY methods, including the plunger and heat-and-cold techniques, showing exactly how much force to apply and when to stop. Seeing the process in motion prevents common mistakes like over-pulling or applying heat unevenly.
Pay close attention to the preparation steps. A clean surface is essential for the plunger to seal properly, and proper heating requires moving the heat source constantly to avoid damaging the paint. The video demonstrates these nuances clearly, giving you the confidence to try it yourself.
Common mistakes to avoid
Home dent repair is forgiving if you respect the metal’s limits, but a few common habits can turn a minor ding into a permanent scar. The most frequent error is pushing too hard. Bodywork follows the path of least resistance; forcing a dent out with excessive pressure often stretches the steel, creating a high spot that is harder to fix than the original depression. Work in small increments, checking your progress frequently, and let the tool do the heavy lifting.
Heat is another double-edged sword. While the hot water or hair dryer method helps shrink plastic panels or soften glue, applying intense heat to a metal dent can warp the surrounding paint or damage clear coats. If you are using a plunger or suction cup, rely on vacuum pressure, not thermal expansion. For glue pulling, use only the heat specified by the glue gun manufacturer and keep the temperature moving to avoid burning the finish.
Finally, skip the abrasive shortcuts. Scrubbing a dent with steel wool or heavy sandpaper before assessing the damage will mar the paint and create rust risks. If the paint is already chipped, do not attempt to fill and sand it yourself unless you are prepared to blend the color. Improper filling often leads to peeling paint within months, forcing a professional repaint that costs far more than the original repair.
Frequently asked questions about dent repair
DIY dent removal is often cheaper than a professional shop, but results depend on the damage type. Use these answers to decide if DIY is right for your vehicle.
No comments yet. Be the first to share your thoughts!