
Why DIY dent repair saves money
Professional paintless dent repair (PDR) is effective, but it comes with a steep price tag. According to industry data, fixing a dent at an auto shop can cost between $300 and $1,500, depending on the extent of the damage and the location of the panel. For minor door dings or small hail damage, paying hundreds of dollars for a single imperfection is rarely justifiable.
DIY dent repair kits offer a fraction of that cost. High-quality pullers and glue tabs typically start under $20, allowing you to fix multiple small dents for less than the price of one professional visit. This approach is ideal for surface-level damage where the paint remains intact. By handling minor cosmetic issues yourself, you preserve your vehicle's resale value without the premium labor fees.
The financial incentive is clear: for dents that are accessible and shallow, the DIY route provides a practical, budget-friendly alternative. You save money by avoiding shop labor rates and the overhead of a physical repair facility. This section sets the stage for reviewing the best tools that make these savings possible.
Best overall dent puller kit
The best overall dent puller kit balances pulling power with ease of use, making it the go-to choice for the average car owner. Unlike complex PDR tools that require specialized training, a quality glue-pull kit allows you to tackle medium-sized dings on flat panels like doors, hoods, and trunk lids without risking damage to the surrounding paint.
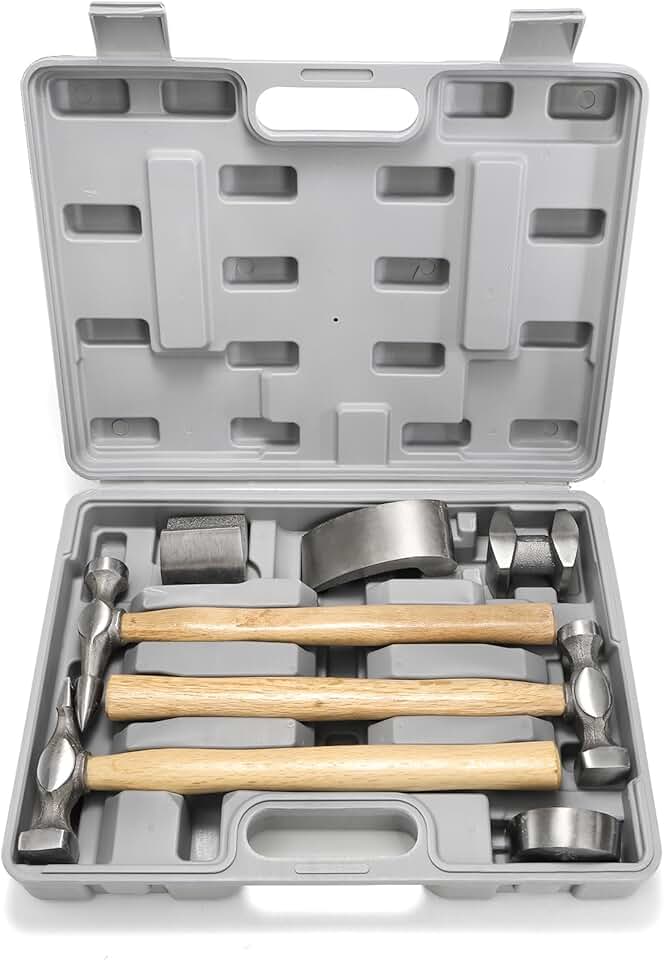
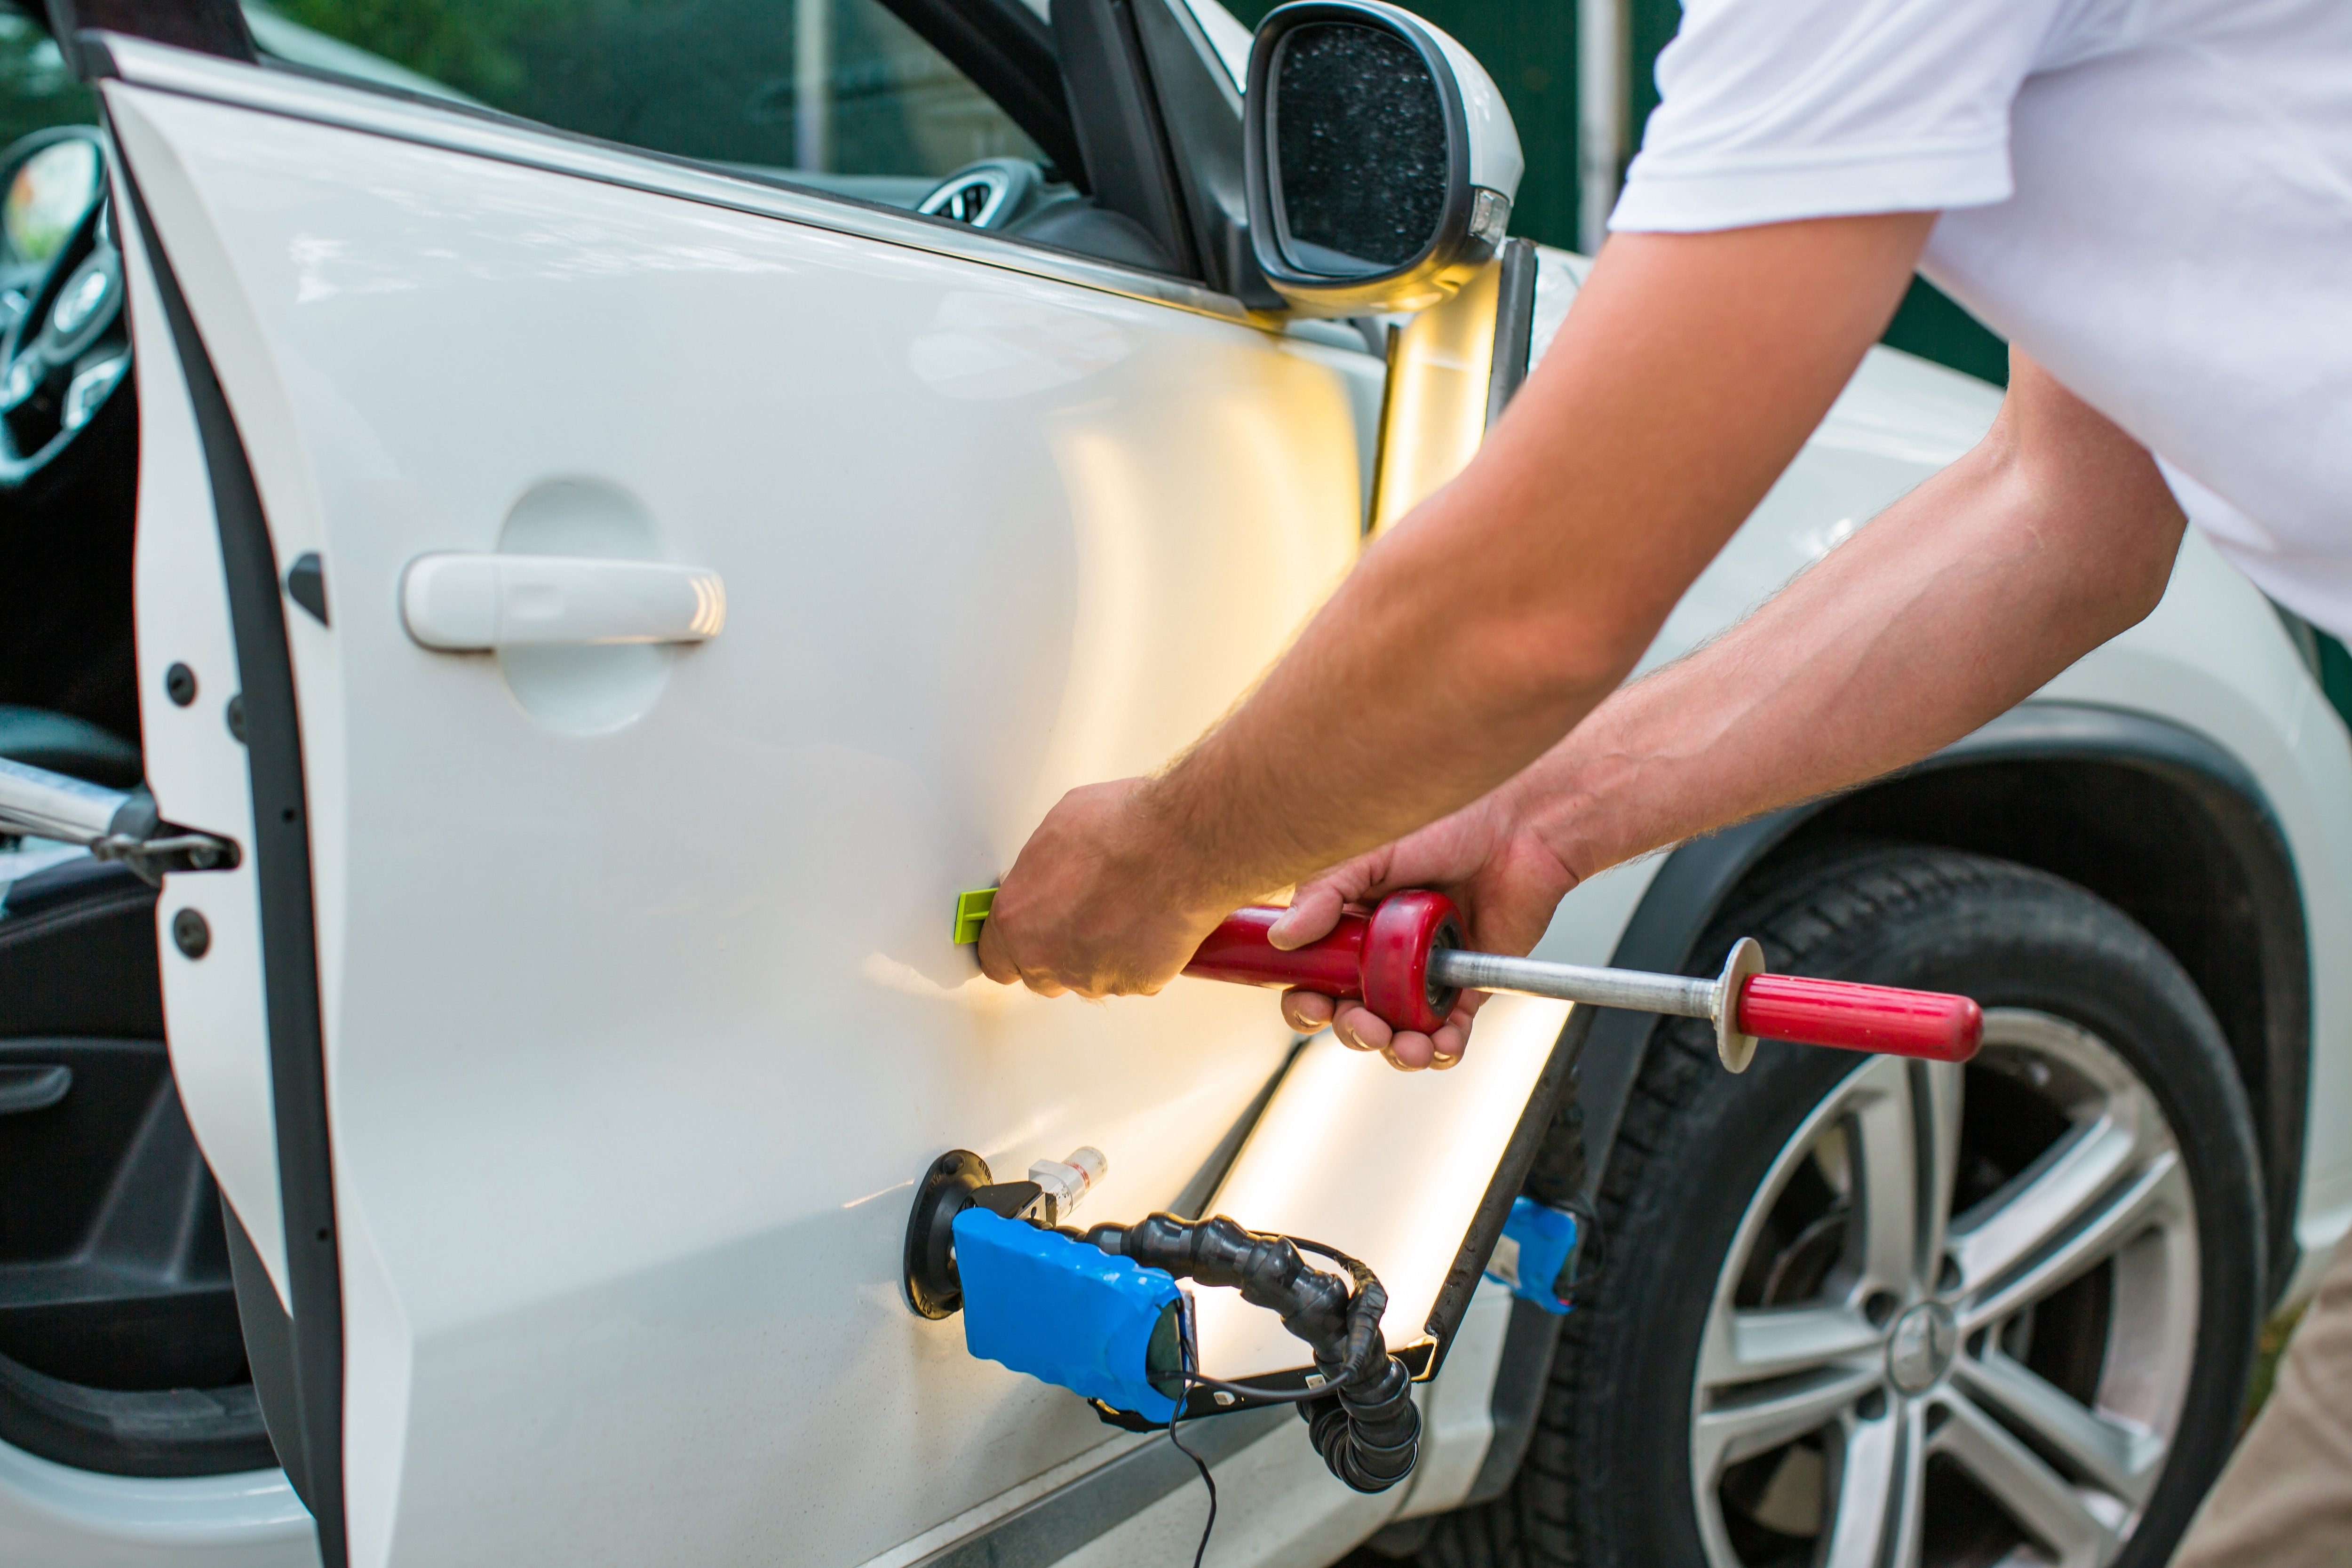
These kits typically include a pulling bridge, glue tabs, a slide hammer or puller bar, and necessary cleaning supplies. The process involves heating the glue tab, attaching it to the center of the dent, and using the puller to gently draw the metal back into shape. While not every dent can be fixed this way—sharp creases or structural damage usually require professional intervention—this method is effective for the most common types of door dings and hail damage.
Before attempting any repair, it is crucial to clean the area thoroughly to ensure the glue adheres properly. For a visual guide on the general techniques involved in removing dents, see the image below.
We recommend looking for kits that include a variety of glue tab sizes and a sturdy pulling mechanism. This ensures you can handle different dent depths and sizes. Always follow the manufacturer's instructions carefully to avoid overheating the glue or pulling too hard, which could stretch the metal further.


As an Amazon Associate, we may earn from qualifying purchases.
Best glue-based pullers for small dings
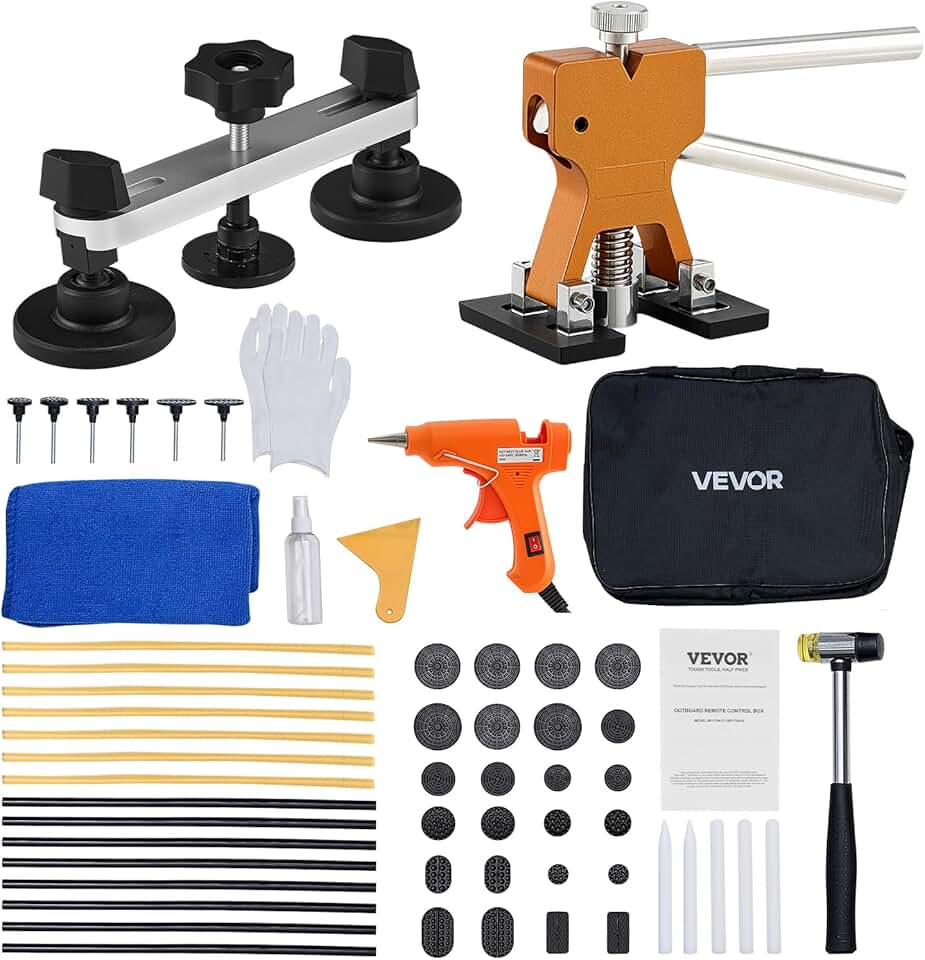
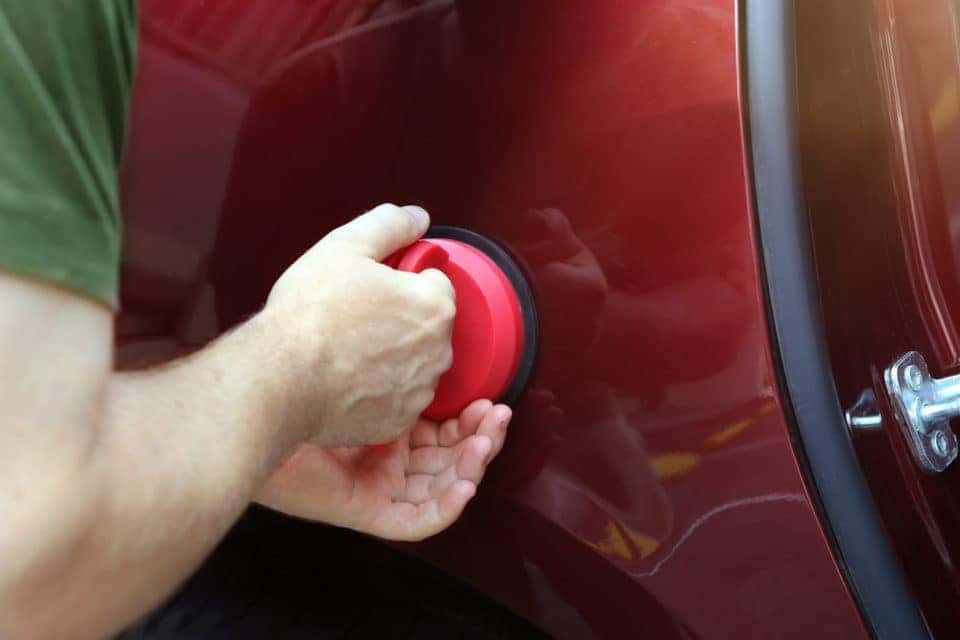
Glue-based dent pullers are the most accessible entry point for DIY auto repair. Unlike slide-hammer kits that require significant physical strength, these systems rely on adhesive tabs and a pulling bridge to lift minor dings. This method is particularly effective for door dings and shallow hail damage where the paint remains intact.
The process involves heating the dent slightly, applying a specialized glue tab, and using a bridge tool to pull the metal back into shape. While some online forums suggest heat lamps for larger repairs, for small surface imperfections, a simple heat gun or even hot water often suffices. The key is patience: pull in short increments, allowing the metal to cool and settle between tugs to avoid cracking the paint.
When selecting a kit, look for one that includes a variety of tab sizes. Smaller tabs work better for tight door ding crevices, while larger tabs provide more surface area for broader hail dents. Ensure the kit includes a glue remover or adhesive dissolver, as cleanup is the most tedious part of the process.
| Feature | User Consensus |
|---|---|
| Ease of Use | High for beginners |
| Best For | Door dings, hail bumps |
| Risk Level | Low (if paint is intact) |
| Cleanup | Moderate (adhesive residue) |

As an Amazon Associate, we may earn from qualifying purchases.
Best kits for plastic bumper repairs
Plastic bumpers behave differently than steel panels. They flex under pressure and can often spring back into shape with the right amount of heat. Using a heat lamp or a heat gun softens the polymer, allowing you to push the dent out from behind or pull it gently from the front. This method works best for shallow creases and dings where the plastic hasn't cracked or lost its structural memory.
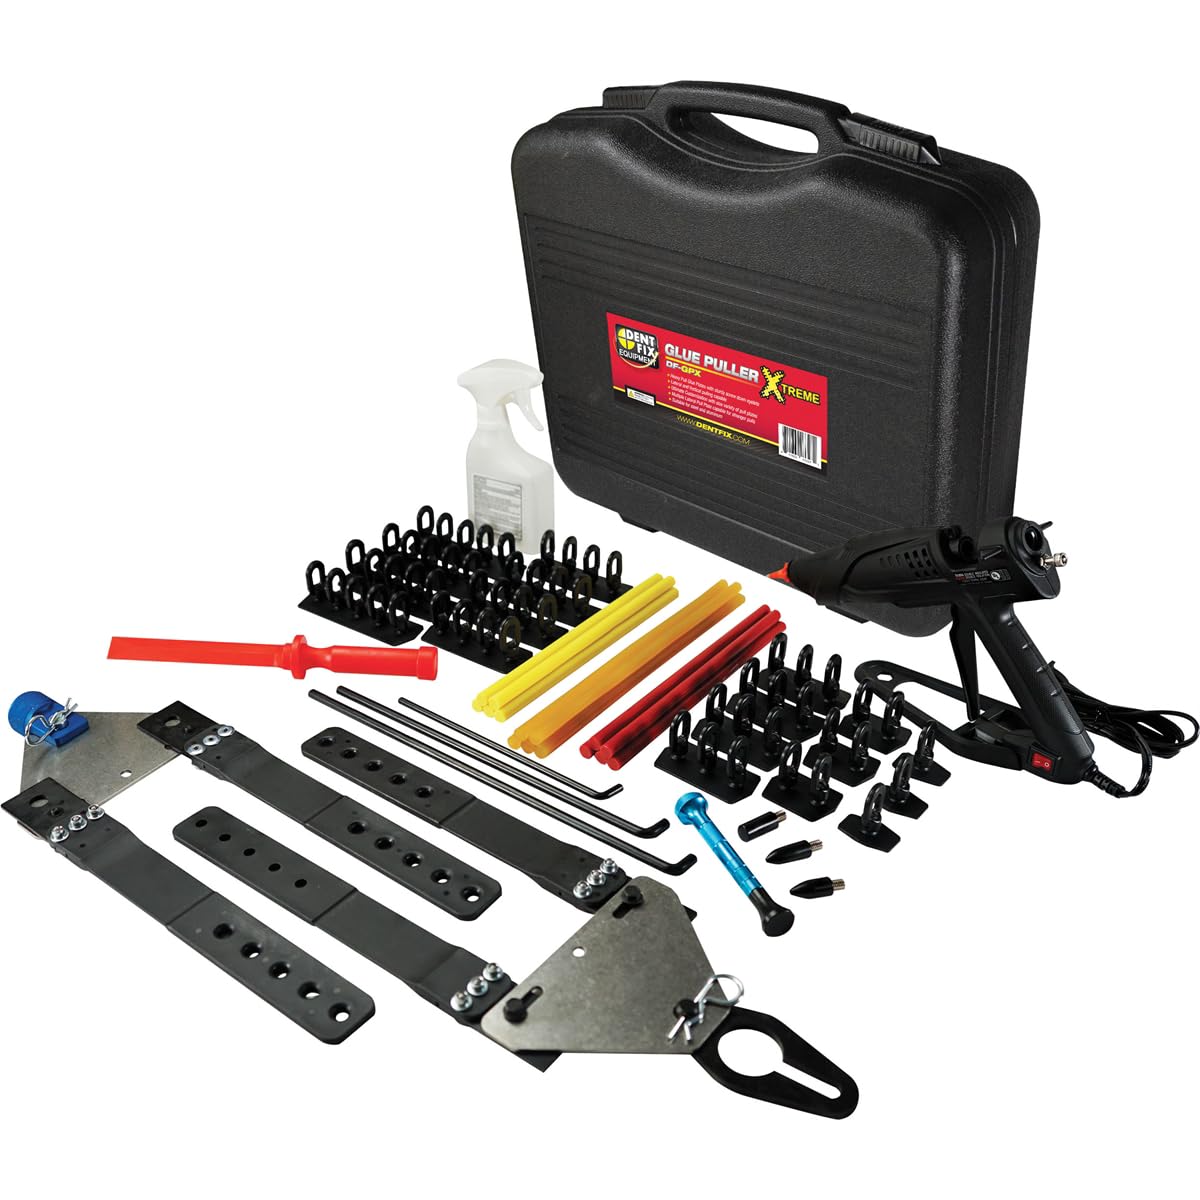
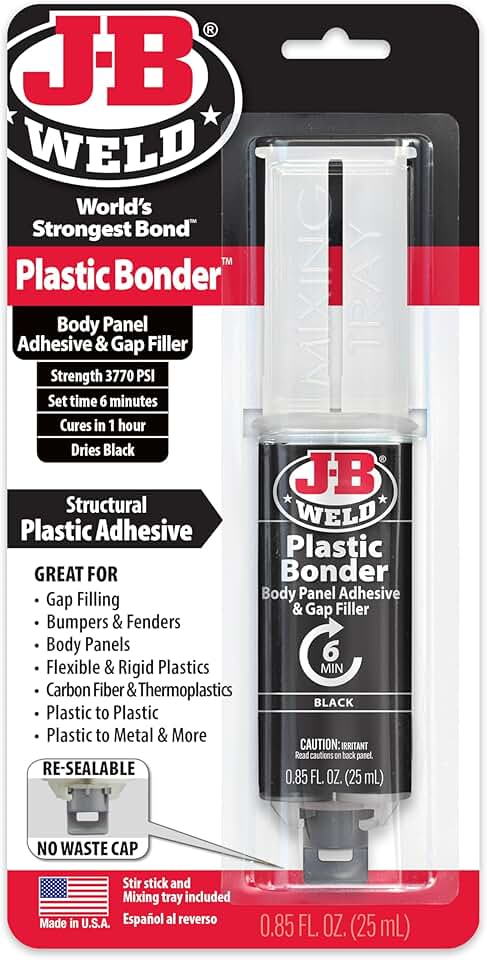
When heat isn't enough, you need a kit designed for flexible substrates. Standard body fillers can crack as the bumper vibrates and bends during driving. Look for kits that include a flexible filler or epoxy specifically labeled for plastic use. These materials adhere better and move with the bumper rather than against it, preventing the repair from failing after a few months.
For deeper damage, glue-pull systems are often more effective than hammer-and-dolly techniques on curved plastic surfaces. These kits use tabs and a pulling bridge to draw the dent out without adding bulk. If the dent is severe or has creased the plastic, professional repair might be the only safe option, as DIY attempts can sometimes worsen the distortion.


As an Amazon Associate, we may earn from qualifying purchases.
How to fix car dents step by step
Using a DIY dent repair kit is a matter of patience and precision. The process generally falls into two categories: pulling out shallow dings or filling deeper scratches. Before you begin, ensure the panel is free of wax and grease. A quick wipe with rubbing alcohol or a dedicated prep spray ensures your tools and fillers adhere properly. If the paint is cracked or the metal is rusted, DIY methods will not hold, and professional help is required.
Clean the dented area thoroughly. For paintless dent repair kits, you need a smooth surface to apply suction cups or glue tabs. If you are using body filler (like Bondo), you must sand the paint in the dent to create a rough texture for the filler to grip. Remove any loose debris or rust.

For small dings, apply the glue tabs or suction cups exactly in the center of the depression. Pull the handle or slide hammer firmly and steadily. Do not jerk the tool, as this can rip the tab off or damage the surrounding paint. Hold the tension for a few seconds to let the metal relax back into shape.
If the dent left a shallow scratch or the metal didn't pop back fully, mix the body filler according to the kit instructions. Apply a thin layer over the area with a spreader. Once cured, sand it smooth using progressively finer grits of sandpaper. Wipe away the dust to check your work.
For PDR repairs, use a polishing compound to remove any minor swirl marks left by the suction cups. If you used filler, apply touch-up paint to the sanded area. Blend the edges carefully with a fine brush, then buff the entire panel to match the surrounding gloss.
The key to a successful repair is working in small increments. Pulling too hard too fast can stretch the metal further or crack the paint. If the dent doesn't improve after a few attempts, it may be too deep for a consumer-grade kit. In those cases, the cost of additional supplies often outweighs the savings compared to a professional PDR technician.
When to skip DIY and call a pro
DIY dent repair kits are effective for specific scenarios, primarily shallow, smooth depressions on large, flat panels like doors or hoods. These tools rely on pulling or heating techniques that work best when the metal has not been permanently stretched or compromised. However, attempting to fix complex damage with a home kit often results in further deterioration, turning a minor cosmetic issue into a costly professional nightmare.
You should stop and seek professional help if the dent involves sharp creases or structural elements. Creased metal has been folded beyond its elastic limit, making it nearly impossible to smooth out without specialized tools and heat treatment. Similarly, dents on structural frames or pillars affect the vehicle's integrity and safety, requiring factory-level expertise to restore properly.
Paint condition is another critical boundary. If the dent has cracked, chipped, or removed the clear coat or base paint, DIY pulling methods will not address the corrosion risk. Exposed metal will rust quickly, and attempting to paint over a dent without proper body filler and sanding will leave a visible bump under the new finish. In these cases, professional paintless dent repair or traditional bodywork is the only reliable path.
While DIY kits can save money on small door dings, the cost of fixing botched repairs often exceeds the price of a professional service. If you are unsure about the depth or location of the dent, consult a certified auto body shop before purchasing any supplies. It is better to spend $50 on a consultation than $500 on a failed repair attempt.
Common questions about dent repair
Before buying a kit, it helps to know what a DIY approach can actually handle. Most affordable kits are designed for shallow, smooth depressions like door dings or hail damage where the paint is intact. If the metal has been stretched significantly or the paint is cracked, no glue tab or plunger will restore the original shape without risking further damage.
What dents are not fixable?
Not every dent is a candidate for a home repair. Sharp creases that run along body lines are difficult to smooth out because the metal has been folded rather than just pushed in. Dents with rust or corrosion weaken the panel, making it prone to tearing. Additionally, any damage that affects structural integrity or sits on hardened steel panels is best left to professionals with specialized tools.
How much should a dent cost to repair?
Costs vary wildly depending on the method. Professional repairs typically range from $50 to $2,500, with simple door dings on the lower end and complex panel replacements on the higher end. In the UK, non-complex dents often start around £120. DIY kits offer a fraction of that price, usually starting at just a few dollars, but they require time and patience to achieve a near-invisible result.
Can I fix car dents myself to save money?
Yes, for minor damage, DIY kits are a cost-effective alternative to body shops. You can save hundreds of dollars by tackling small dings yourself. However, keep in mind that DIY repairs rarely match the flawless finish of a professional job. If the dent is large, deep, or in a highly visible area, the risk of making it worse may outweigh the savings.
No comments yet. Be the first to share your thoughts!