
When the dashboard lights up like a Christmas tree, it's not exactly the holiday surprise you were hoping for. But before you let anxiety set in, remember that some warning lights and electrical glitches can be addressed with a bit of DIY savvy. With vehicles becoming increasingly complex, understanding the basics of dashboard diagnostics is crucial for any driver looking to maintain their ride without unnecessary trips to the mechanic.
Deciphering Dashboard Warning Lights
First things first: not all dashboard lights indicate immediate danger. Some are gentle nudges towards maintenance, while others scream for urgent attention. To differentiate between a minor hiccup and a full-blown emergency, familiarize yourself with your vehicle's manual—it's your car communication bible. For those who've misplaced it in the glove box abyss, online resources and diagnostic tools can serve as a digital substitute.
Once you've identified what each symbol signifies, you can make an informed decision on whether to tackle the issue yourself or seek professional help. For example, while a tire pressure light might just require a quick air top-up at your local station, an engine warning light could indicate something more sinister under the hood.
Troubleshooting Electrical Glitches
The modern car is a marvel of electrical engineering—until it isn't. Glitches can range from quirky behaviors like erratic wiper movements to more concerning issues such as unresponsive key fobs. Before you dive under the dash with wire strippers in hand, start with some basic troubleshooting steps.
- Check Your Battery: A weak battery is often at the root of electrical woes. Ensure it's properly charged and terminals are clean and secure.
- Fuse Inspection: Locate your fuse box and check if any fuses have blown—a simple replacement might just do the trick.
- Loose Connections: Jiggling wires might seem amateurish but can reveal loose connections that cause intermittent problems.
Diving Deeper into DIY Repairs
If you're feeling confident or have some experience under your belt, tackling more complex issues is within reach. Let's say you've got a problem with your blind spot monitors or rear cross-traffic alerts; detailed guides like this one from DriverPals offer step-by-step instructions that can save you time and money.
Soldering Made Simple: Automotive Wire Connections


It's essential to equip yourself with proper tools and safety equipment before embarking on these tasks. And remember—there's no shame in acknowledging when a problem is beyond your skill level. If you're unsure about any procedure or diagnostic result, consult with a professional mechanic or use resources from AutoBodyRX for guidance on DIY car repairs.
DIY Auto Electrical Kit
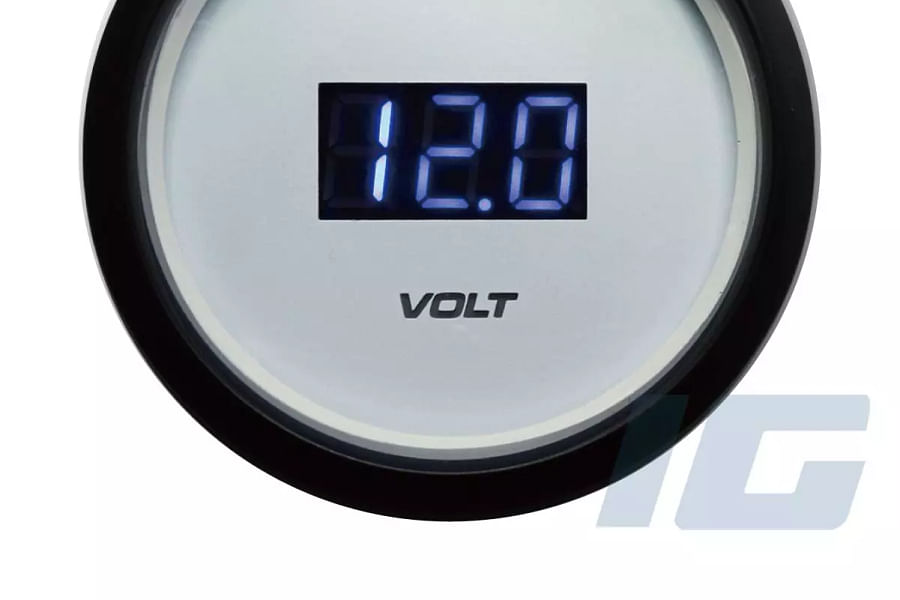
- Voltmeter - Essential for testing circuits and verifying voltage levels.
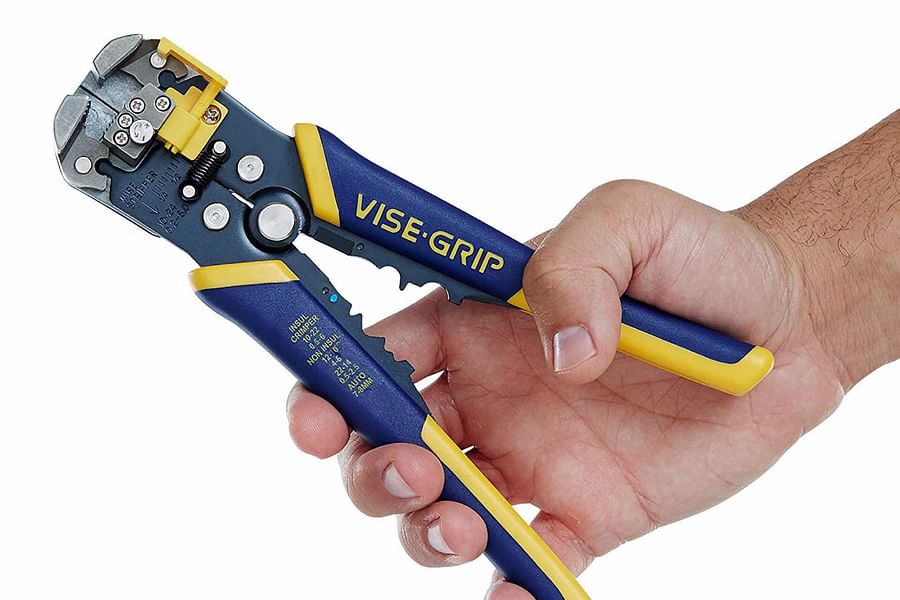
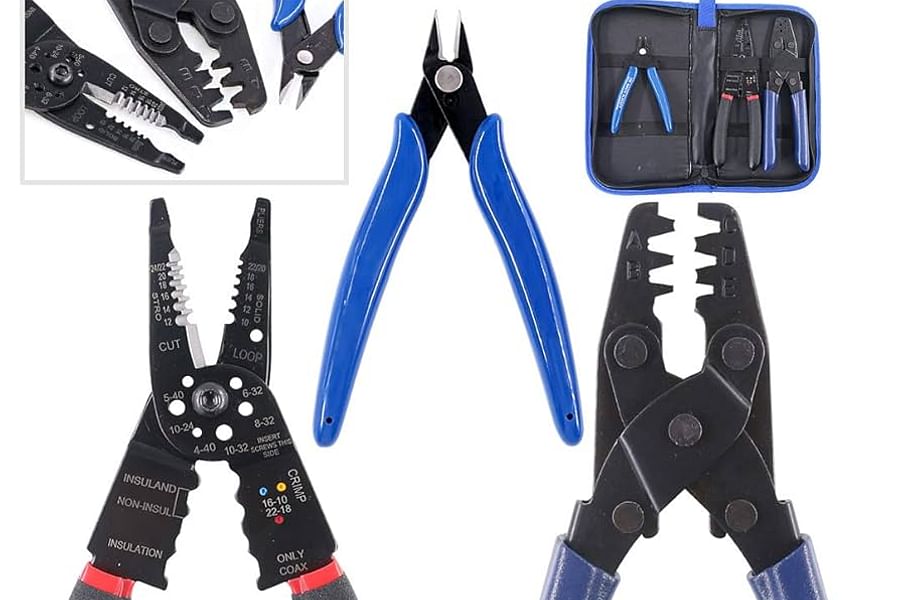
- Wire Stripper - For cleanly stripping insulation without damaging the wire.
- Crimping Tool - Needed for securing wire terminals and connectors.
- Soldering Iron - For creating strong, conductive wire connections.
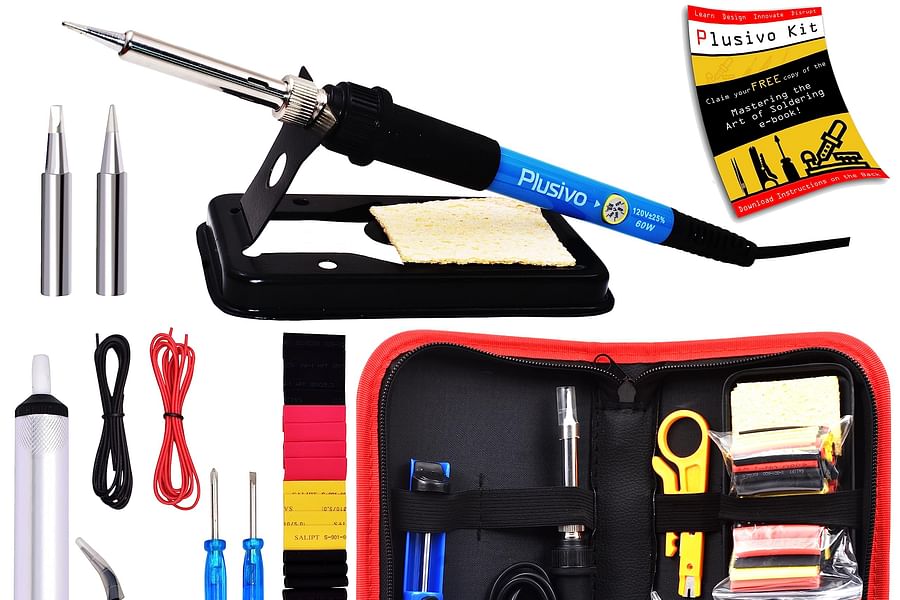
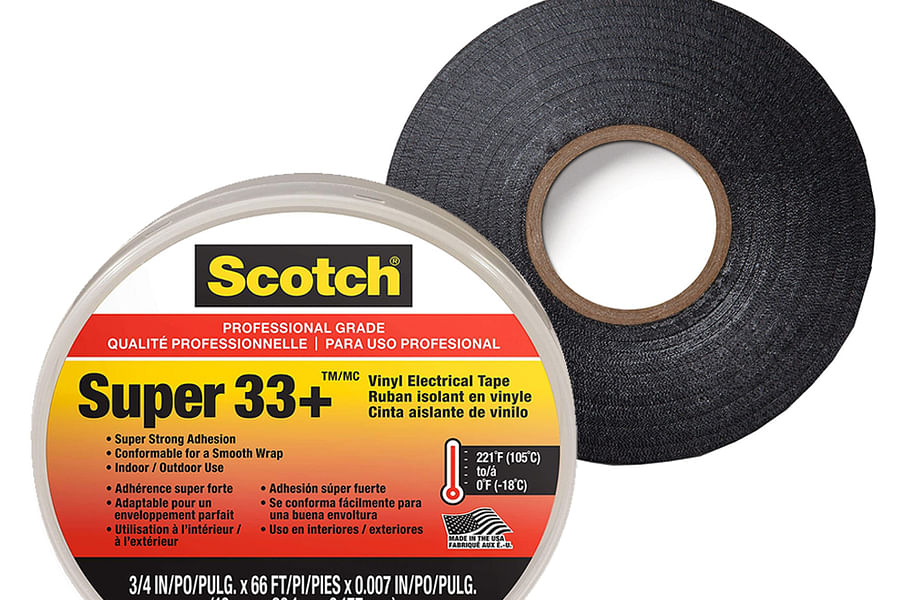
- Electrical Tape - Insulates and protects wire connections.
- Heat Shrink Tubing - Provides a sealed, protective cover over wire splices.

- Fuse Puller - Safely removes and installs fuses in fuse boxes.

- Replacement Fuses - To replace blown fuses of various amperages.

- Diagnostic Scanner - For reading and clearing error codes from the vehicle's computer.
- Insulated Gloves - To protect hands from electric shock and burns.

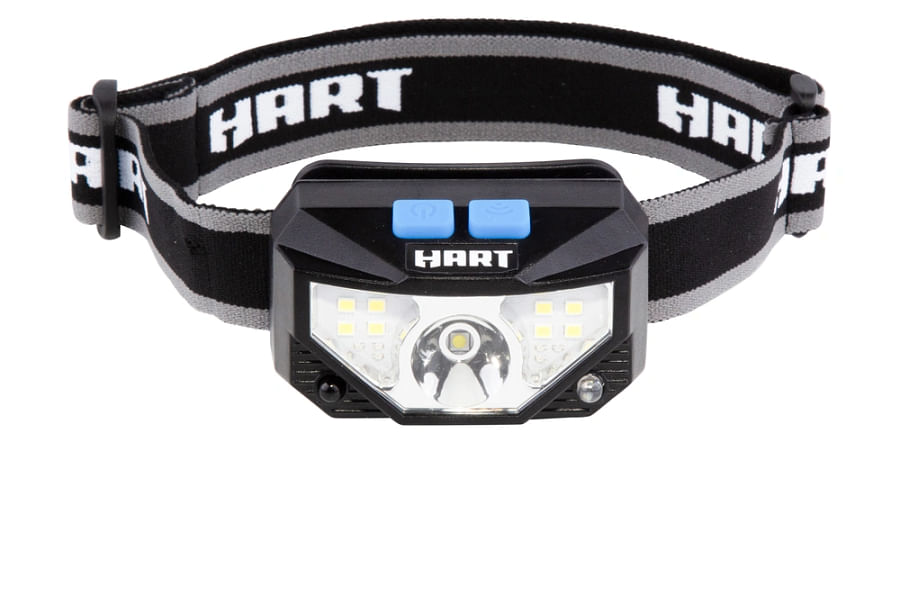
- Flashlight or Headlamp - For visibility in dimly lit areas under the dashboard or hood.
- Multifunctional Screwdriver - Useful for removing panels and components.

In our next section, we'll explore how smart technology projects for cars can enhance your driving experience—much like they do in smart homes as discussed in this article from GeekCondo. Stay tuned as we continue our journey into the electrifying world of automotive DIY!
Resetting Your Vehicle's Computer System
Before diving into more complex repairs, a simple reset of your vehicle's computer system can sometimes clear those pesky dashboard warning lights. This is akin to rebooting your computer at home when it starts to act up. Disconnecting the battery for a few minutes can reset the system and often solves the problem. However, this should be done with caution and you should ensure all electronics are turned off before disconnecting the battery to prevent any electrical spikes.
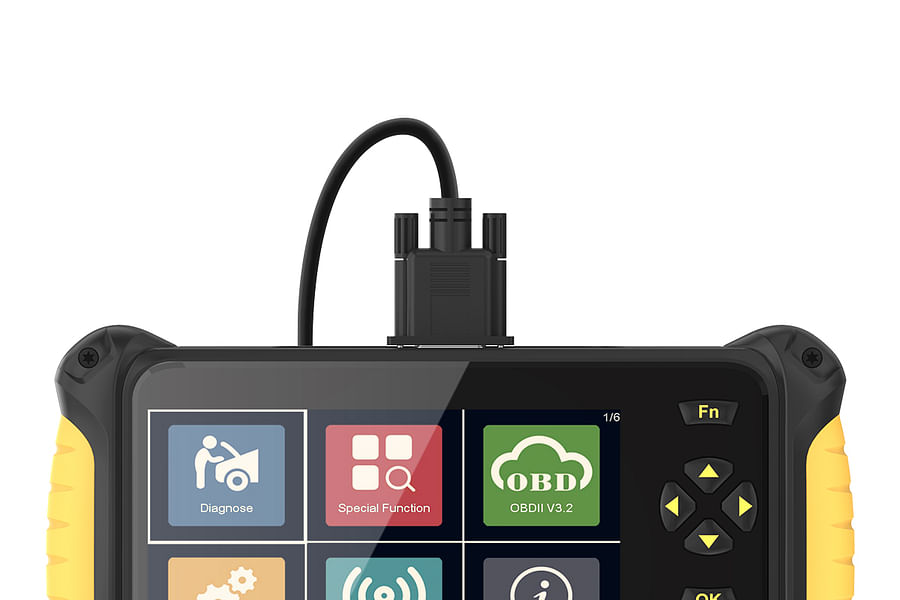
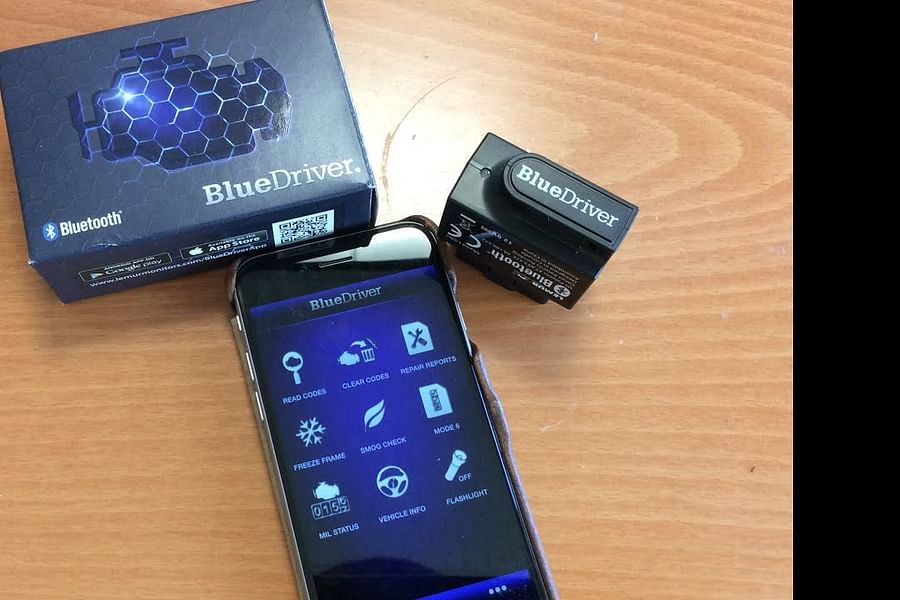
If a reset doesn't do the trick, it might be time to dig deeper. Many modern vehicles are equipped with an On-Board Diagnostics (OBD) port. Using an OBD-II scanner, you can retrieve diagnostic trouble codes (DTCs) that help pinpoint the issue. While professional-grade scanners can be expensive, there are affordable options available that work well for DIY purposes.
Top OBD-II Scanners
- BlueDriver Bluetooth Pro - A versatile tool that pairs with your smartphone to diagnose and clear trouble codes.
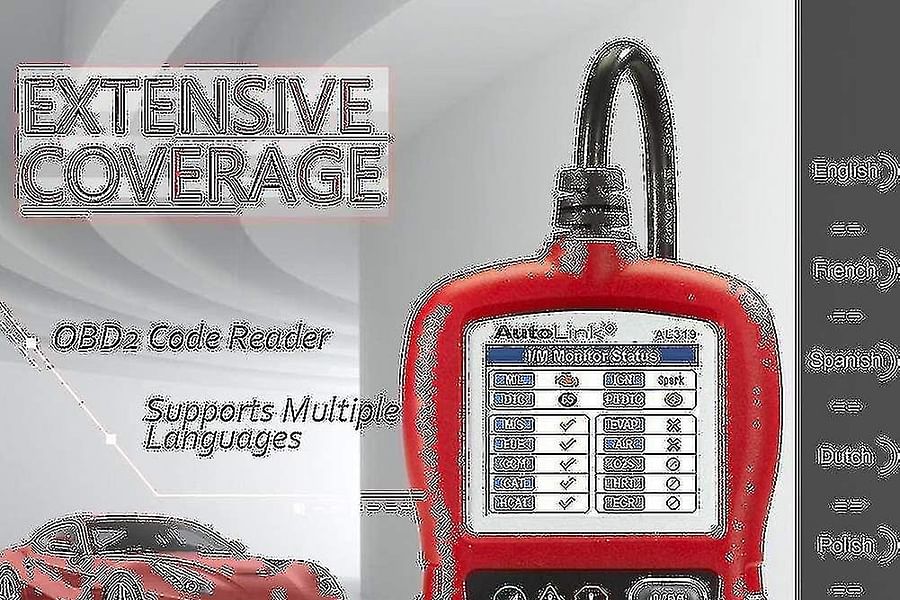
- Autel AutoLink AL319 - Offers a one-click I/M Readiness Key for quick emissions checks.
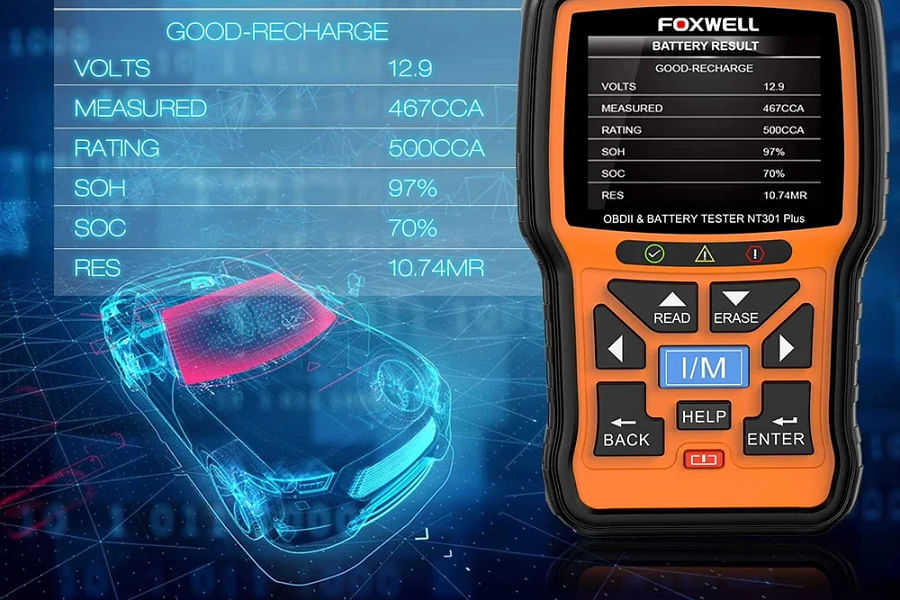
- FOXWELL NT301 - Known for its easy-to-read color screen and detailed definition library.
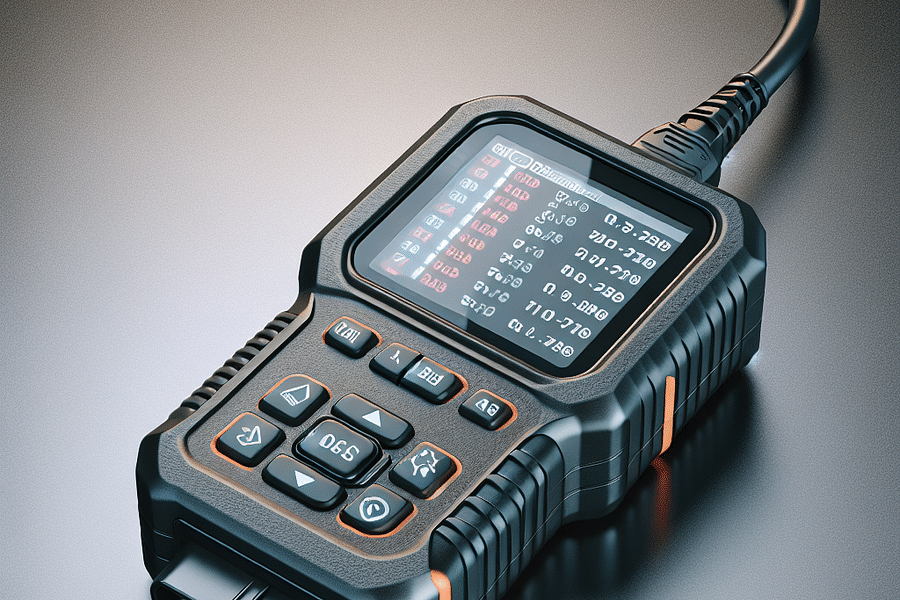
- BAFX Products Wireless - An affordable option that works with third-party apps for both Android and iOS.

- ANCEL AD310 Classic - A simple, user-friendly device with a large LCD display and built-in DTC lookup function.
Soldering Wire Connections and Replacing Fuses
Loose or corroded wire connections can lead to intermittent electrical problems that are frustratingly inconsistent. Learning how to solder wire connections is a valuable skill that can save you both time and money. It's important to remember that proper insulation is just as crucial as the soldering itself to prevent shorts in the system.
[step_by_step_guide: An illustrated guide on how to solder automotive wire connections properly]Fuses are another common culprit when it comes to electrical issues in cars. They are designed to protect your car's electrical circuits by breaking if there's an overload, preventing damage to more expensive components. Checking and replacing blown fuses is relatively straightforward and should always be one of the first steps when troubleshooting electrical glitches.
Upgrading Your Dashboard's Hardware
Sometimes, fixing your dashboard may involve upgrading certain components like instrument cluster lights or touchscreen displays. LED bulbs offer longer life spans and better energy efficiency compared to traditional bulbs, making them an excellent choice for backlighting upgrades.
Illuminate Your Drive: Top Dashboard LED Kits
If you're dealing with a malfunctioning infotainment system, consider firmware updates or even replacement units that offer additional features such as smartphone integration or improved navigation systems. These upgrades not only fix existing issues but also enhance your driving experience.
In conclusion, addressing dashboard warning lights and electrical glitches doesn't always require professional intervention. With some research, a careful approach, and the right tools, many common issues can be resolved in the comfort of your own garage. Remember, whether you're resetting your car's computer system or soldering wires, safety comes first—always disconnect the battery before working on your vehicle’s electrical system.
To further enhance your DIY skills or tackle more advanced repairs such as electric car repair, explore our resources or dive into guides like troubleshooting blind spot monitors. And if you're keen on integrating smart technology into other areas of your life beyond automotive repair, take inspiration from DIY technology projects for smart homes.
For those moments when you're on the road and need quick fixes, check out our tips for DIY car repair on-the-road situations. And don't forget about home security—DIY home security tips can keep both your family and vehicle safe at home.
If you ever feel uncertain about tackling a repair yourself or want advice on diagnostic equipment like OBD-II scanners, our team at AutoBodyRX is here to help with guidance tailored specifically for DIY enthusiasts – just visit our page on important diagnostic equipment for DIY car repair. And remember – while DIY repairs can be satisfying and cost-effective, always prioritize safety and consult professionals when necessary.

No comments yet. Be the first to share your thoughts!