
The reality of repairing stainless steel
The Cybertruck is a different beast when it comes to bodywork. Its 30X cold-rolled stainless steel doesn't behave like the thin aluminum or mild steel on a typical Ford or Toyota. You can't just tap out a dent with a hammer and dolly; the material is stubborn and fights back against manipulation.
This resistance isn’t just a matter of brute force. The steel’s hardness means it’s more prone to cracking or stretching if you attempt aggressive dent removal. Bending it back into shape isn’t as simple as it is with high-strength steel found in most vehicles. The material's properties mean specialized tools and techniques are often required, significantly increasing repair costs.
Right now, the network of shops equipped to handle Cybertruck repairs is limited. Tesla directs owners to approved collision centers, but even those facilities are still gaining experience with this new material. Wait times for both estimates and actual repairs can be substantial. A recent post in a Tesla Cybertruck owners group on Facebook detailed a month-long wait just to get an estimate, followed by a projected two-month wait for parts.
The cost of repair reflects these complexities. Because of the specialized labor and potential need for panel replacement, even minor damage can quickly escalate. The limited repair options also contribute to higher prices. It’s a situation owners need to be prepared for when considering the long-term cost of ownership.
How deep is the scratch?
Not all scratches are created equal. Understanding the severity of the damage is the first step in determining the best course of action for your Cybertruck. We can broadly categorize scratches into three levels: clear coat scratches, paint scratches, and those that penetrate down to the bare metal.
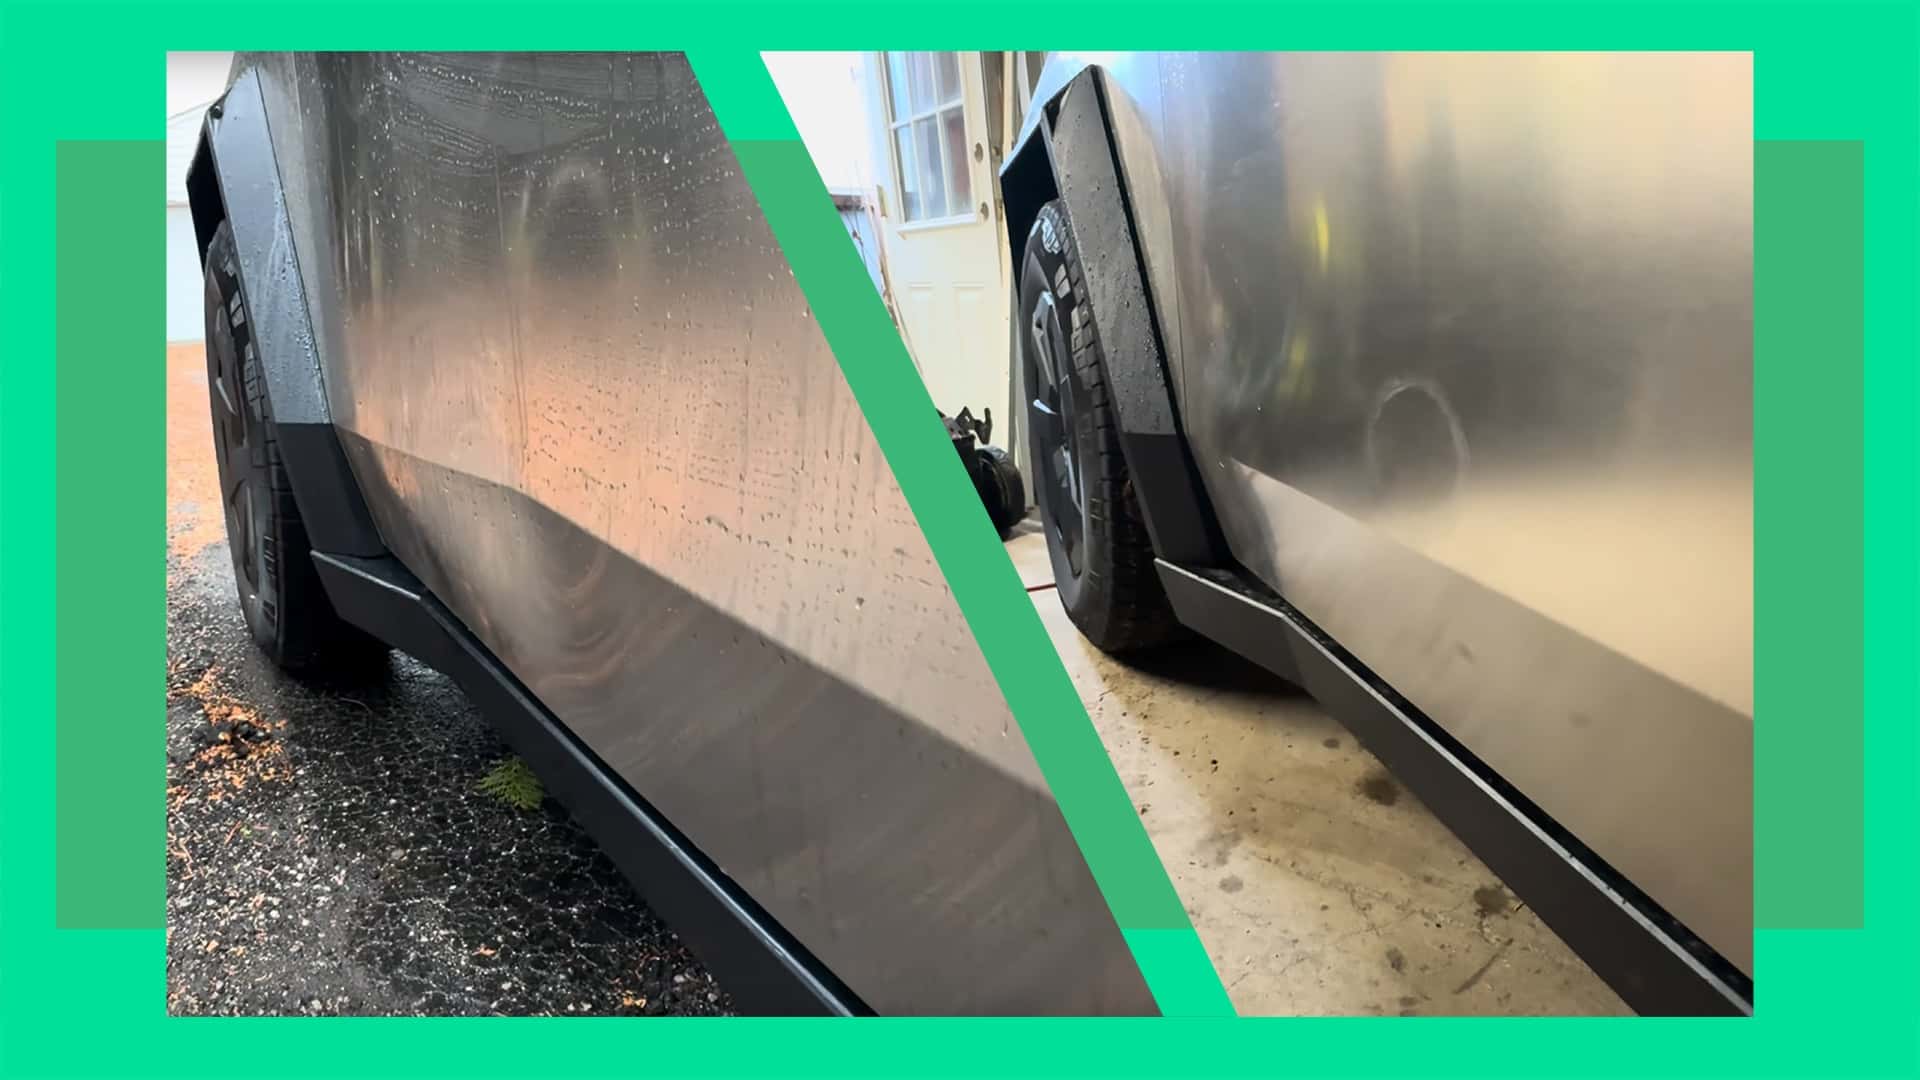
Clear coat scratches are the most superficial. These affect only the outermost protective layer and often appear as swirl marks or light hazing. They’re generally the easiest to address, and sometimes can be buffed out with the right polishing compounds. Paint scratches are more serious, going through the clear coat and into the colored paint layer. These require more aggressive techniques and may necessitate touch-up paint.
Finally, scratches that reach the metal are the most concerning. These expose the stainless steel to the elements, increasing the risk of corrosion and requiring extensive repair. Addressing these requires more than just a quick fix; it often involves filling, sanding, and potentially even panel replacement. Proper assessment is key.
Check the scratch under bright light after a quick wipe with a microfiber cloth. If your fingernail catches in the groove, you've gone past the surface. I'm skeptical about how well DIY clear coat kits hold up on this specific steel over time, so if it's deep, you're better off talking to a pro.
- Clear coat scratches are superficial and only hit the outer layer.
- Paint scratches go deeper into the actual color.
- Metal Scratches: Most severe, exposing the stainless steel.
DIY Scratch Removal: What You Can Try
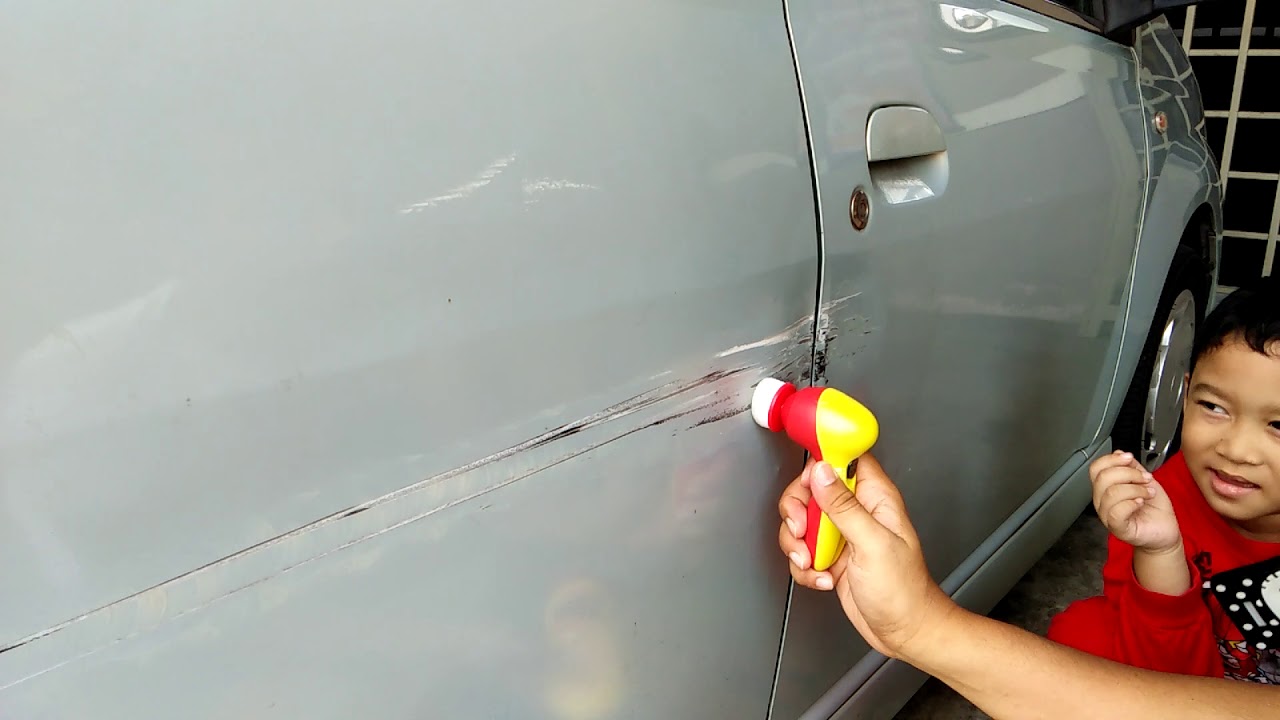
If you’re dealing with very minor clear coat scratches, you might be able to get away with a DIY repair. The goal is to gently polish the area and blend the scratch into the surrounding paint. Start with a high-quality polishing compound specifically designed for automotive clear coats. Meguiar’s ScratchX 2.0 is a commonly recommended option.
Apply a small amount of the compound to a clean microfiber cloth or a polishing pad attached to a dual-action (DA) polisher. Work the compound into the scratch using gentle, circular motions. Avoid applying excessive pressure, as this could create more damage. The key is patience and finesse. Gradually increase the pressure as you see improvement, but always check your work frequently.
After polishing, clean the area with a clean microfiber cloth. Inspect the results. If the scratch is still visible, you can repeat the process, but be cautious about overdoing it. Remember, you’re removing a thin layer of clear coat, and excessive polishing can eventually damage the paint. Always test in an inconspicuous area first.
Important Disclaimer: Attempting DIY scratch removal can void your vehicle’s warranty. Tesla’s warranty specifically outlines what modifications are permissible, and unauthorized repairs could invalidate your coverage. These methods are best suited for extremely superficial scratches. If you’re unsure, it’s always best to consult a professional.
- Tools Needed: Polishing compound, microfiber cloths, polishing pads (optional DA polisher).
- Safety First: Wear gloves and eye protection.
- Test Spot: Always test the compound in an inconspicuous area first.
Does paintless dent repair work?
Paintless Dent Repair (PDR) is the standard for most cars, but it's hit-or-miss on the Cybertruck. PDR technicians usually massage metal back into shape from the inside out. While that works on soft aluminum, this stainless steel is much stiffer and less forgiving.
The hardness of the stainless steel makes it less pliable than the metals typically used in PDR. It’s more likely to crack or stretch than to yield and return to its original form. Accessing the back of the panels is another hurdle. The Cybertruck’s construction doesn’t always allow for easy access, making it difficult to apply the necessary pressure.
Technicraft Automotive Group, specializing in collision repair, has noted the difficulties in working with the Cybertruck’s stainless steel. Their experience reinforces the idea that PDR is not a reliable solution for significant dents. While minor dents might be addressed with PDR, it’s not a guaranteed fix and carries a higher risk of causing further damage.
Ultimately, the success of PDR on a Cybertruck depends on the size, location, and severity of the dent, as well as the skill of the technician. However, don’t expect the same results you’d get with PDR on a conventional vehicle. It’s often a case of trying it and seeing if it works, with no guarantee of success.
Professional Dent Repair: Panel Replacement
For significant dents, especially those that have stretched or cracked the stainless steel, panel replacement is the most likely solution. This involves removing the damaged panel and installing a new one. It’s a complex process that requires specialized tools, expertise, and access to replacement parts.
The cost of panel replacement can be substantial. A recent post on a Tesla Cybertruck owners Facebook group detailed a repair estimate of around $13,000, with a significant portion of that cost attributed to the panel itself. This highlights the expense associated with repairing the Cybertruck’s unique construction. Lead times for parts can also be long, as demand for these components currently exceeds supply.
Color matching stainless steel is another challenge. Unlike painted panels, the Cybertruck’s stainless steel has a natural finish that can vary slightly from panel to panel. Achieving a seamless blend between the new and existing panels requires careful attention to detail and skilled craftsmanship. Tesla-approved collision centers are best equipped to handle this aspect of the repair.
Because of the complexity and cost, obtaining multiple quotes from different repair shops is essential. Ask detailed questions about their experience with Cybertruck repairs, the source of their replacement panels, and the warranty they offer on their work. Don’t be afraid to push for a breakdown of the costs involved.
- Panel Replacement Cost: Approximately $13,000 (as reported by Facebook group members).
- Lead Times: Expect potential delays due to parts availability.
- Color Matching: Requires skilled craftsmanship to achieve a seamless blend.
Tesla Cybertruck Damage Repair: A Comparative Overview
| Damage Severity | DIY Scratch Repair | Paintless Dent Repair (PDR) | Panel Replacement |
|---|---|---|---|
| Minor Scratches (Clear Coat Only) | High Effectiveness, Relatively Easy | Not Applicable | Not Recommended |
| Moderate Scratches (Through Clear & Color Coat) | Moderate Effectiveness, Requires Skill | Not Applicable | Potentially Required if damage is extensive |
| Small Dents (Less than 2 inches) | Limited Effectiveness, May Worsen Damage | High Effectiveness, Preferred Method | Generally Not Necessary |
| Medium Dents (2-6 inches) | Ineffective | Moderate Effectiveness, May Require Multiple Attempts | Often Recommended |
| Large Dents (Greater than 6 inches) | Ineffective | Limited Effectiveness, High Skill Required | Typically Required |
| Severe Damage (Creased/Sharp Dents) | Ineffective | Ineffective | Required |
| Cost | Lowest | Moderate | Highest (Parts & Labor) |
| Warranty Implications | May Void Warranty if Improperly Done | Generally Does Not Void Warranty | May Affect Warranty Depending on Repair Shop & Parts Used |
Illustrative comparison based on the article research brief. Verify current pricing, limits, and product details in the official docs before relying on it.
What Tesla says about repairs
Tesla provides detailed collision repair procedures for the Cybertruck, accessible through their service website (service.tesla.com). These procedures outline the recommended tools, techniques, and safety precautions for repairing the vehicle’s stainless steel body. The manual emphasizes the importance of following specific instructions to maintain structural integrity.
The document stresses the need for personal protective equipment (PPE) when working with stainless steel, including gloves, eye protection, and respirators. It also provides guidance on identifying and assessing damage, as well as determining the appropriate repair method. The manual details allowed operations, meaning what repairs Tesla deems acceptable to maintain vehicle safety.
A significant portion of the manual is dedicated to structural repair procedures. It outlines the specific techniques for repairing damaged structural components, including welding and panel replacement. Tesla’s procedures are very specific about the types of welding equipment and techniques that are approved for use on the Cybertruck’s stainless steel body.
The Cybertruck Collision Repair Procedures is a highly technical document intended for trained professionals. It’s not a DIY guide, and attempting to follow these procedures without the proper training and equipment could result in serious injury or damage to the vehicle. However, it provides valuable insight into Tesla’s expectations for repair quality and safety.
Preventative Measures: Protecting Your Investment
Given the cost and complexity of repairing the Cybertruck, preventative measures are more important than ever. Protecting the stainless steel exoskeleton from scratches and dents can save you a significant amount of money and hassle in the long run. Several options are available, each with its own pros and cons.
Paint Protection Film (PPF) is a transparent urethane film that is applied to the vehicle’s exterior to protect it from scratches, chips, and other damage. It’s a highly effective solution, but it can be expensive, costing several thousand dollars for a full vehicle wrap. Ceramic coatings offer another layer of protection, creating a hydrophobic barrier that repels water, dirt, and UV rays.
Ceramic coatings are less expensive than PPF, typically costing around $1,000 to $2,000 for a full vehicle application. However, they don’t offer the same level of physical protection as PPF. Careful driving habits are also crucial. Avoiding gravel roads, parking in tight spaces, and being mindful of potential hazards can significantly reduce the risk of damage.
Ultimately, the best approach is a combination of preventative measures. PPF on high-impact areas, a ceramic coating for overall protection, and careful driving habits can help keep your Cybertruck looking its best. While the initial investment may seem significant, it’s likely to be far less than the cost of repairing major damage.
- Paint protection film (PPF) offers the best defense but costs over $3,000.
- Ceramic Coating: Good protection, moderate cost ($1,000-$2,000).
- Careful Driving: Essential for minimizing damage.
What preventative measures, if any, have you taken to protect your Cybertruck's exterior?
Vote below!

No comments yet. Be the first to share your thoughts!