
Assess the damage and gather tools
Before you touch a glue gun or a hammer, assess the damage and gather the right tools. DIY dent repair is a skill that relies on preparation as much as technique. Skipping the prep work often leads to more damage, especially when working with modern car bodies that use thinner, more flexible metals.
Start by cleaning the area thoroughly. Dirt and wax prevent adhesives from bonding properly and can scratch the paint during sanding. If you are using a heat gun or hot glue method, this step is non-negotiable. For paintless dent repair (PDR), a clean surface allows you to see the dent’s reflection clearly, which is your primary guide for pushing the metal back into shape.
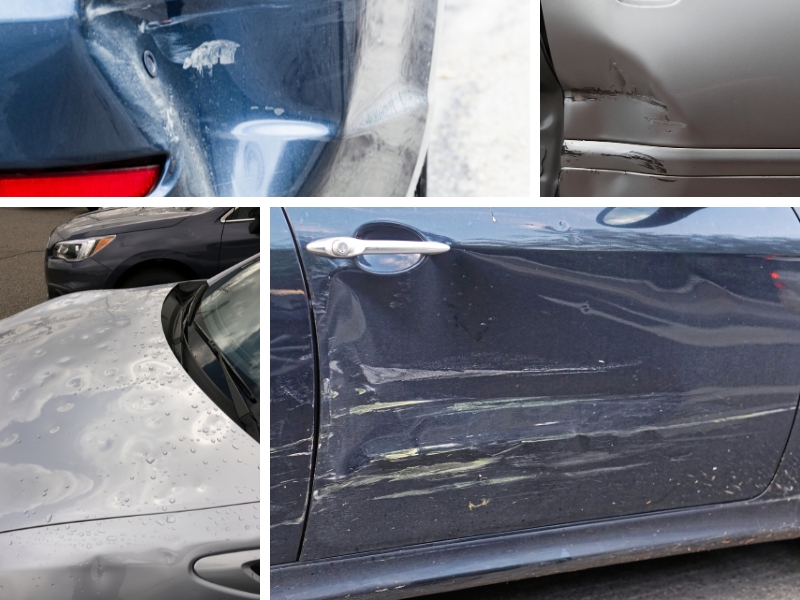
Check the metal’s condition. Dents on high-strength steel or aluminum can be tricky because these materials don’t flex back as easily as older steel. If the dent is on a body line or has cracked the paint, DIY methods may not hold. In those cases, professional repair or panel replacement is the only safe route. For minor dings on flat panels, you have a good chance of success with the right approach.
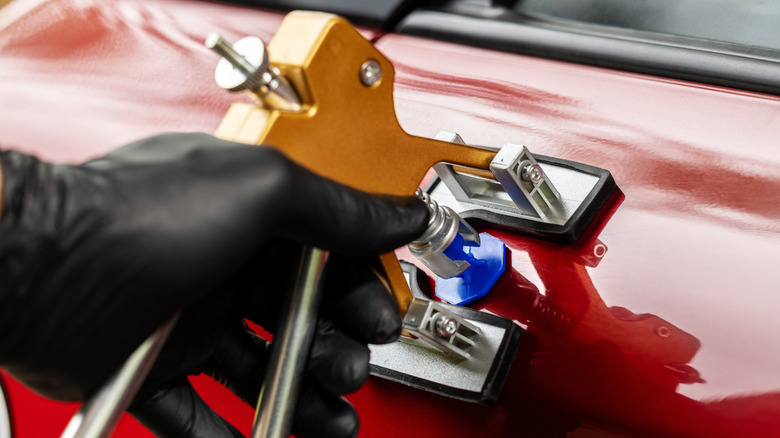
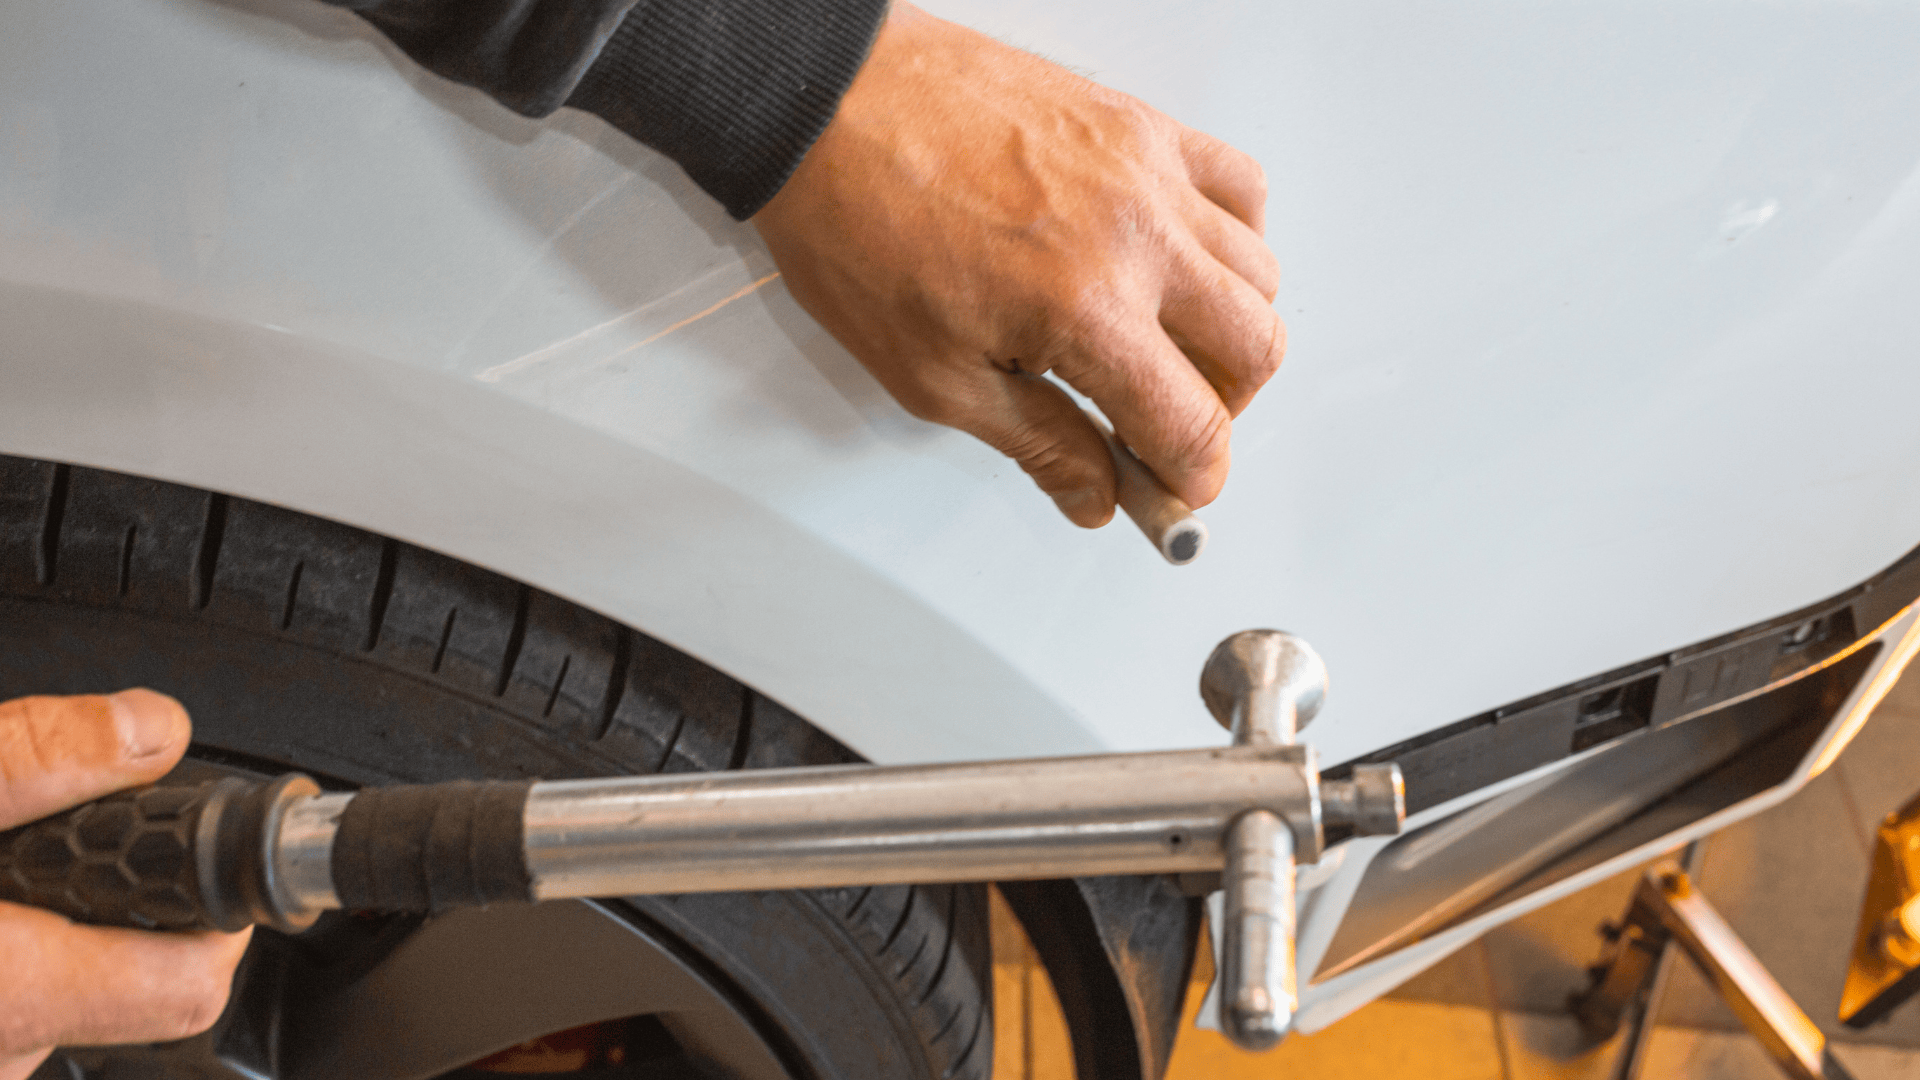
Assemble your toolkit. You don’t need a professional PDR kit for most small dents. A basic kit usually includes glue tabs, a puller tool, and a breaker bar. For larger dents, you might need body filler (Bondo), sandpaper, and a hammer. Always wear safety glasses. Flying glue fragments or metal shards can cause serious eye injury.
Work through the steps
Fixing car dents requires patience and the right tools. This guide walks you through the process of dent removal and surface preparation. Follow these steps in order for the best results.
Assess the damage
Before starting, clean the area thoroughly. Use a mild soap and water solution to remove dirt and debris. This ensures that you can see the extent of the damage and prevents scratching the paint during repair. For dents, check if the paint is cracked. If it is, you will need to use a body filler like Bondo. If the paint is intact, you might be able to use paintless dent repair (PDR) techniques.
Remove the dent
For small dents without paint damage, try a glue puller. Heat the glue sticks and apply them to the dent. Pull hard and fast to pop the dent out. You may need to repeat this process a few times. For larger dents, use a hammer and dolly to gently tap the metal back into shape. Be careful not to overwork the metal, as this can cause it to stretch or warp. If you are using Bondo, follow the manufacturer's instructions for mixing and application.
Sand and smooth the surface
Once the dent is removed, sand the area to create a smooth surface. Use 80-grit sandpaper for the initial sanding to remove any high spots or excess Bondo. Then, switch to 180-grit sandpaper to smooth out the scratches. Finally, use 400-grit sandpaper to prepare the surface for painting. Wipe away any dust with a tack cloth.
Paint and finish
If you used Bondo, apply a primer to the repaired area. Let it dry, then sand it smooth with 400-grit sandpaper. Apply a base coat of paint that matches your car's color. Use light, even coats, allowing each coat to dry before applying the next. Once the paint is dry, apply a clear coat to protect the repair. Buff the area with a polishing compound to blend the repair with the surrounding paint.
Fix common mistakes
Even with the right tools, DIY dent repair often fails because of skipped preparation or rushed execution. Most amateur results end up with visible ripples, uneven color, or loose filler. These outcomes usually stem from three specific errors: inadequate surface prep, ignoring paint temperature, and improper backing access.
Skipping paint temperature checks
Paint behaves like memory foam; it hardens in the cold and stays soft in the heat. If you attempt to push out a dent when the panel is below 60°F (15°C), the metal becomes brittle and the paint is likely too rigid to flex. You risk cracking the clear coat or leaving the dent stuck. Always work in a warm garage or wait for a sunny day. If the panel feels cold to the touch, use an infrared lamp or heat gun on a low setting to bring it to room temperature before applying pressure.
Rushing the sanding process
When filling a deep dent with body filler, skipping the sanding steps creates weak bonds. If you apply filler over glossy paint or dust, it will pop off within weeks. Start by sanding the area with 80-grit paper to remove the clear coat and create a mechanical "tooth" for the filler to grab. Wipe the surface with a wax and grease remover afterward. Never skip the feather-edging step; blending the filler into the surrounding metal prevents a visible ridge once you paint over it.
Ignoring the backing
For larger dents, working only from the outside is like trying to smooth a crumpled piece of paper from the front. You need to access the back of the panel. If you cannot reach behind the dent with a glue puller or rod, you will leave a low spot that paint cannot hide. Use a mirror or a borescope to check the backside. If the metal is backed by insulation or structural beams, the dent may be too deep for DIY methods and require professional paintless dent repair.
Skipping the clear coat
Many DIYers fill and sand the dent but forget to apply a clear coat before the final polish. Without clear coat, the repaired area remains porous and vulnerable to UV damage and rust. Even if you blend the color perfectly, the lack of gloss protection will make the repair stand out in sunlight. Always apply a layer of clear coat over the refinished area, allow it to cure fully, then wet-sand and polish to match the surrounding finish.
Fixing car dents: what to check next
Before you start pulling or heating, it helps to know what a dent can actually handle. DIY methods work best on small, shallow marks where the paint is intact. If the metal is creased or the finish is cracked, professional repair is usually the safer bet.
Here are the most common questions about fixing car dents yourself.
Work through DIY
No comments yet. Be the first to share your thoughts!