

Get AutobodyRX Right
Before you start patching leather or pulling dents, verify that your project is a good fit for a DIY approach. AutobodyRX offers guidance that bridges the gap between professional bodywork and home improvement, but using their methods requires understanding what can realistically be fixed without specialized shop equipment.
Assess the damage
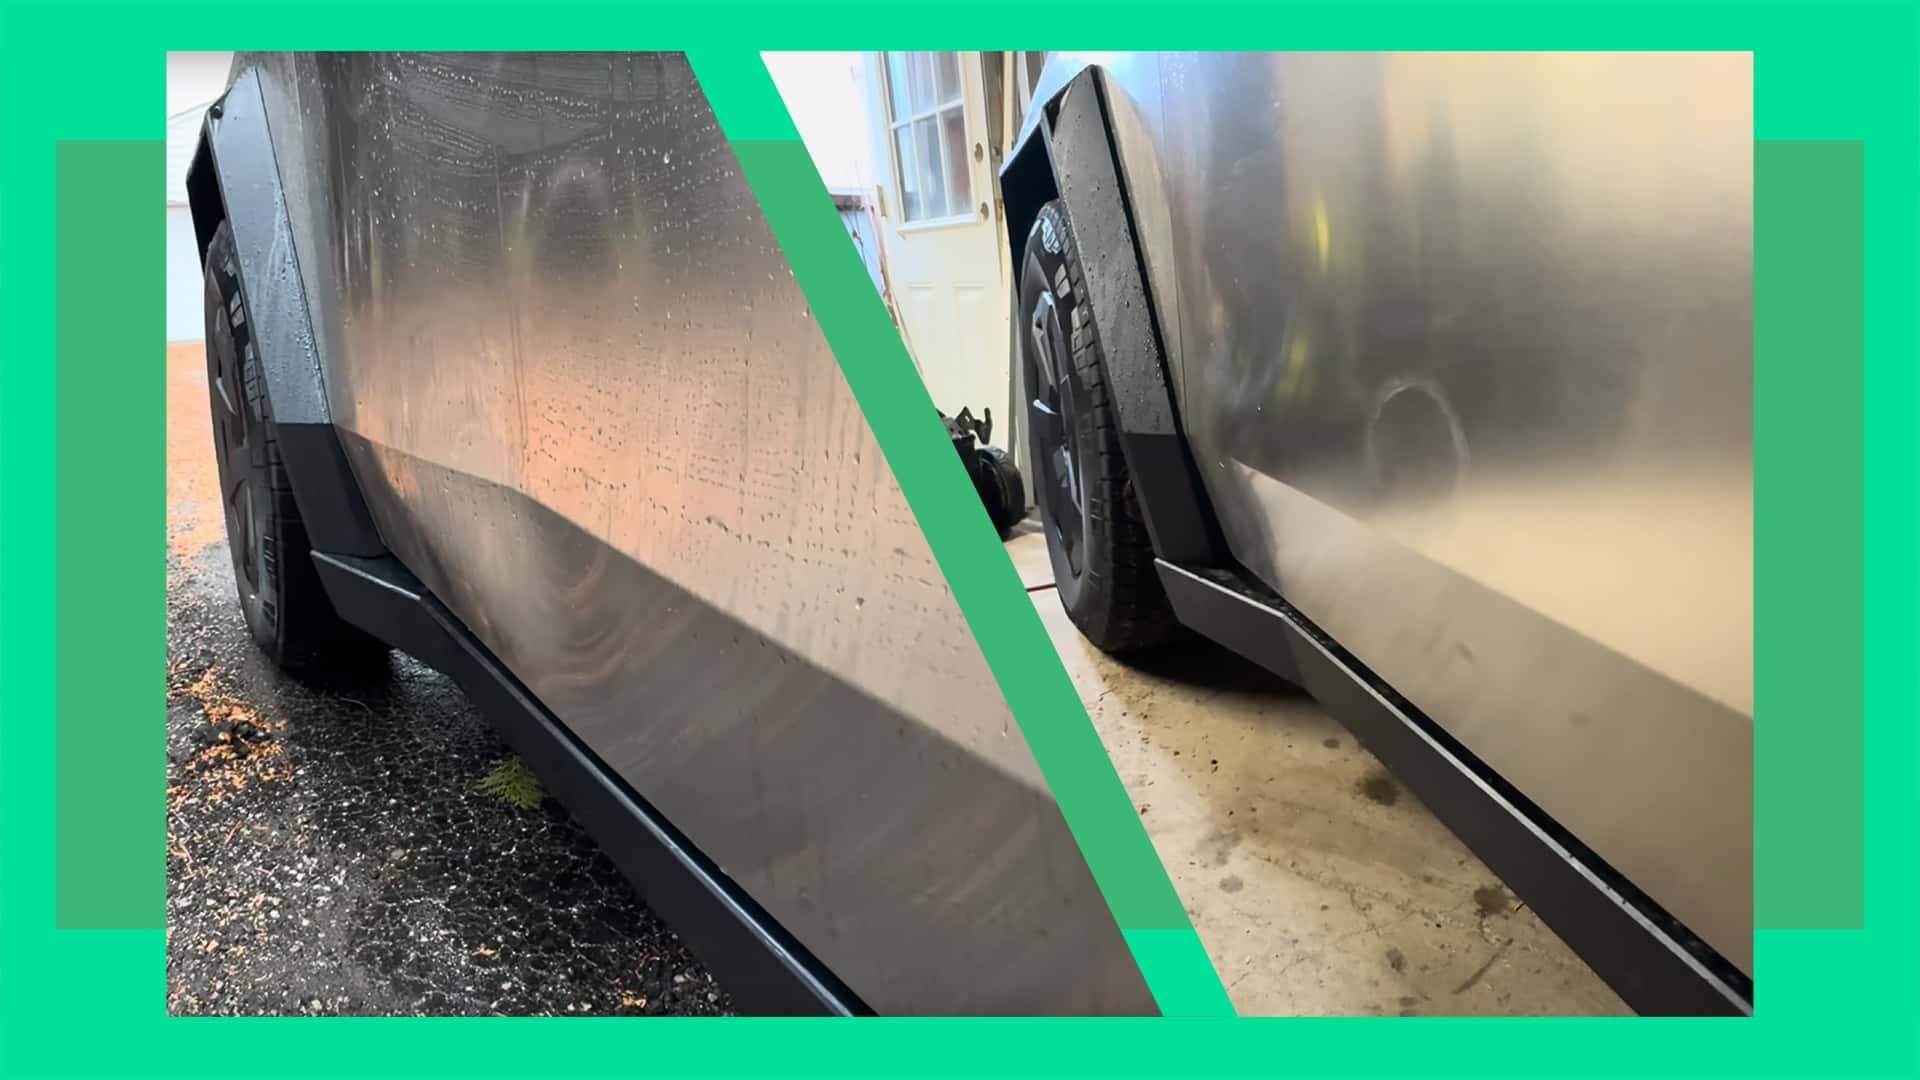
Minor scuffs on leather and small, shallow dents are often manageable with household items or basic kits. Deep tears, structural frame damage, or dents that have cracked the paint require professional intervention. Trying to force a repair beyond your skill level or the material's limits usually results in visible mistakes that cost more to fix later.
Check your tools and workspace
You need a clean, well-lit area where you can work without rushing. For leather, this means having the right cleaners, conditioners, and dye ready. For dents, ensure you have the necessary pulling tools and heat sources if recommended by the guide. Skipping this preparation leads to inconsistent results and wasted materials.
Review product instructions
AutobodyRX kits often come with proprietary components or specific techniques that differ from generic advice. Reading the full guide before opening the package helps you anticipate challenges and gather any missing supplies. This upfront time saves frustration and ensures the repair holds up over time.
Fix common mistakes
Most DIY dent and leather repairs fail because of rushed prep work or ignoring material limits. These errors are easy to avoid if you treat each repair as a two-step process: clean and assess, then act.
Dent repair errors
Heat is the most common culprit in failed DIY dent removal. Using a heat gun or boiling water on a cold day can make metal brittle, leading to cracks instead of pops. Always warm the panel to room temperature first. If you are using a plunger or suction cup, ensure the surface is clean and dry. A thin layer of soapy water helps the seal, but too much reduces friction and grip.
Another frequent mistake is pulling too hard, too fast. When using a slide hammer or glue puller, apply steady, moderate pressure. Jerky movements can stretch the metal further or break the glue tabs. If the dent does not pop out after three or four pulls, stop. Forcing it will likely create a high spot that is harder to fix than the original dent.
Leather seat repair errors
Leather repairs often look worse than the damage itself because of poor color matching. Never assume the patch color will dry to the exact shade of your seat. Leather dyes oxidize and darken slightly as they cure. Always test a small amount on an inconspicuous area, like the underside of the seat or behind the headrest, before applying it to the visible damage.
Skipping the degreaser is another critical error. Leather seats accumulate body oils and lotions that create a barrier. If you apply filler or dye over dirty leather, it will peel off within weeks. Use a dedicated leather degreaser and let the seat dry completely. This step ensures the repair materials bond properly to the material, not just to the surface grime.
Material compatibility
Not all products work on all surfaces. Automotive vinyl and genuine leather require different cleaners and conditioners. Using a heavy-duty vinyl protectant on genuine leather can clog the pores, causing the material to crack over time. Check the product label carefully. If you are unsure about the type of material, consult the vehicle manual or a professional before applying any chemical.
AutobodyRX: what to check next
Before you commit to fixing dents or leather seats yourself, it helps to understand what tools are actually necessary and where the line is between a weekend project and a professional job.
Work through the repair
No comments yet. Be the first to share your thoughts!