

Get AutoBodyRX right
Before you start pulling dents or stitching leather, you need the right environment and tools. AutoBodyRX focuses on specific repair kits and adhesives that require precise conditions to bond correctly. Skipping this preparation is the most common reason DIY repairs fail within months.
Check your workspace
Dust and humidity are the enemies of automotive adhesives. Work in a clean, dry area away from direct sunlight, which can cause glue to skin over too quickly. If you are repairing leather, ensure the seat is at room temperature; cold leather becomes brittle and cracks under tension.
Gather the essentials
You do not need a full shop to fix minor damage. For dent removal, a glue-pulling kit with a slide hammer or hydraulic puller is sufficient for most shallow dings. For leather, you will need a color-matched repair kit, a flexible filler, and a heat gun. Avoid using household superglue; it becomes glass-hard and will crack when the car flexes.
Inspect the damage
Not every dent or tear is worth your time. If a dent is on a sharp body line or has cracked the paint, professional repair is usually safer. For leather, check if the damage is only on the surface. Deep tears that go through the backing foam require more than just filler—they need structural reinforcement to prevent the patch from pulling apart later.
Work through the steps
Fixing car dents and repairing leather seats requires a methodical approach. Rushing into repairs without proper preparation leads to visible flaws that are harder to fix than the original damage. This guide walks you through the essential stages of dent removal and leather restoration, ensuring professional-grade results at home.
Fix common mistakes
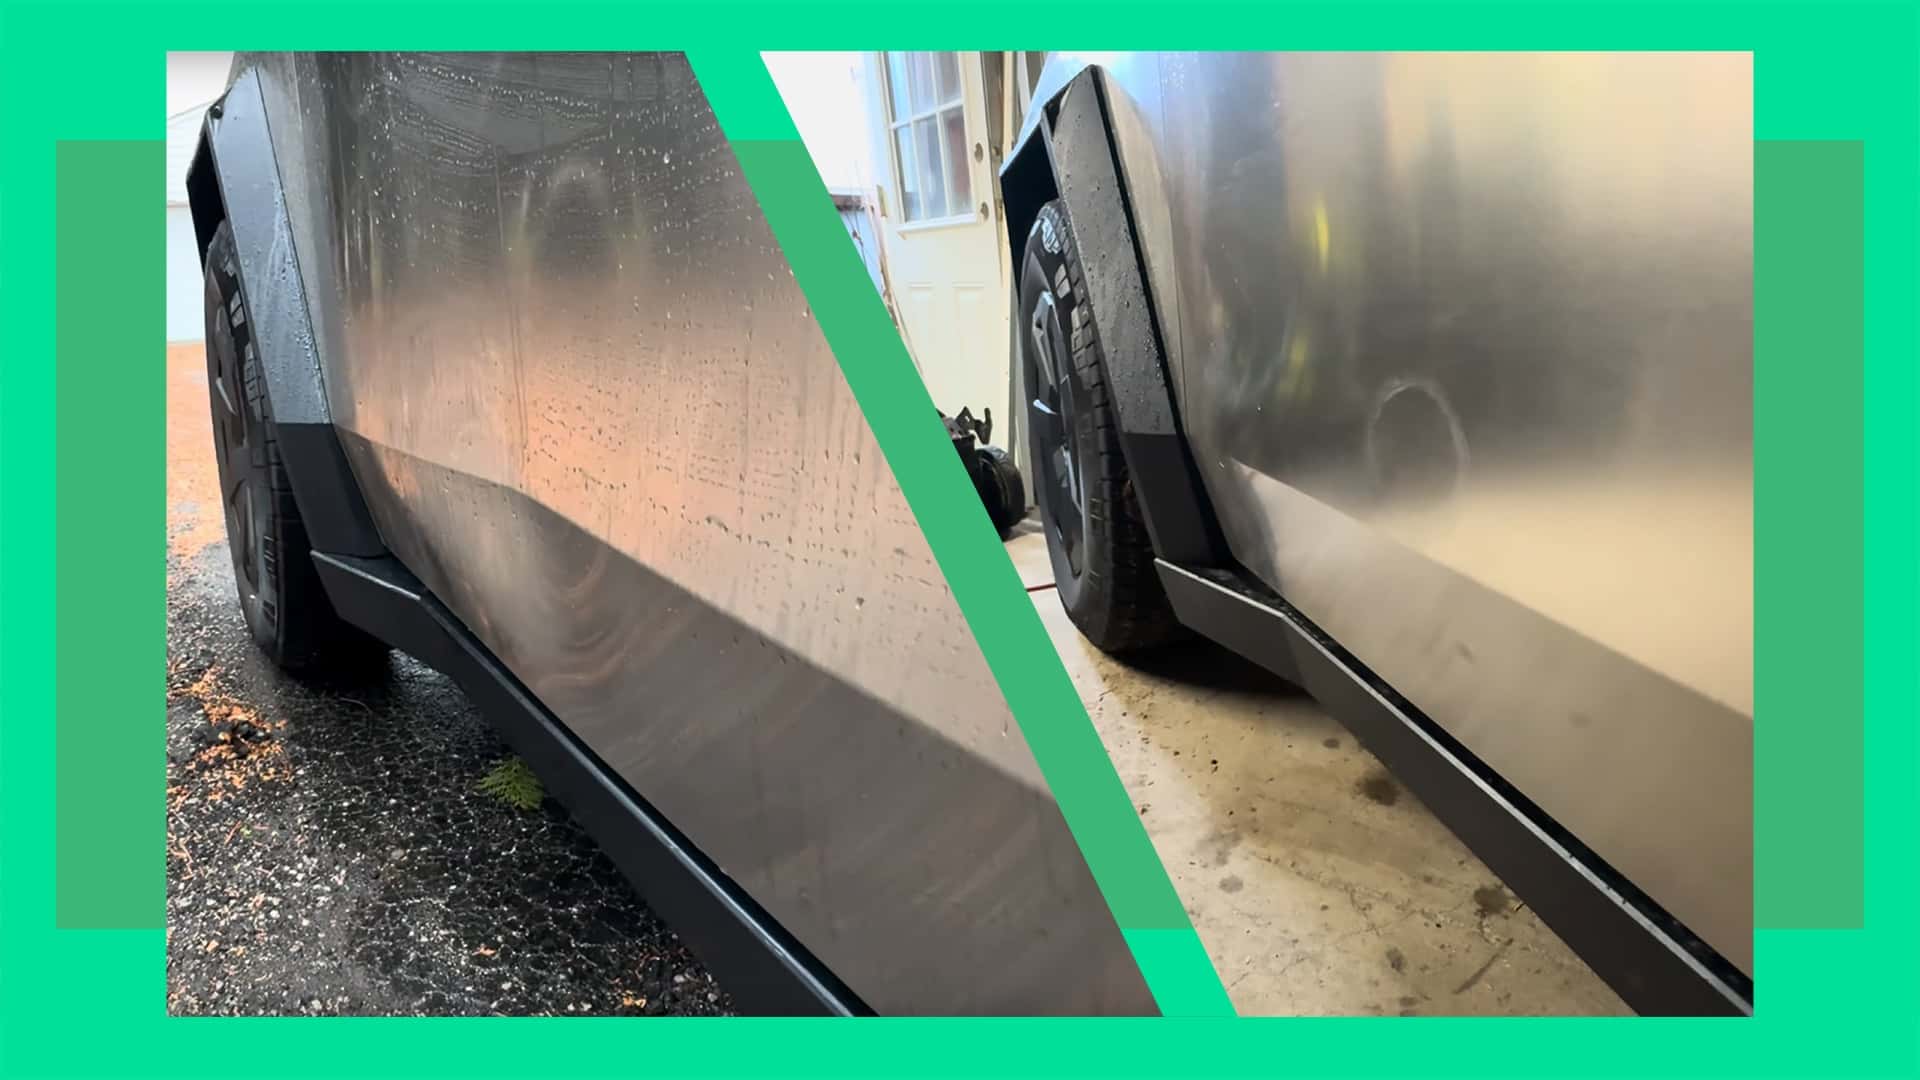
Even with the right tools, auto body repair often fails because of skipped preparation or rushed execution. These errors compound quickly, turning a minor dent or tear into a permanent blemish that requires professional intervention. Avoiding these pitfalls saves time and prevents costly rework.
Paintless Dent Repair Errors
The most frequent mistake in paintless dent repair (PDR) is applying excessive force. Technicians sometimes push too hard from behind, stretching the metal beyond its yield point. This creates a "high spot" that is far harder to fix than the original dent. Another common error is neglecting the backside access. Without proper backing, the metal cannot flex correctly, leading to uneven results.
Leather Seat Repair Pitfalls
Leather repair failures usually stem from poor surface preparation. Skipping the degreasing step leaves oils that prevent adhesives from bonding, causing patches to peel within weeks. Additionally, many DIYers ignore the leather's natural grain. Applying a generic filler without texturing it to match the surrounding hide results in a visible, shiny patch. Always match the texture and flexibility of the original material.
No comments yet. Be the first to share your thoughts!