🔧 DIY Magic: Repairing Minor Paint Scratches and Chips
Discover the magic of DIY car repair with AutoBodyRX's comprehensive guide to repairing minor paint scratches and chips. With our step-by-step guide, you'll learn how to restore your car's paint job to its original glory, saving you time and money on professional repairs.
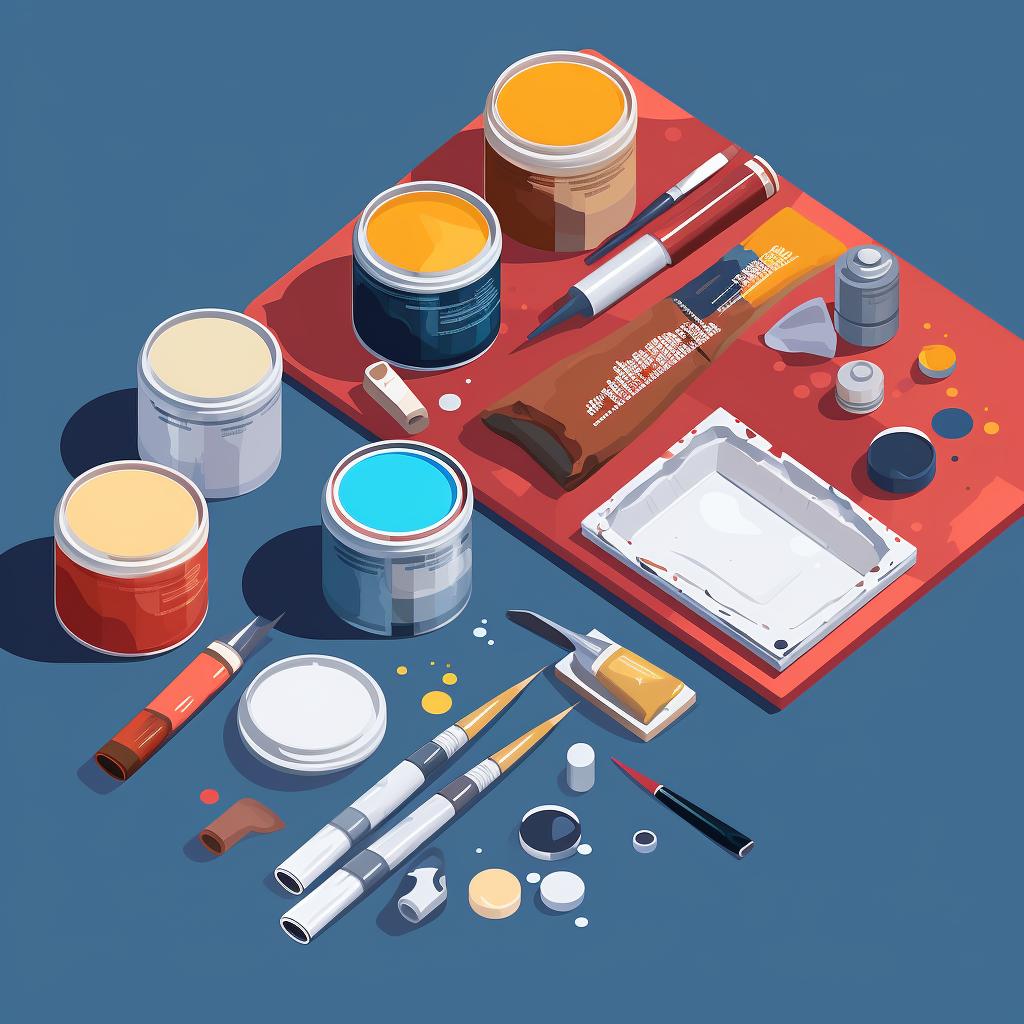
Before you start, it's crucial to gather all the necessary materials. We've got you covered with a detailed list in our guide. But remember, the touch-up paint you use must match your car's color. Not sure how to find the right match? Check out our comprehensive guide on how to fix car scratches and paint chips.
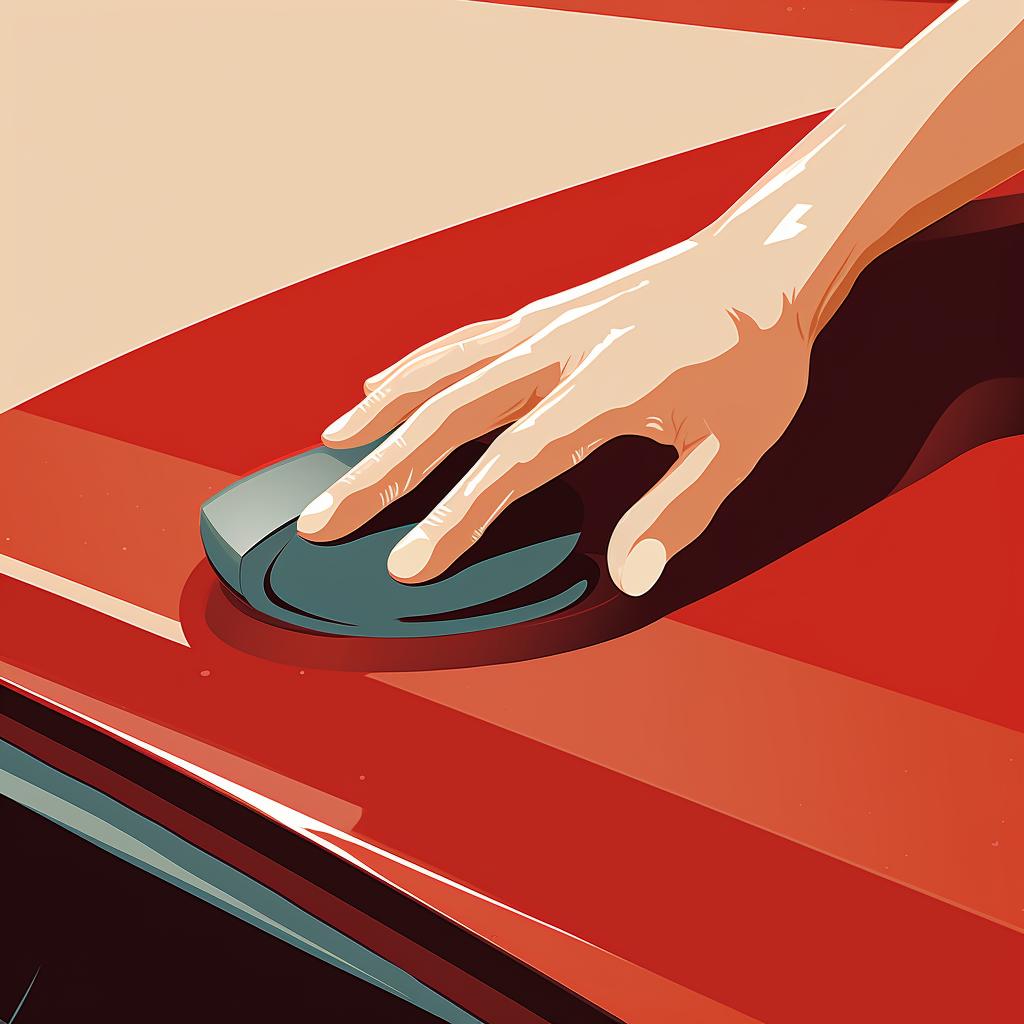
Once you've gathered your materials, it's time to get to work. Start by cleaning the affected area to ensure no dirt or debris interferes with your repair work. Then, gently sand the scratch or chip, apply primer, touch-up paint, and finally, a clear coat to protect the new paint and give it a glossy finish.
While this guide focuses on minor scratches and chips, we understand that car damage can sometimes be more severe. For those deeper scratches, we've got a detailed guide on how to fix deep scratches on your car.
Car repairs can often seem daunting, but with AutoBodyRX, you're never alone in your DIY journey. We offer detailed guides and tips to help you navigate through the process. If you're looking for more DIY car repair guides, check out our articles on how to fix hail damage on your car or easy DIY interior car repair for a fresh look.
Remember, the key to successful DIY car repair is patience and precision. Take your time, follow the steps carefully, and you'll have your car looking as good as new in no time. Happy repairing!


