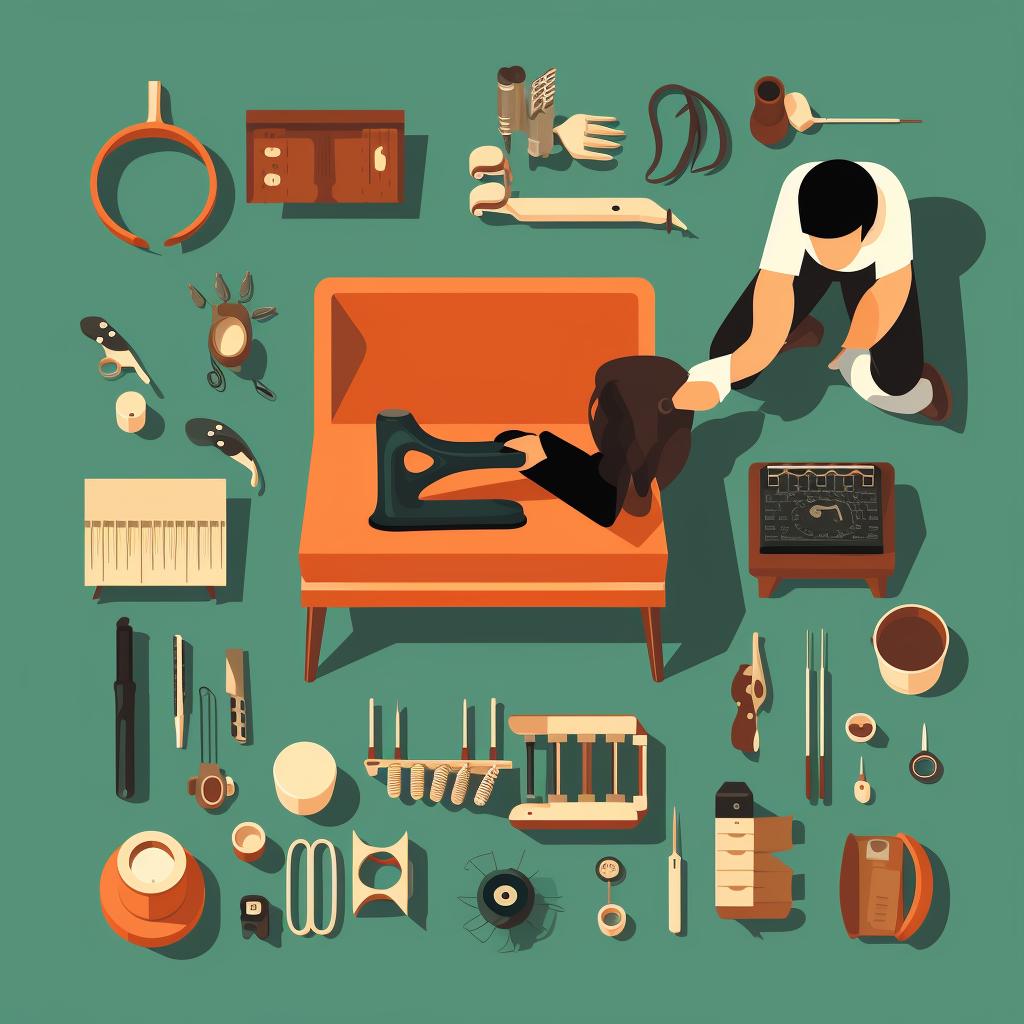
DIY Car Upholstery Repair: A Step-by-Step Guide
Are you dealing with damaged car upholstery? Don't worry, you can save money and give your car's interior a fresh look with DIY car upholstery repair. In this step-by-step guide, we will walk you through the process of identifying the damage, cleaning the area, repairing the damage, checking the repair, and finishing and drying the repaired upholstery. Let's get started!
Step 1: Identify the Damage
The first step in repairing your car upholstery is to identify the type of damage you're dealing with. Is it a stain, tear, burn, or general wear and tear? The repair method will vary depending on the type of damage. Take a close look at the affected area to determine the best course of action.
Step 2: Clean the Area
Once you've identified the damage, it's time to clean the area. Use a suitable cleaner for the specific type of damage. For stains, use a stain remover according to the product instructions. For burns or tears, gently clean the area to remove any loose debris. Cleaning the damaged area will prepare it for the repair process.
Step 3: Repair the Damage
Now that the area is clean, it's time to repair the damage. For stains, apply a fabric cleaner and gently blot the area with a clean cloth. For tears, use upholstery thread and a needle to sew the tear back together. For burns, you may need to use a repair kit to patch the damaged area. Follow the instructions provided with the repair kit for the best results.
Step 4: Check the Repair
After you've made the repair, take a moment to check your work. Make sure the stain is gone, the tear is mended, or the burn is covered. If you notice any issues, repeat the previous step until you're satisfied with the repair. It's important to thoroughly check your work to ensure a professional-looking result.
Step 5: Finish and Dry
Once you're happy with the repair, it's time to finish the process. For sewn tears, trim any excess thread to give the repair a clean and neat appearance. If you used a patch for a burn, make sure it's securely attached. Finally, allow any cleaned or repaired areas to fully dry before using your car's upholstery.
By following these simple steps, you can save money and give your car's interior a fresh look with DIY car upholstery repair. Remember to take your time and follow the instructions carefully for the best results. If you're unsure about any step of the process, it's always a good idea to consult a professional. Happy repairing!


